
How to Add a Zipper Opening to The Miss Maggie Handbag - a Tutorial
8/15/2017 10:00:00 AM
Have you made our Emmaline Bags Miss Maggie? It's one of my go to sews because it's quick, classy and easy to customize. The best part, Miss Maggie Handbag pattern is FREE! The original pattern uses a magnetic snap but many people prefer a zip top. Luckily adding a zippered panel is so very easy to add to the original pattern and today we are going to show you how!

Supplies:
-15” or longer all purpose zipper
- (4) pieces of lining fabric 2” wide x 12” long
- (4) pieces of shapeflex 101 cut to 2” x 12”

Let's Get Started!
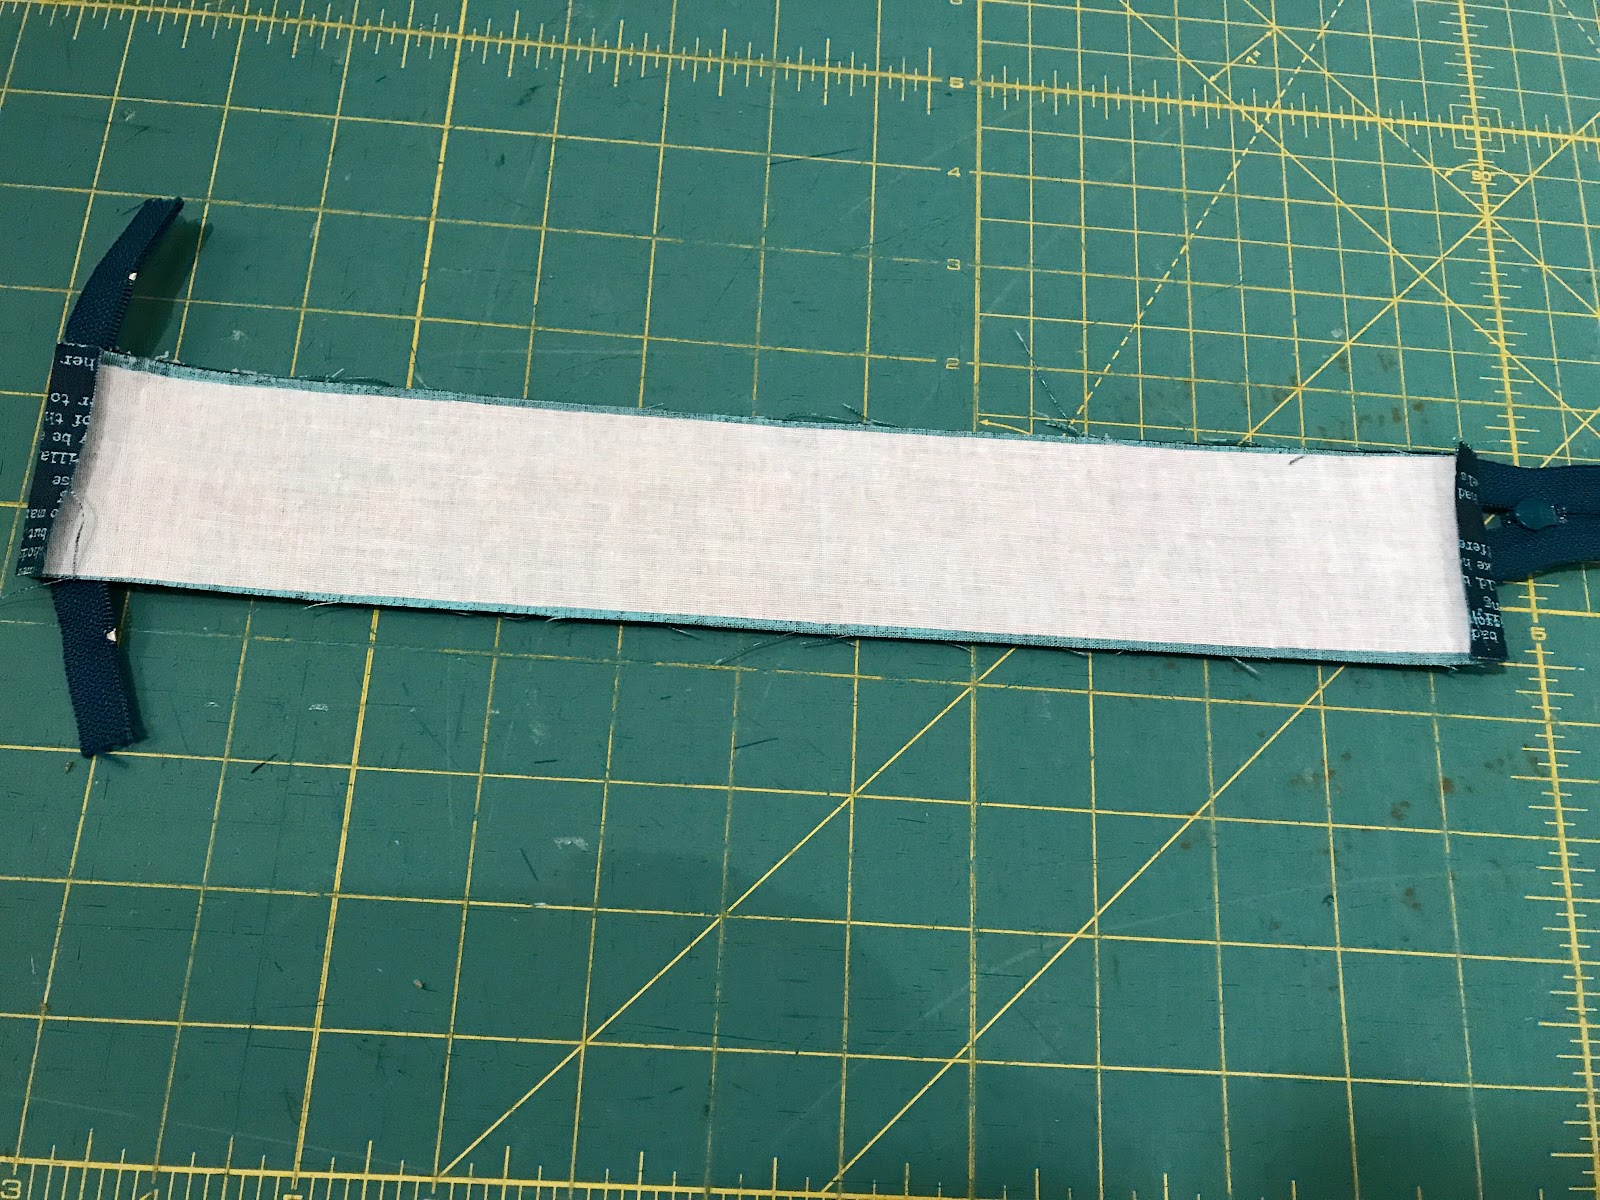
Take your fabric strips and fuse the interfacing according to manufacturer’s directions.
Press each 2” end of your fabric under ¼” towards the wrong side.

Prep your zipper:
We will want to make sure that the edges of our zipper gets encased in the zipper panels before we sew them. At the top of your zipper (the end closest to the end when the zipper is closed, flip the top of your zipper tape at a 90 degree angle and pin.

We are going to add a couple of stitches to hold it in place at this angle. (If you prefer, you may also glue them into this position). Stitch about ⅛” away from the edge of your zipper tape. Be careful not to sew over your pin!

Repeat for the other side of your zipper.
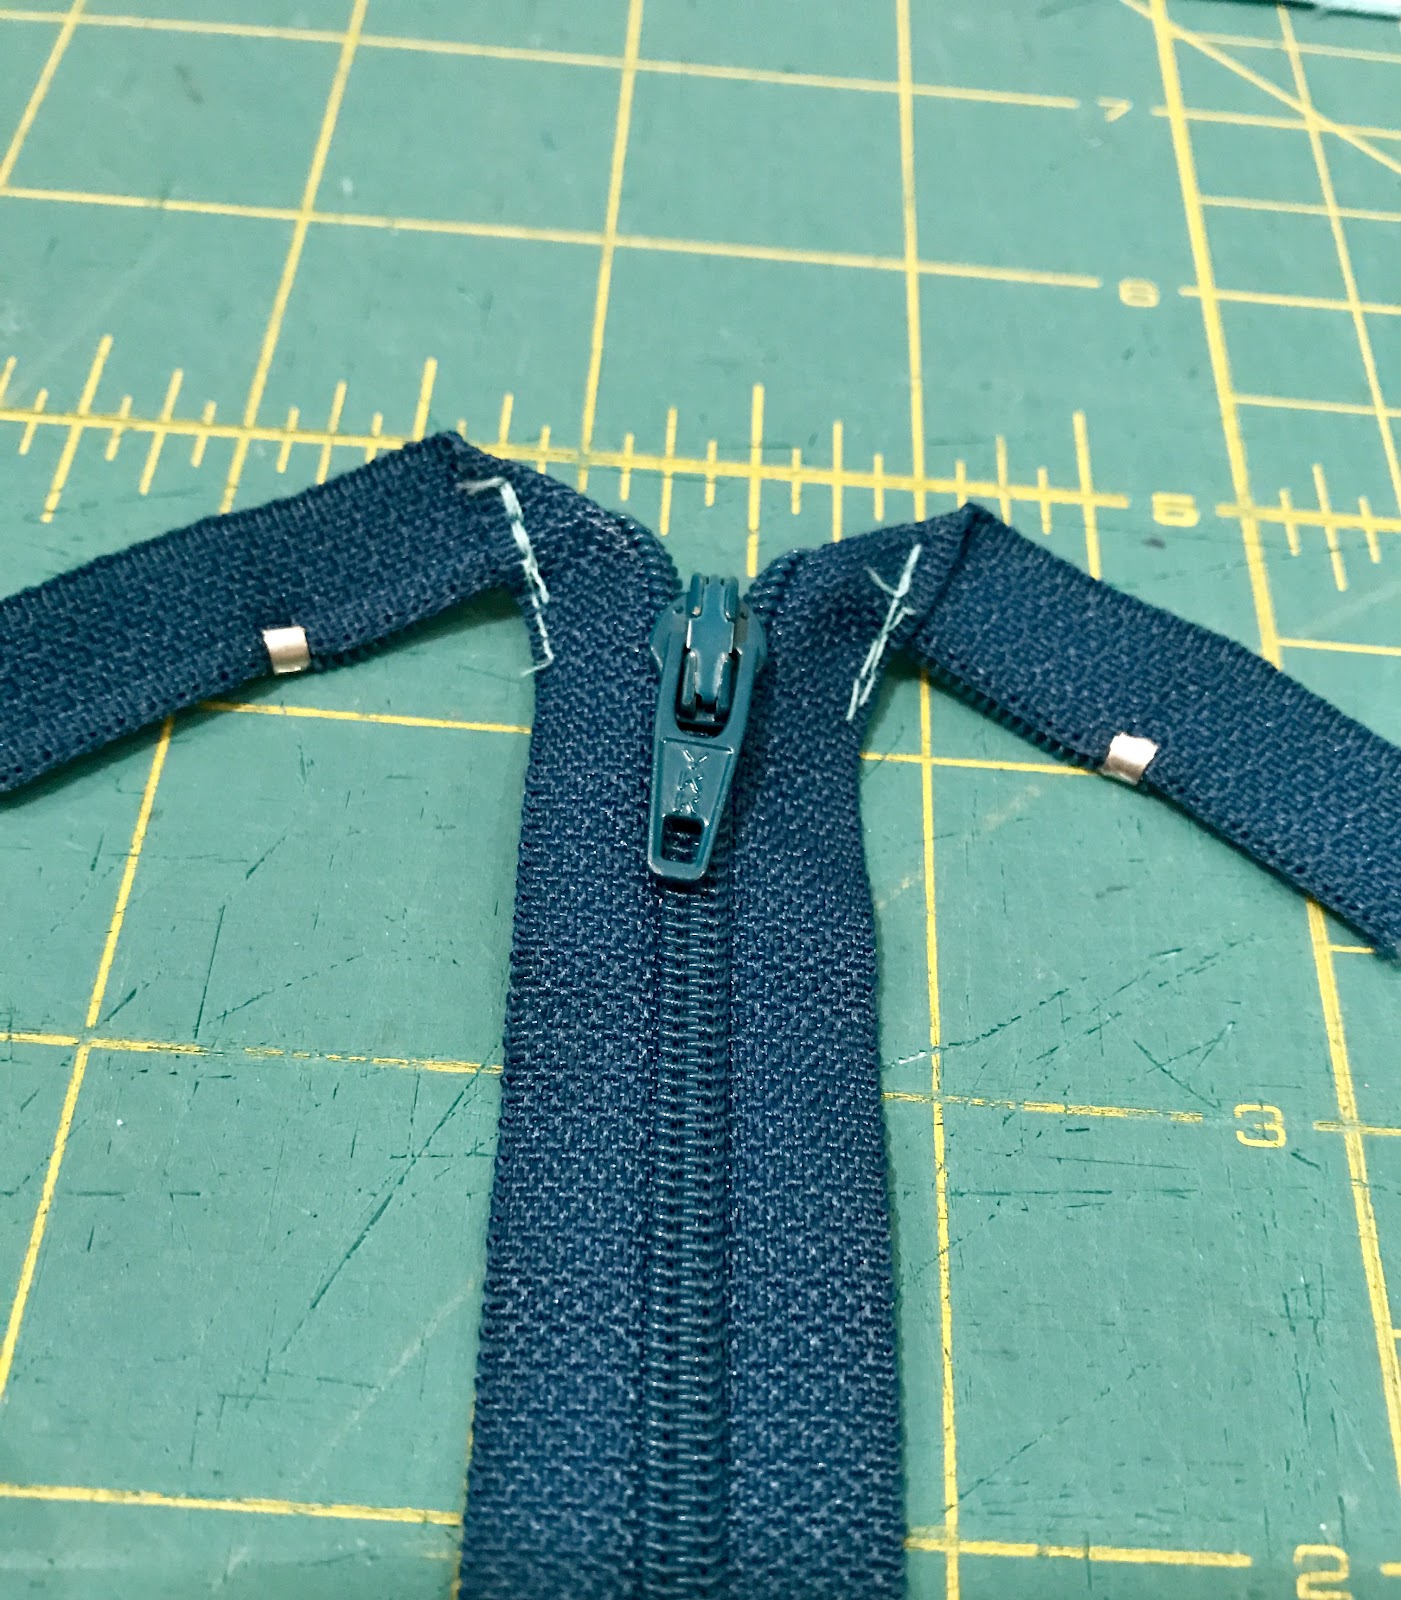
It's ok if your stitching isn't great, it'll all be hidden inside your zipper panel.
Sewing your zipper panel:
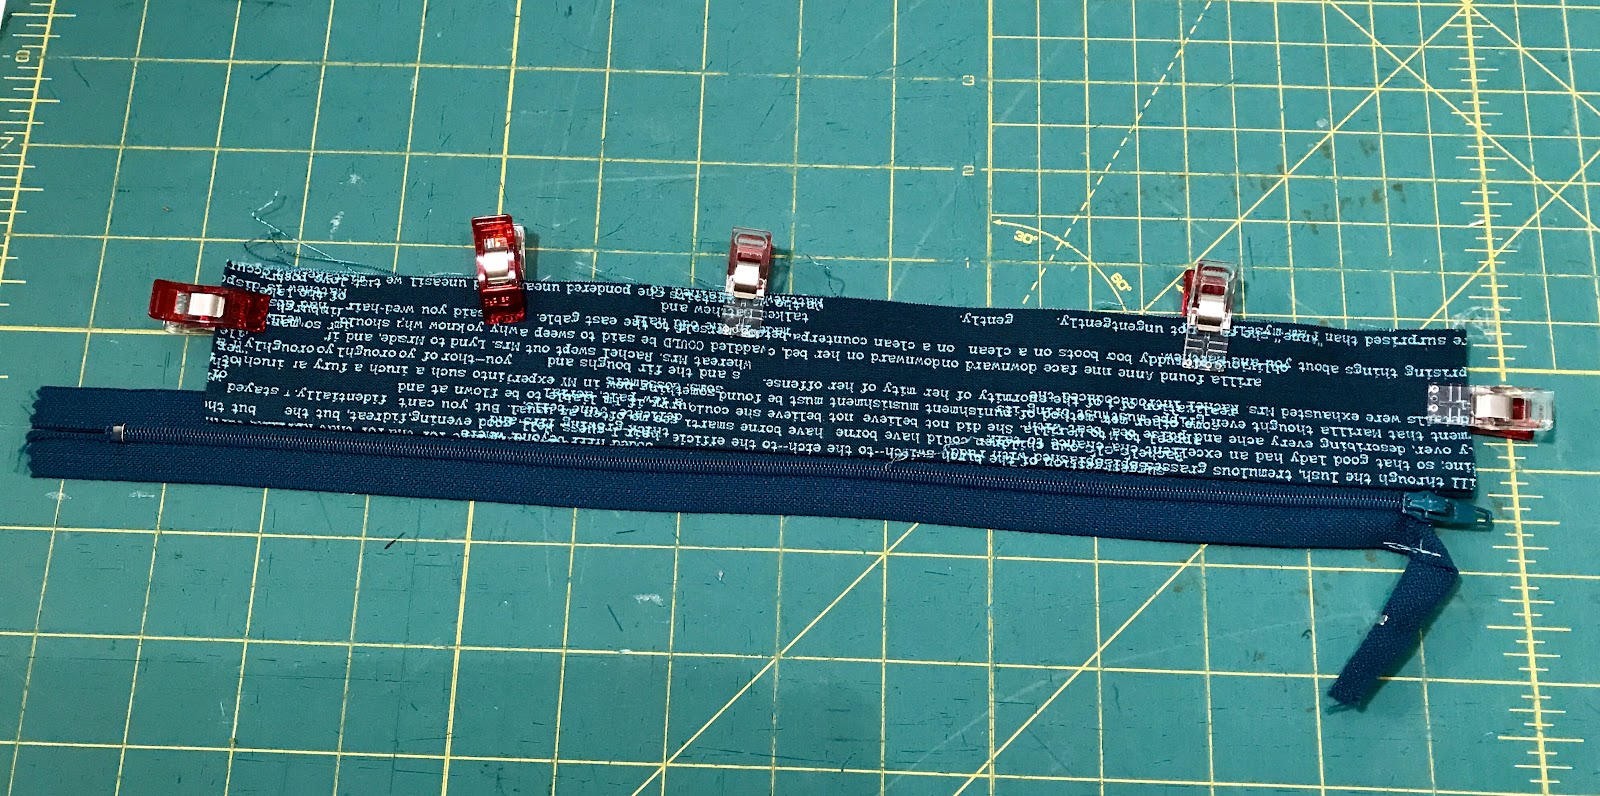
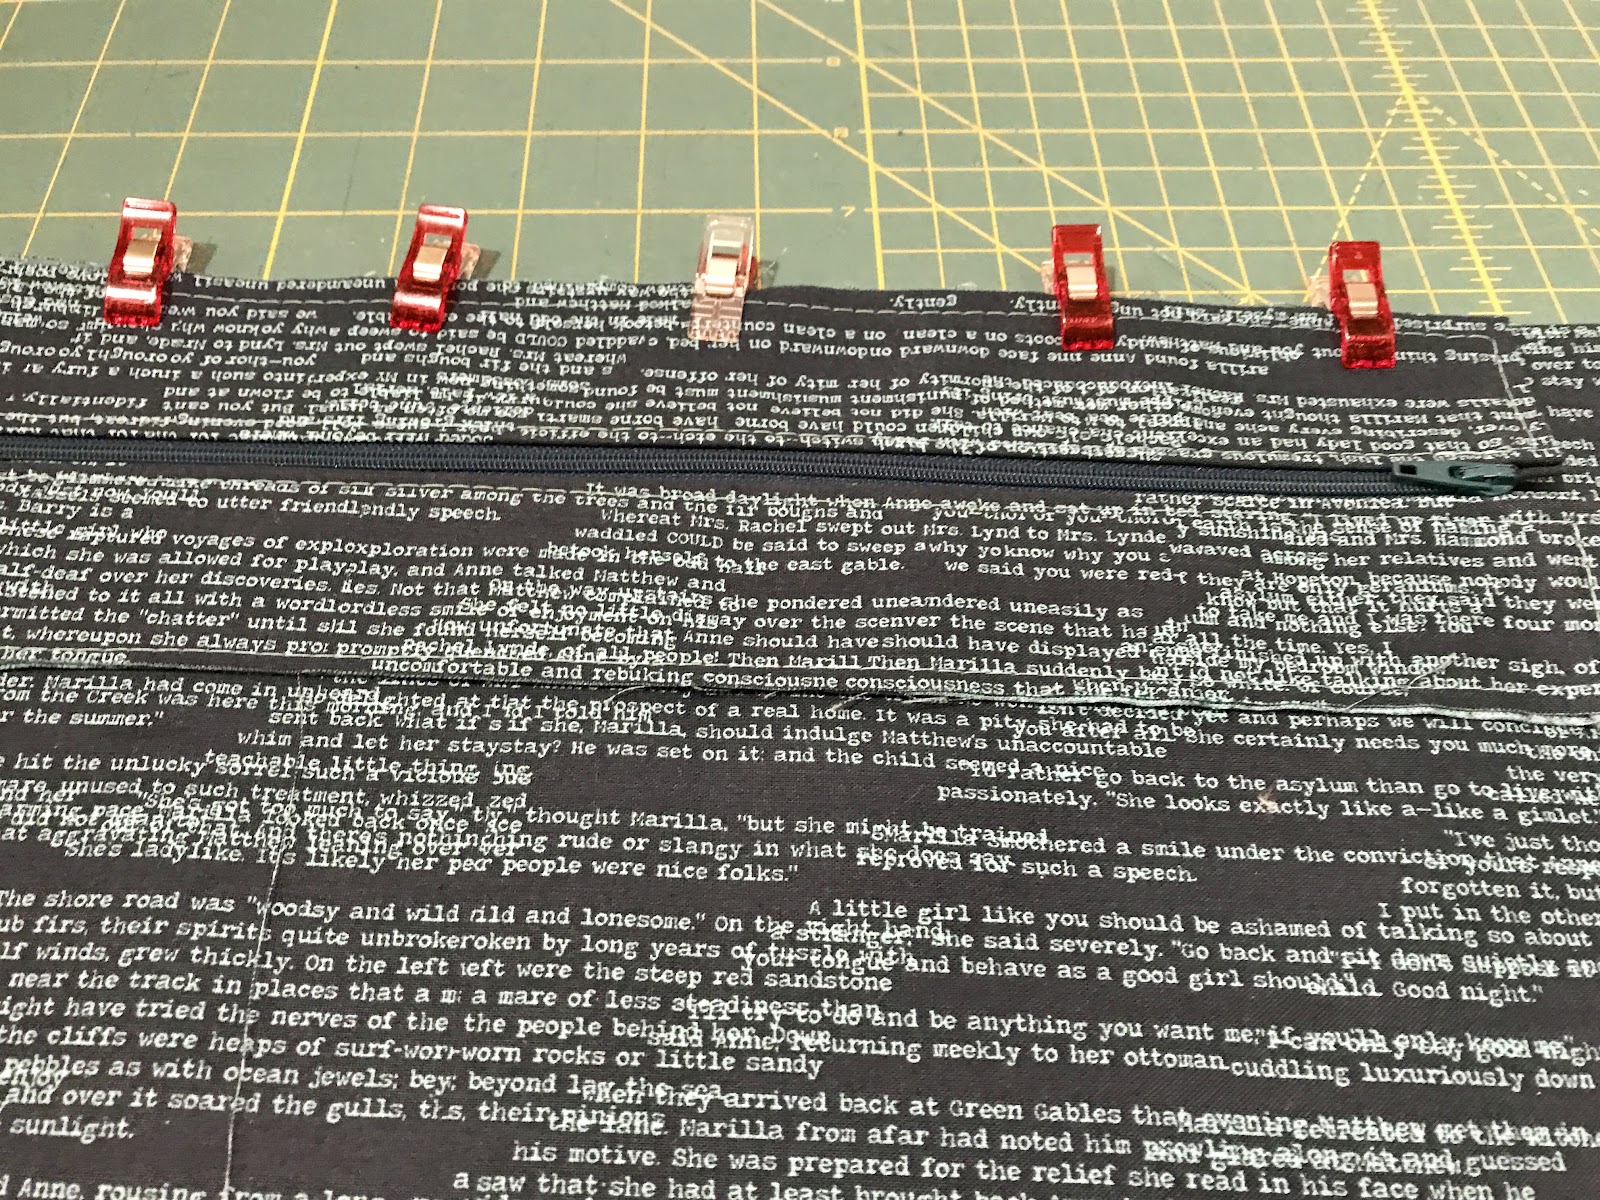
Now place one of the 2” x 12” pieces of your lining panel on your table RIGHT side up. Take your zipper and place this on top WRONG side facing you so that the right side of your fabric and the right side of your zipper are together. You want the top of your zipper closest to the pull aligned with your short edge and the top edge of your zipper aligned with the top of your fabric. Pin, clip, or glue in place.

Unzip your zipper all the way, this will keep it out of our way as we sew.
Baste your zipper in place using a ⅛” seam allowance.
Now place this on your table right side up and take another of your lining panel and place this on top WRONG side up, so that it is right side together with the half that you sewed.
Pin or clip in place and sew using a ¼” seam allowance.

Now, press both sides away from your zipper, so that they are wrong sides together.

Cut off the metal stop at the top of this side so that you don't accidentally stitch into it later.

Pin or clip around the bottom and side edges.
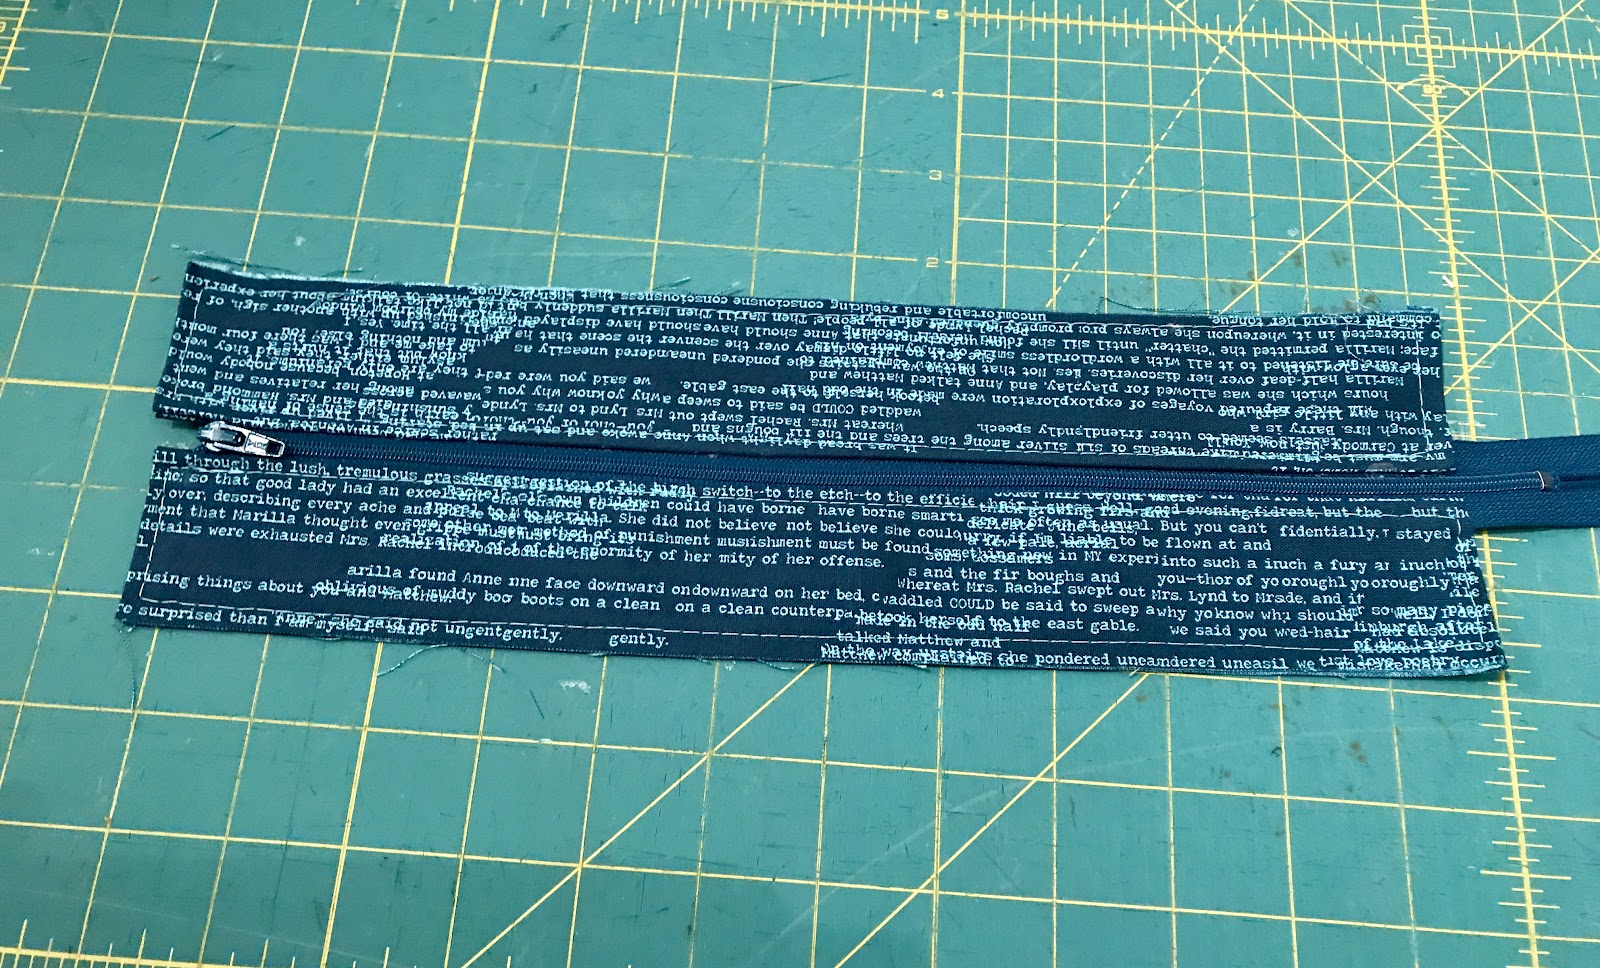
Top stitch along the edge closest to the zipper and the short edges. Baste the bottom raw edges together.

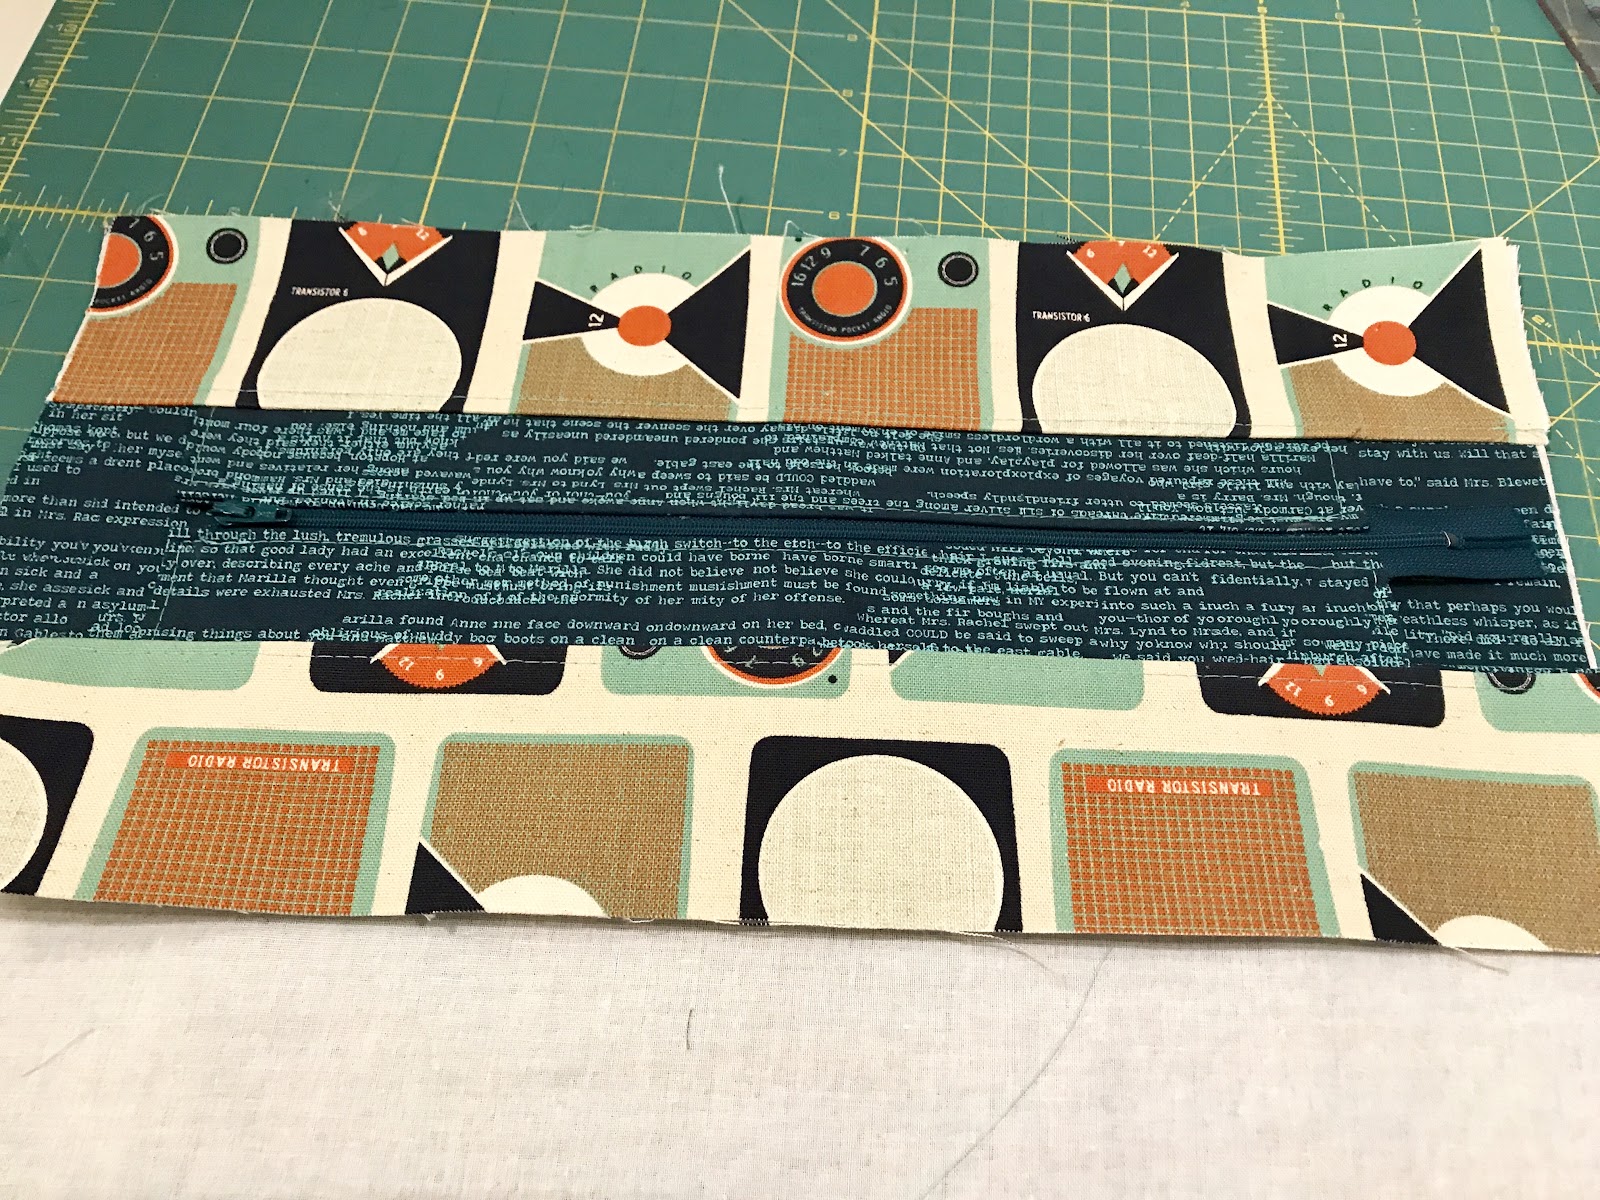
Repeat to attach the other side of your zipper panel. It should now look like this:
At this point, if you are adding a tab to the end of your zipper this would be the time to do so. Otherwise you can add a zip end once your bag is completed.
Attach to lining panels:
We are going to add our zipper panel to our lining BEFORE we stitch the facing to the 16”x 10.5” pieces of our lining.
Find the center of your lining panel and the completed zipper panel. Mark the center on both pieces.
Place the 16” x 10.5” lining panel on your table right side up. Take your zipper panel and place this on top so that the zipper is facing UP and the bottom of the panel is against the fabric. Align the top edges and match center markings.
Pin or clip in place and baste these together. Now add your lining facing according to the pattern directions.

Repeat to the attach the other side of your zipper panel.
Finish your bag according to the pattern directions and now you have a Miss Maggie with a zippered closure!

-----------
Photos and content provided and written for Emmaline Bags by Cyndi Farfsing, from The Nosy Pepper. Cyndi's blog is chock is full of more bag photos and make making tips. Check out her bag series "It's in the Bag! Better Bag Making Series," to learn a ton of new bag making skills.
Share your projects made from Emmaline patterns and/or with Emmaline hardware in our facebook group Emmaline Sewing Patterns Group, or on instagram with the hashtags #emmalinehardware, #emmalinepatterns, #emmalinebags, or tag us @emmalinebags.


0 comments
Note: Only a member of this blog may post a comment.