
Handbag Hardware
HANDMADE COUTURE: Make this look - A trendy shaped tote with gorgeous hardware features.
3/30/2018 09:01:00 AM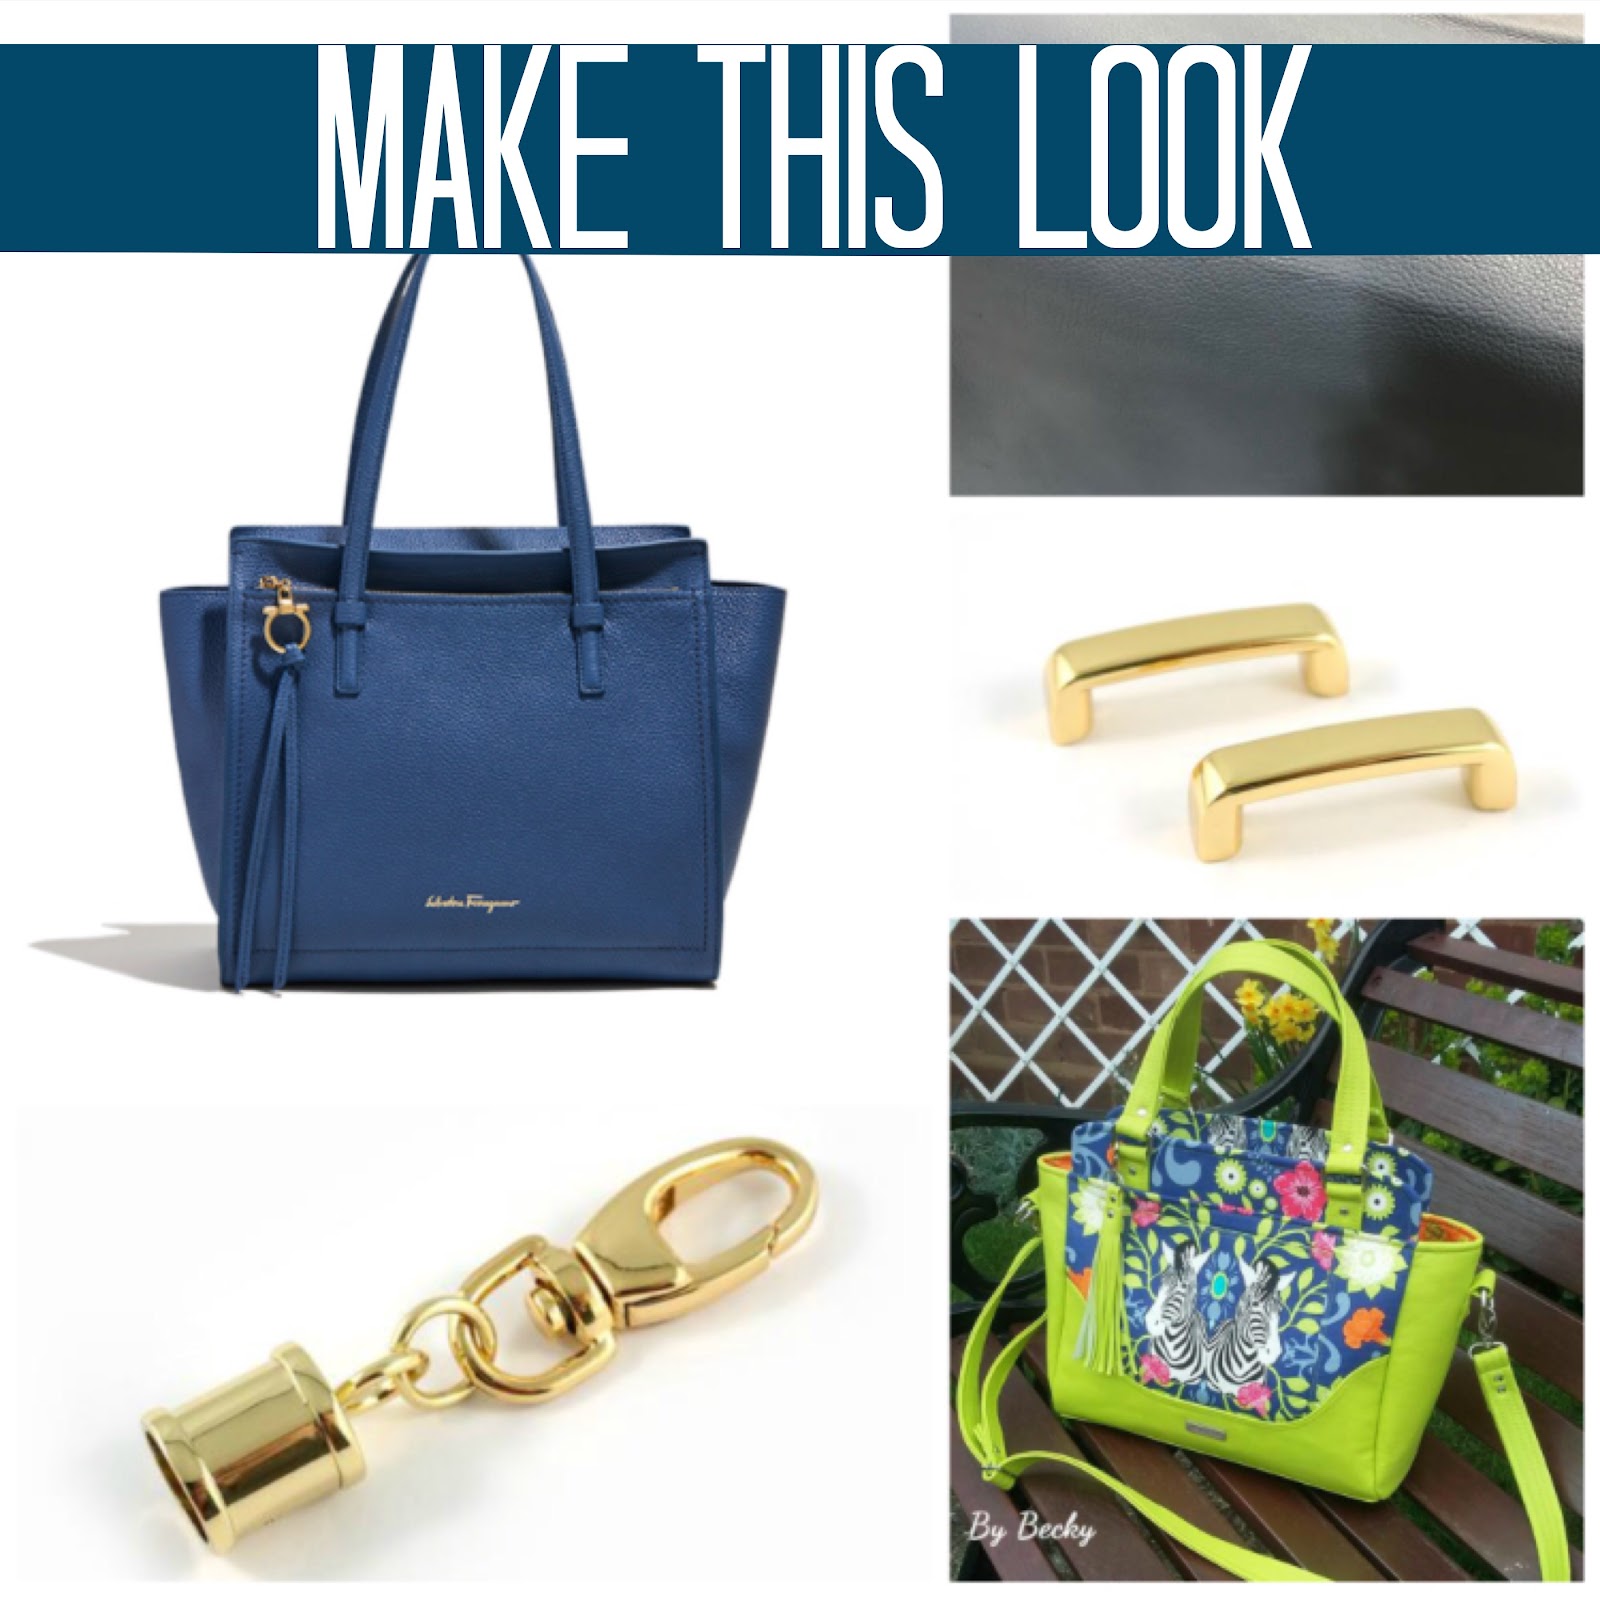

Have you been following the latest handbag trends, drooling over the new looks only to be quickly turned off by the crazy high price tags that come with designer bags? Or maybe scoping out bags that you see out on the town, wondering how to get that same look? If this is you, the Handmade Couture Series is for you. We show you how to recreate high end designer bags at a fraction of the cost using existing sewing patterns, Emmaline Hardware and quality materials. Have the same look, but you can make it totally you. Today, we show you how to recreate this Salvatore Ferragamo Medium Tote Bag:
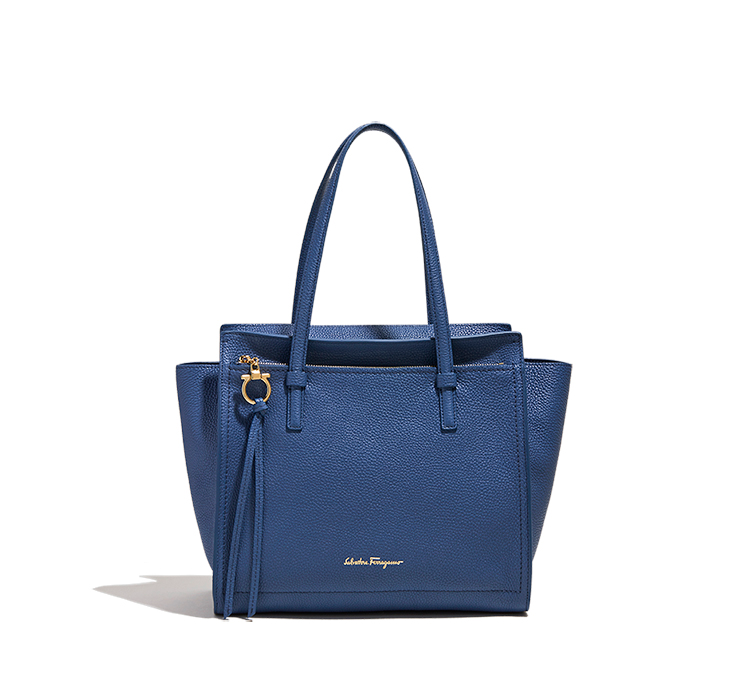


This medium tote is the perfect everyday handbag, with classic clean lines and it’s minimalist look. It features a zipper top closure, a front exterior zippered pocket, purse feet and is made with a luxurious blue calfskin leather. It measures 10.6” H x 11.4” L x 5.5” W. Love the look of this bag? It can be yours for 1250 USD.
Like the look of the Salvatore Ferragamo? Let’s be our own brand.
Pattern + Hardware + Fabric= Handmade Couture
Pattern:
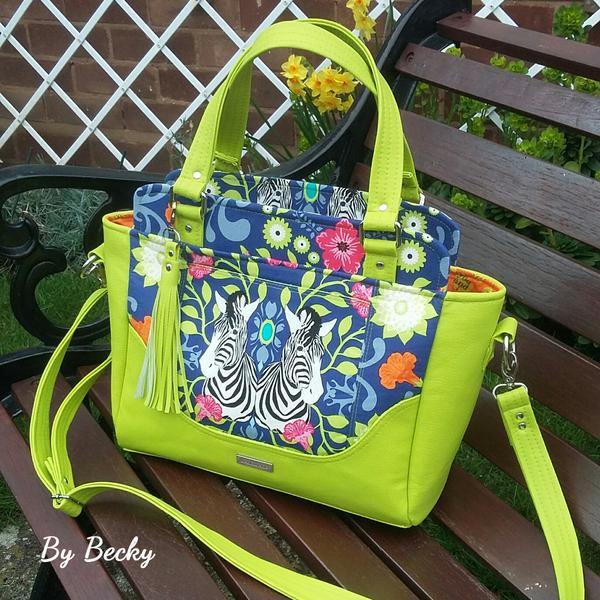
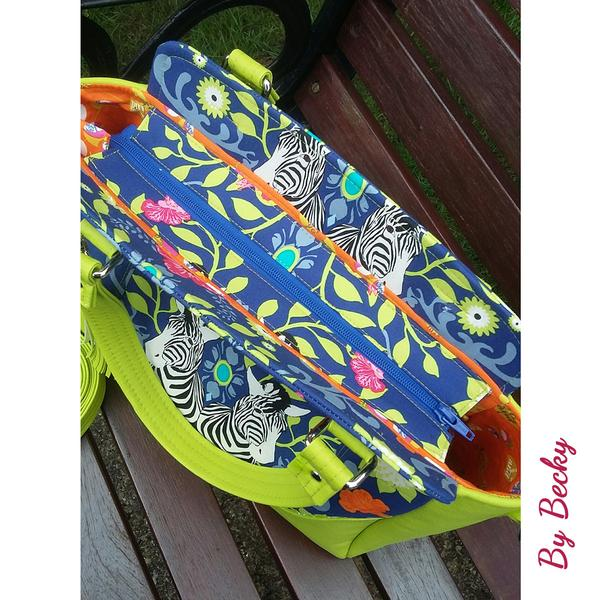

The Epiphany by Chris W Designs is the perfect match for our inspiration bag. It has all the features of our designer bag and then some! It measures 11” H x 14” L x 5.25” D. It boasts a zippered top closure, purse feet, and a front zip pocket just like our designer bag.
Hardware:


Add this to the front of your bag to get the same look at the Ferragamo zip pull.

Although our inspiration bag uses leather strap keepers, these are a great option to add some bling and are so easy to install.
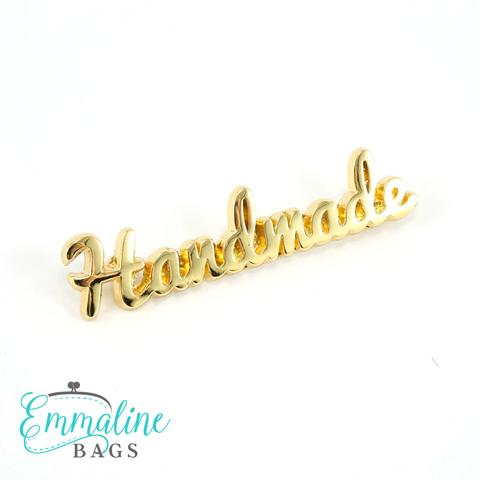
Forget the embossed Salvatore Ferragamo logo, use these to boast your own brand.
Fabric:


Another great option is natural cork fabric, which is available from MM Cork Supply in Canada or from Sew Sweetness in the US. You can get cork in a various colors and finishes, like this blue cork:

You can choose to do this in whatever fabric you are comfortable working with! A fun cotton print, canvas or even denim! That's the benefit of creating your own, it's what YOU want it to be. Handmade can be couture too!
-----------
Photos and content provided and written for Emmaline Bags by Cyndi Farfsing, from The Nosy Pepper. Cyndi's blog is chock is full of more bag photos and make making tips. Check out her bag series "It's in the Bag! Better Bag Making Series," to learn a ton of new bag making skills.
Share your projects made from Emmaline patterns and/or with Emmaline hardware in our facebook group Emmaline Bag Patterns & Hardware Group, or on instagram with the hashtags #emmalinehardware, #emmalinepatterns, #emmalinebags, or tag us @emmalinebags.
Bag Making Tutorials
How to Attach Press Locks - A Hardware Installation Tutorial
7/21/2017 11:20:00 AM
Have you see the fun baby, mama and papa press locks in the Emmaline shop and wanted to know how to install them? You're in luck! Today we are going to show you how.

Here's what you need:
-a seam ripper
-a small screw driver
-scraps of peltex
-scraps of fusible fleece
-a marking pen
-a strong glue such as E6000

You will want to start by installing the bottom portion of your lock first, as this will be installed before you finish your bag. The top portion will be installed AFTER you've completed construction.
Let's get started:


Grab one of your peltex scraps and using the washer, again mark placement lines for the lock.


Now take your seam ripper and CAREFULLY make a small slit at the marks you made on your fabric AND your peltex. Dab a bit of Fray Check on the slits in your fabric.
From the right side of your fabric push your lock through the slits, then slide the peltex over the prongs, then the included washer. Tip: make sure that the bottom of the lock is installed facing the right way. The top is the portion that has only a bit showing above the bar.

Now push the prongs down over the washer and cover with your scrap of fusible fleece.

Fuse according to manufacturer's instructions. This will keep any edges of your lock from rubbing on your lining fabrics.
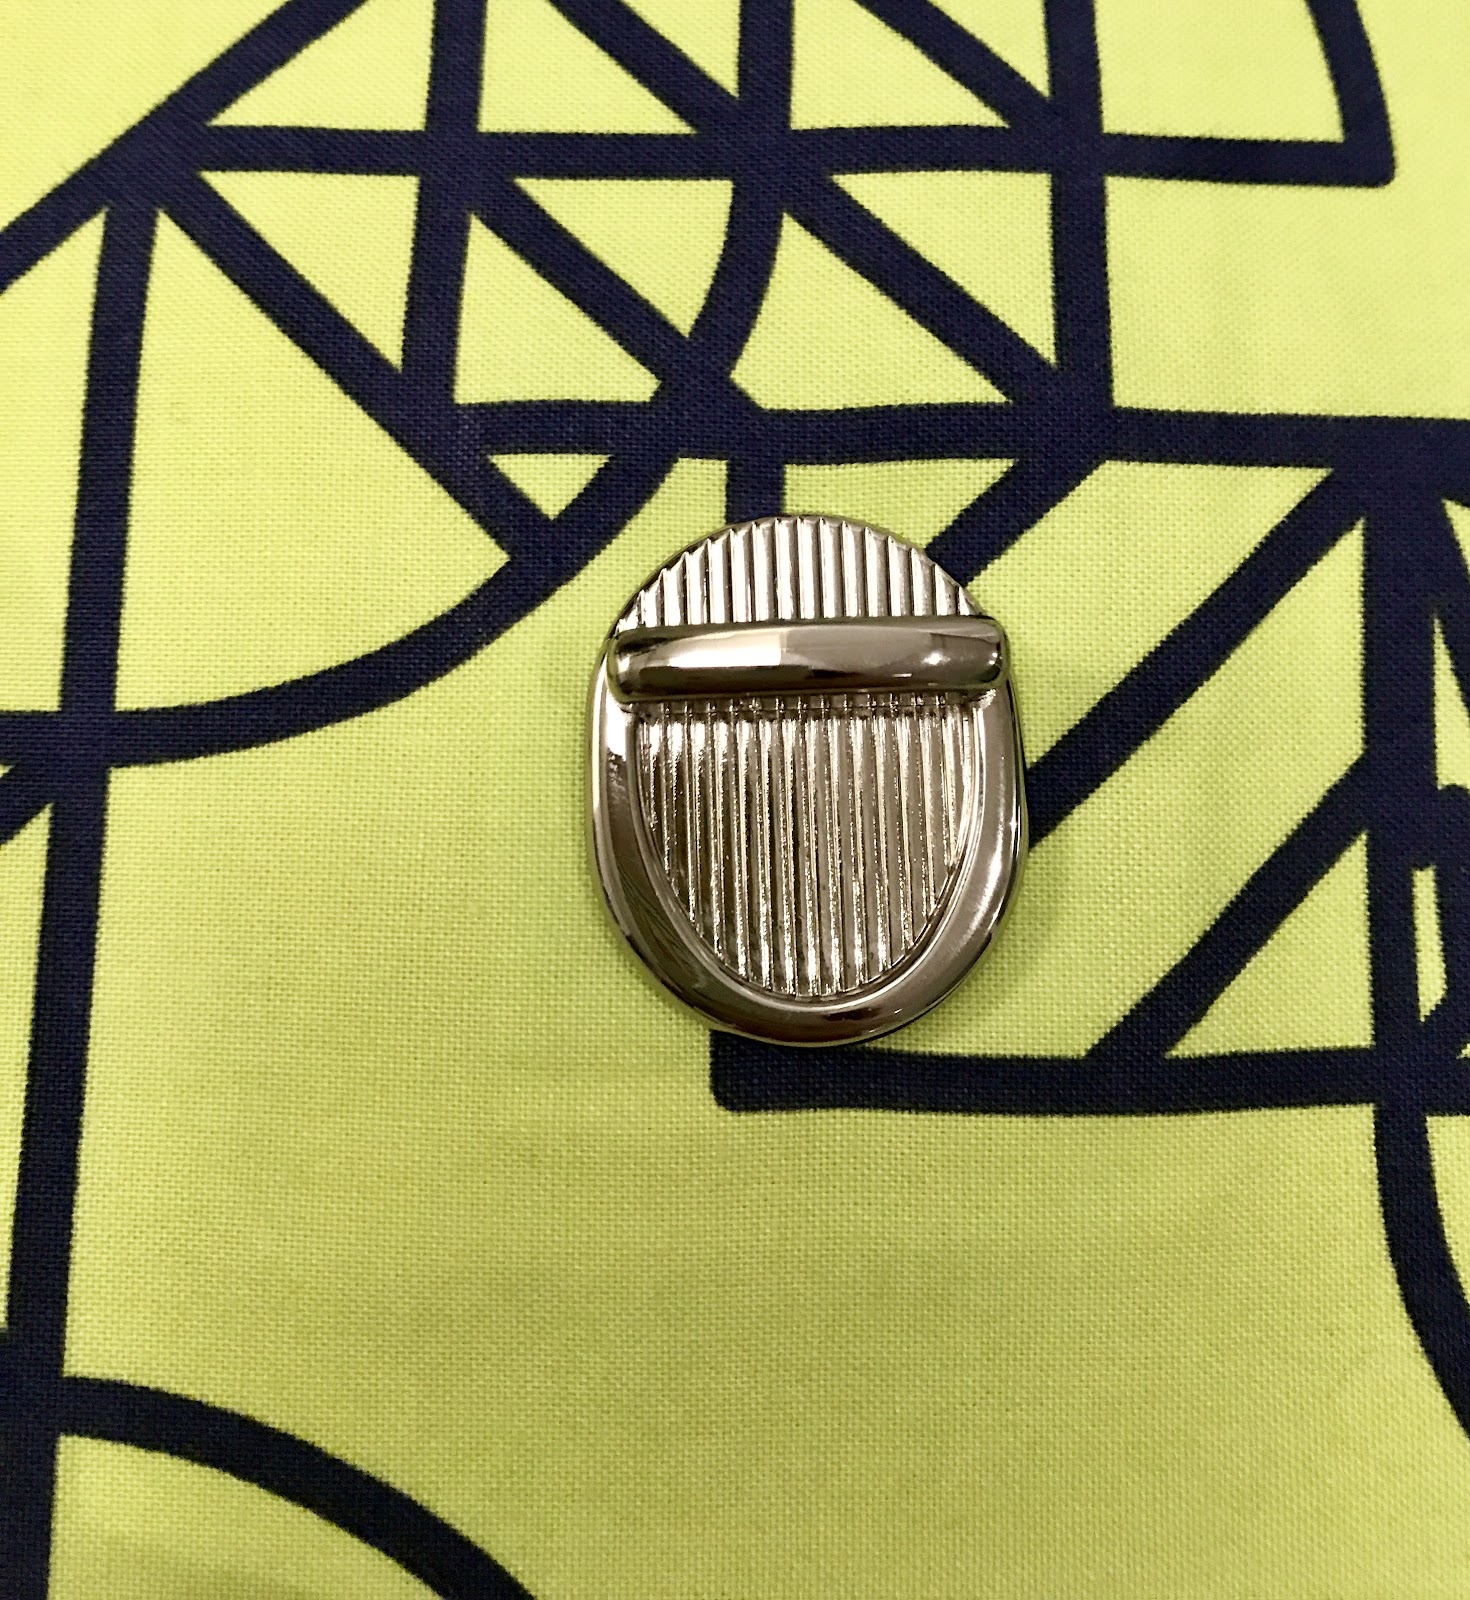
And we are halfway done! Complete your bag as usual, then we will install the top of your lock. Make sure that your flap is strongly interfaced. It is recommended to slide another scrap of peltex where the top will be installed if it is able to fit in the channel (check your fit, it may be too tight if you are using leather or heavy vinyl). This gives the screws something to bite into and reduces the stress on your fabric.
Ready?
Take your completed flap and ensure that you have a good placement by sliding it before we install.
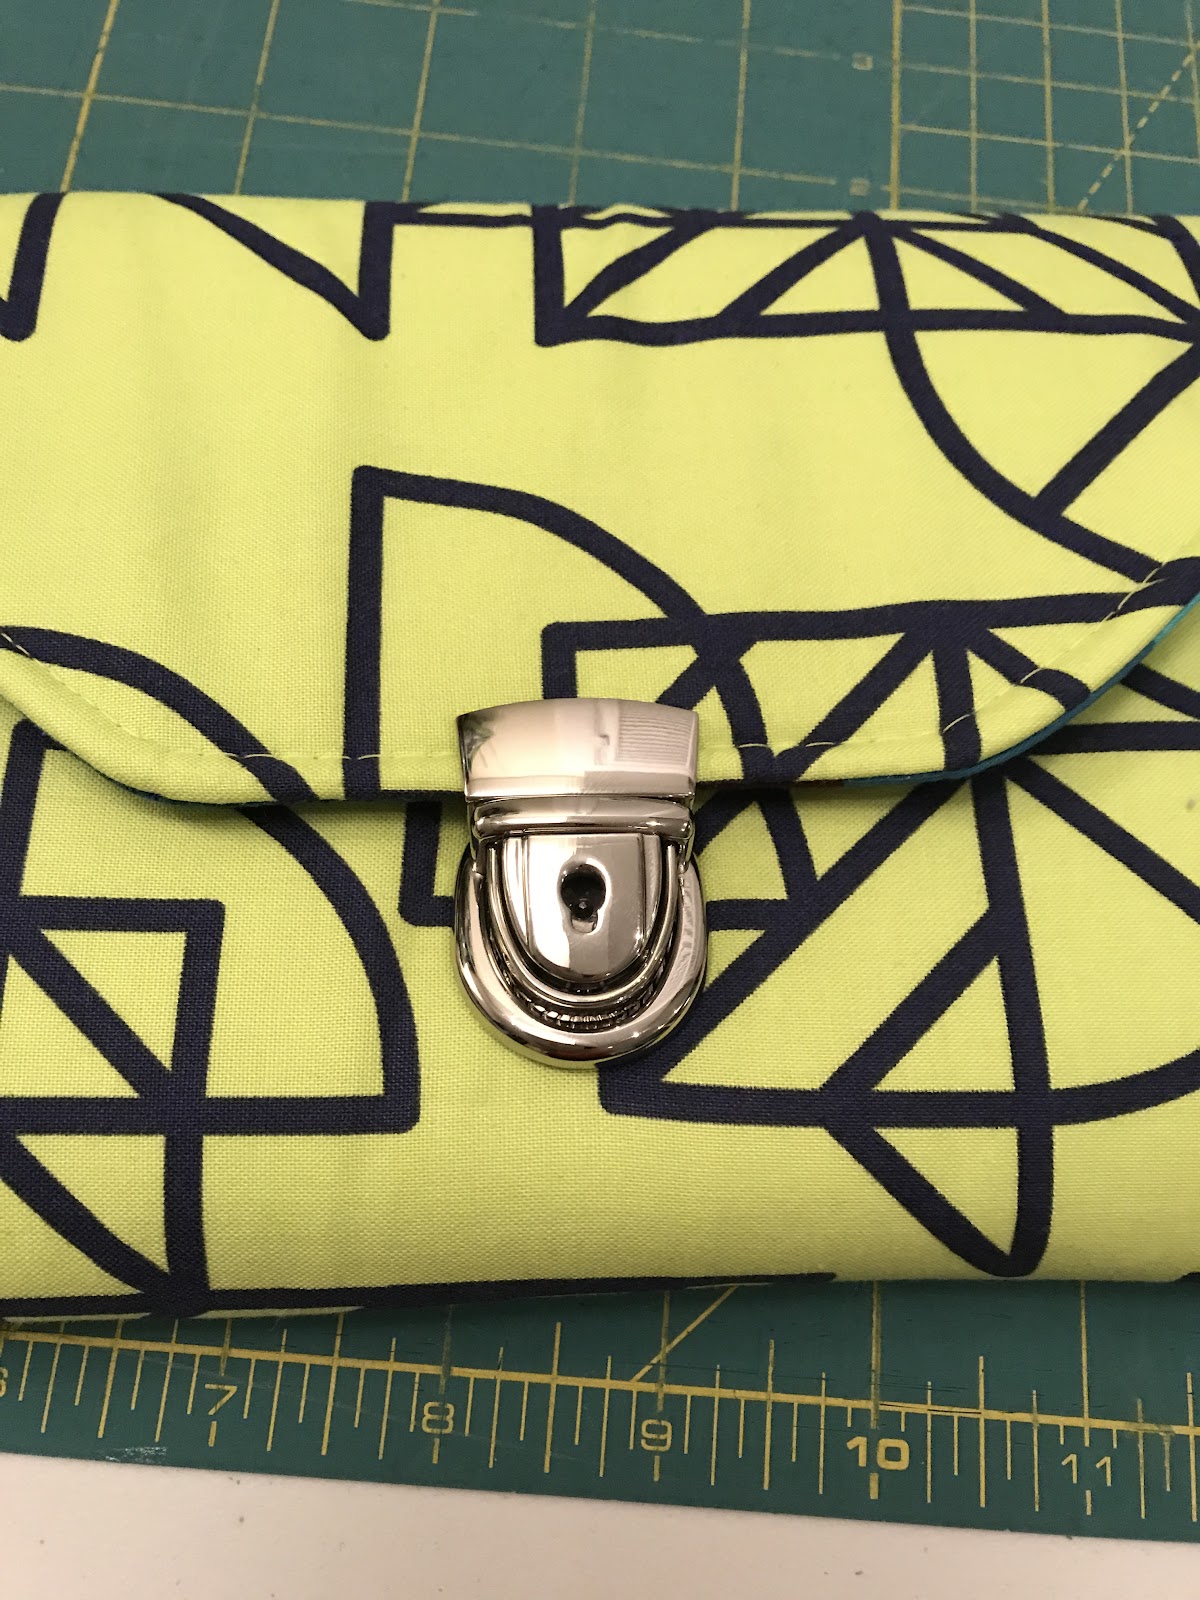
If you are satisfied, then mark your placement by marking a small dot on either side of your lock on the flap.
Slide the top portion off and using your glue, dab a few drops inside the channel.
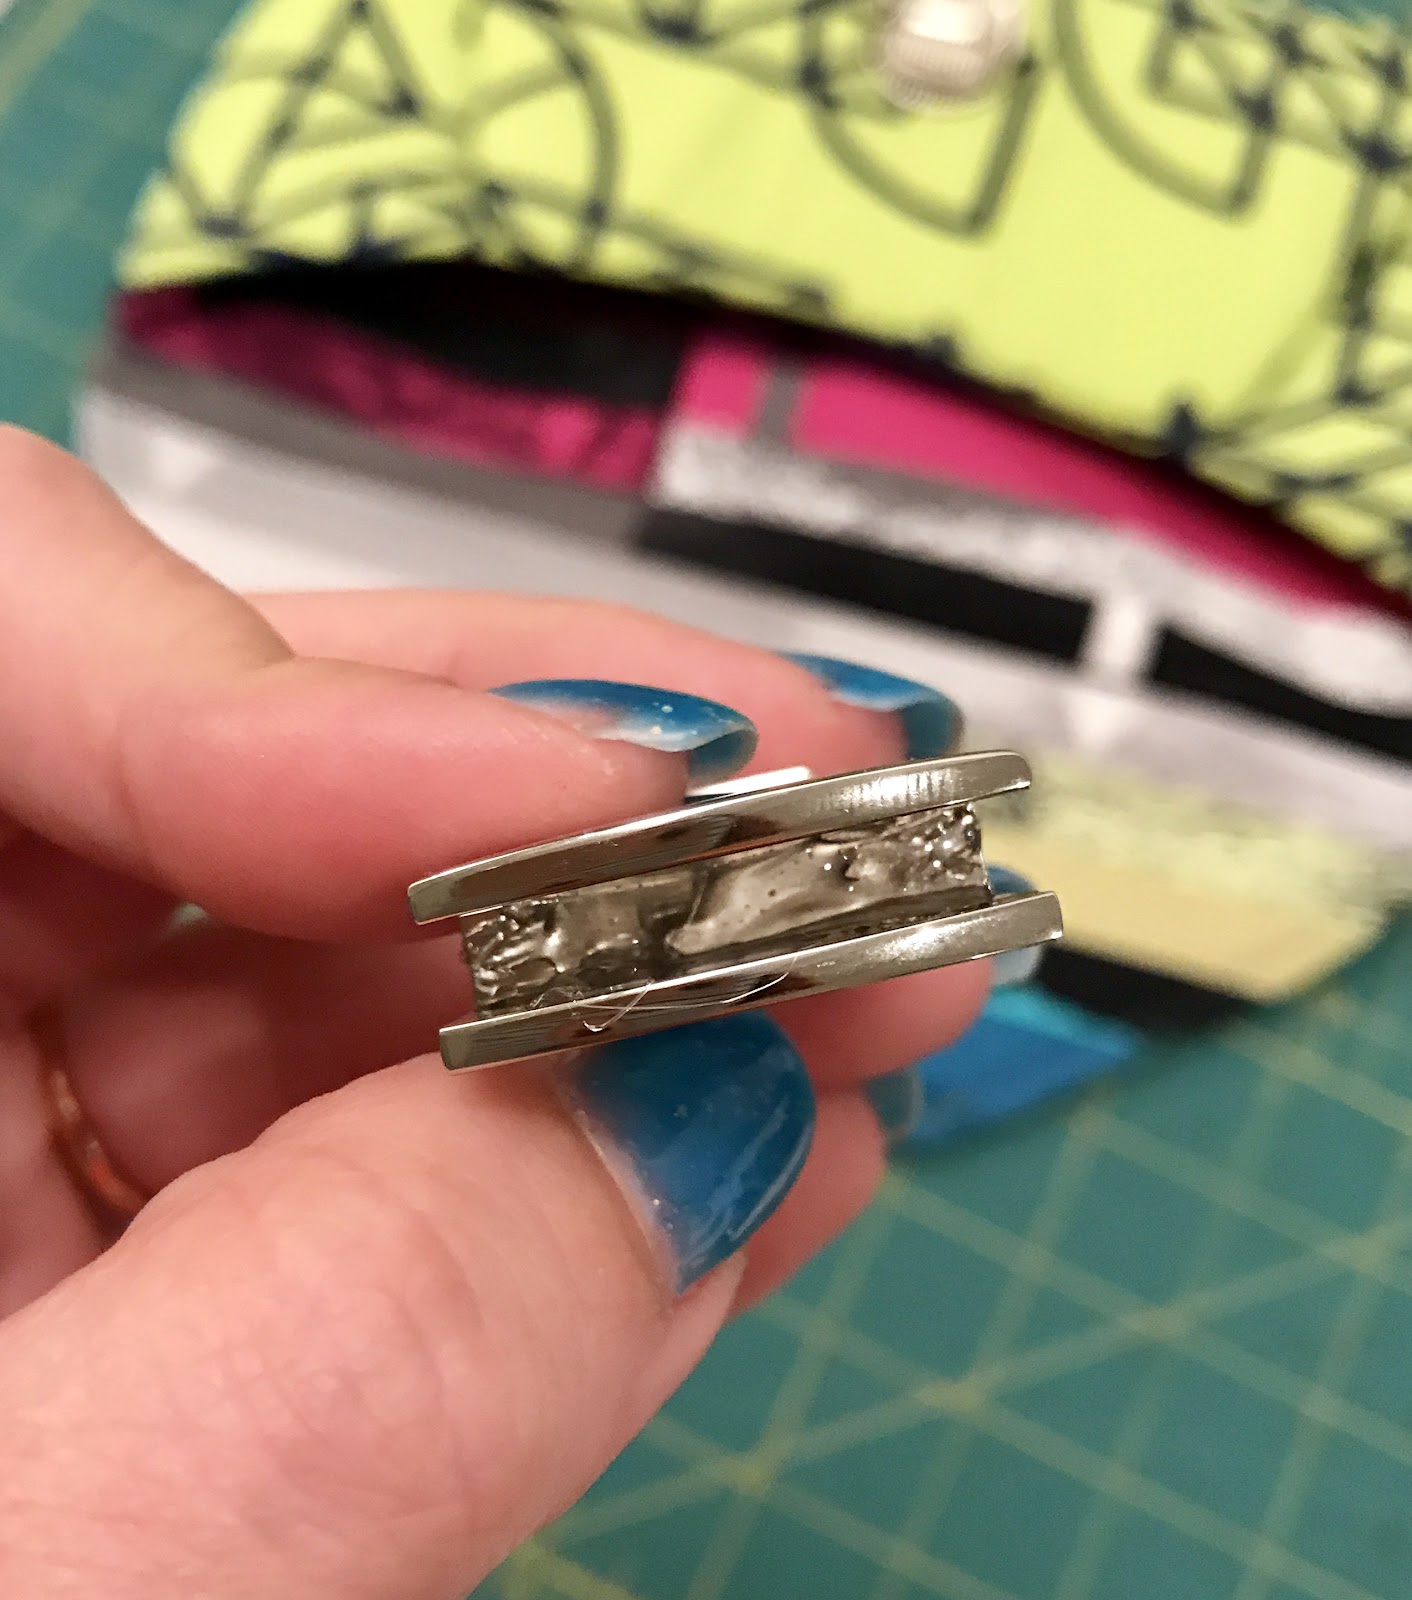
Tip: Don't use too much, or it will ooze out the sides, a few drops is plenty. If you find it's hard to apply the glue neatly, squeeze some on a piece of cardboard and use a pin to apply a few drops.
Slide your lock back on with the back side facing the lining side of your fabric in between the marks you made. I like to dab the area with a bit of Fray Check before I screw them in.

Grab your tiny screws and screwdriver and screw those little guys in. Start off gently to ensure they are threaded properly then use some gentle force to get them to bite into the flap as you screw them in place. They will strip out easily if they aren't threaded in properly so be careful you have them lined up correctly. Tip: If you are using thick materials such as leather or vinyl a small awl may be helpful to punch a small hole to start your screws.
That's it! Admire your fancy new lock!


-----------
Photos and content provided and written for Emmaline Bags by Cyndi Farfsing, from The Nosy Pepper. Cyndi's blog is chock is full of more bag photos and make making tips. Check out her bag series "It's in the Bag! Better Bag Making Series," to learn a ton of new bag making skills.
Share your projects made from Emmaline patterns and/or with Emmaline hardware in our facebook group Emmaline Sewing Patterns Group, or on instagram with the hashtags #emmalinehardware, #emmalinepatterns, #emmalinebags, or tag us @emmalinebags.
Bag Making Tutorials
How to Attach our Top Edge Strap Anchors - A Hardware Installation Tutorial
7/15/2017 12:14:00 PM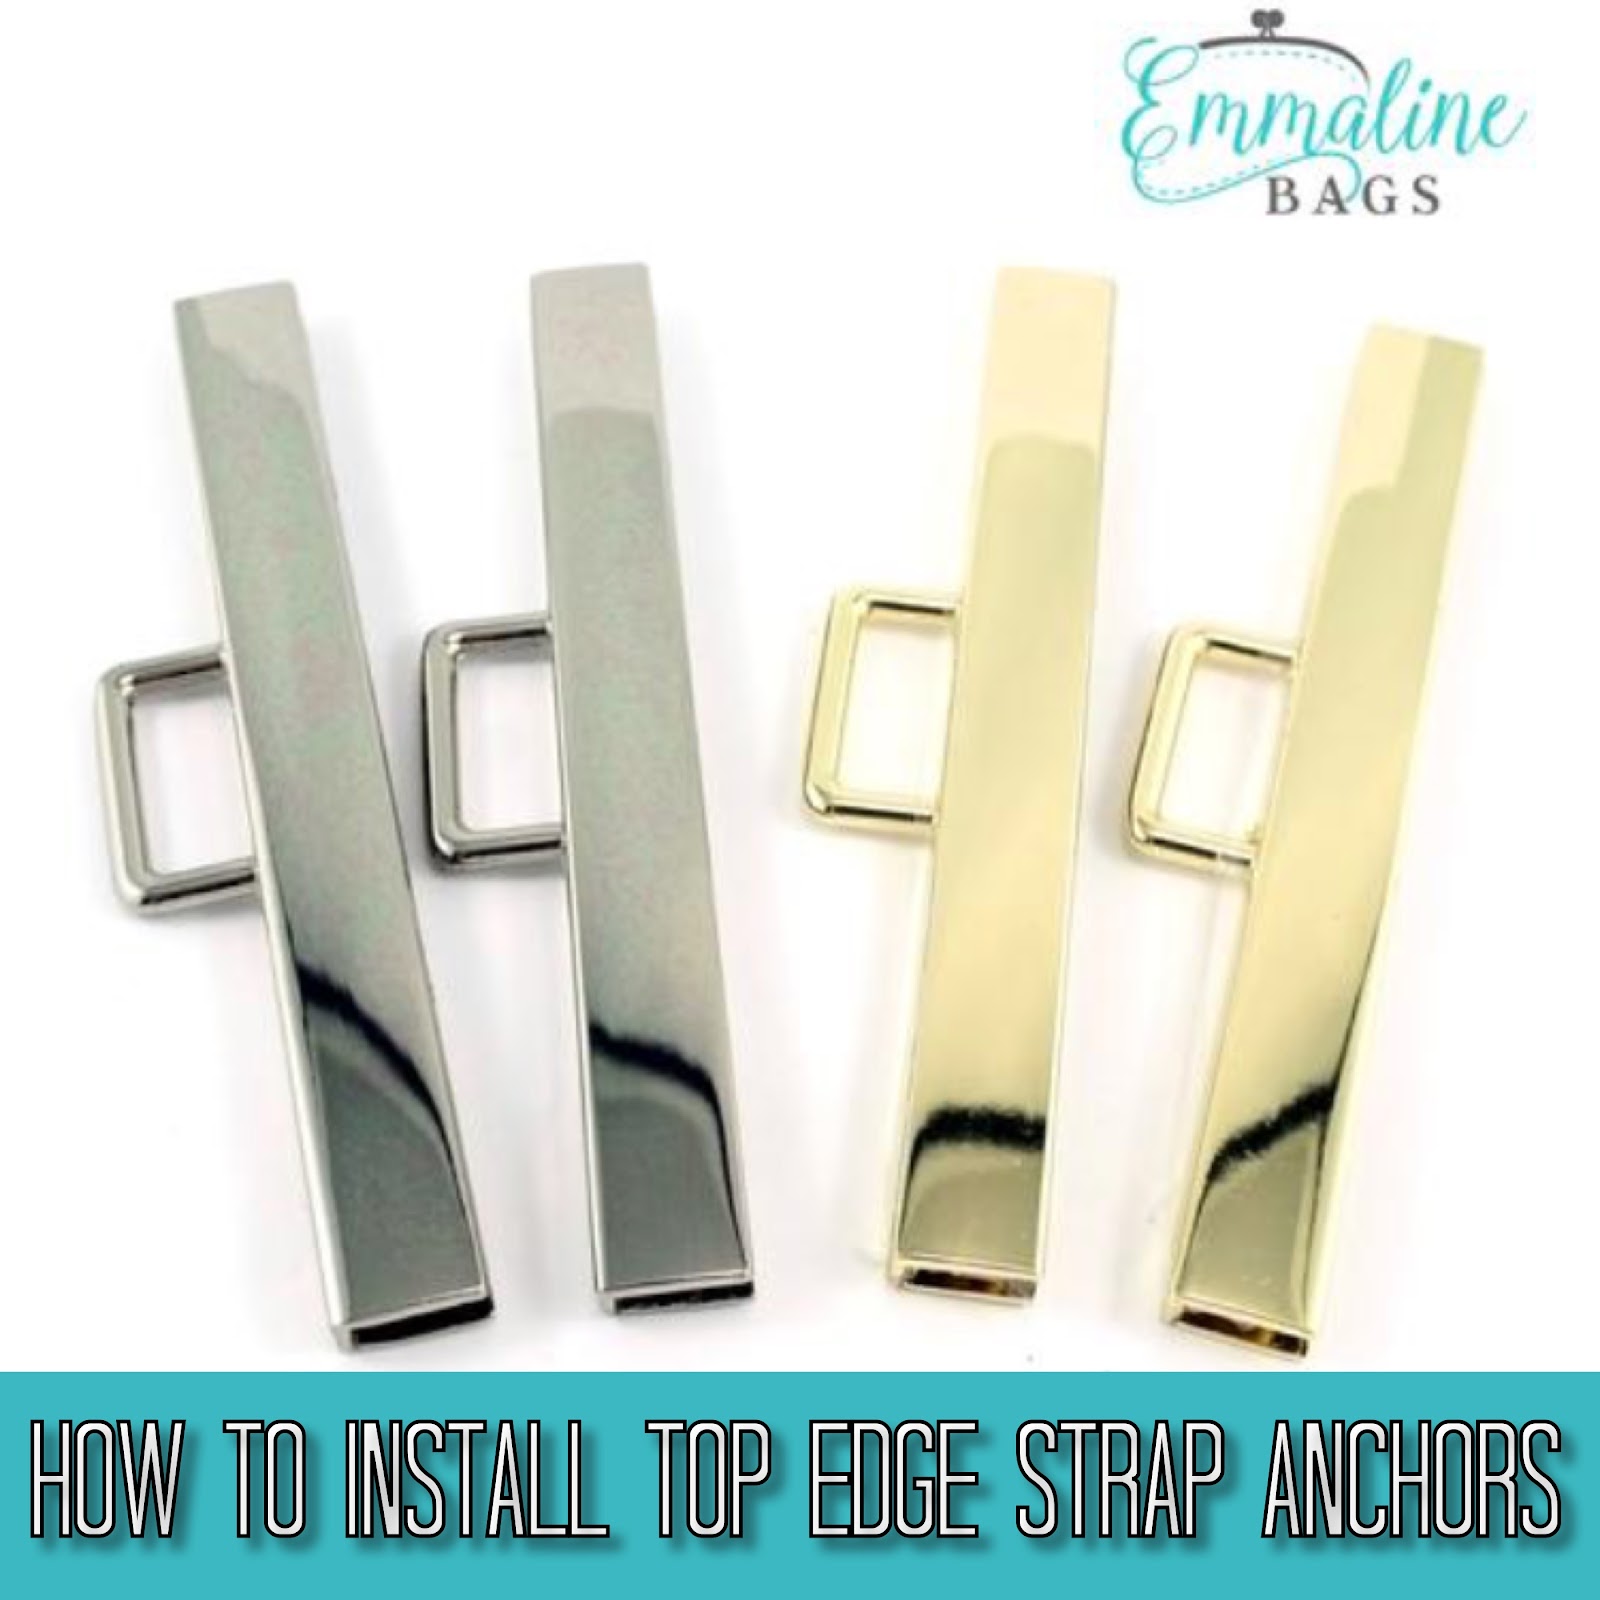
Today we are going to walk you through how to install Emmaline Bags Top Edge Strap Anchors. These gems give a high end designer look to your next bag and are easy to install. Read on to find out how.

Supplies:
- your completed bag
- #4 or #5 punch
- hammer
- small Phillips screwdriver
- a couple of clips (optional but helpful when marking placements for punching)
- strong craft glue or loctite to secure your screws

First we need to unscrew the backplate from the anchors. You may need to pry them a bit as sometimes they become adhered during the plating process. The front of your anchor comes with a sheet of protective plastic to keep it from getting scratched during installation. Leave this film on until your bag is finished or cover with a piece of masking tape.
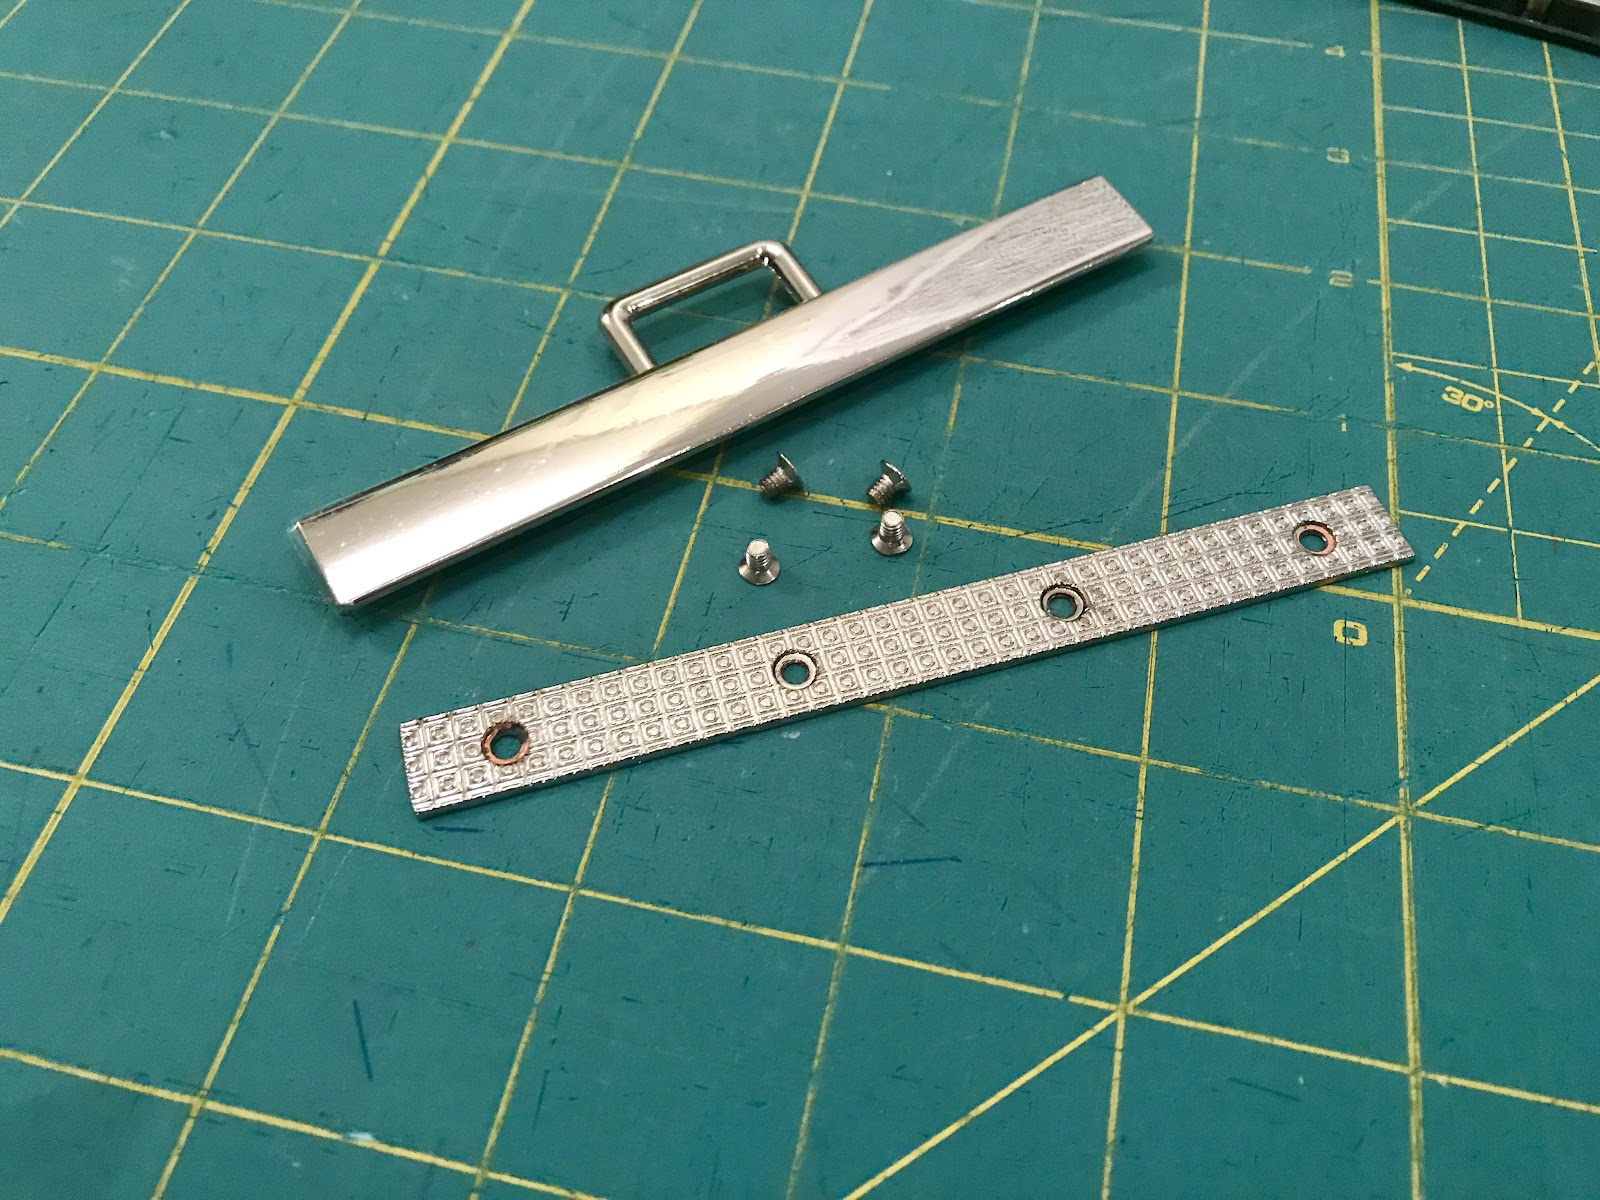
Using the back plate of the anchor as a guide make a mark in each of the four holes onto your bag. The top of your anchor should be level with the top edge of your bag. Tip: clip your plate in place while you mark to keep it from shifting.
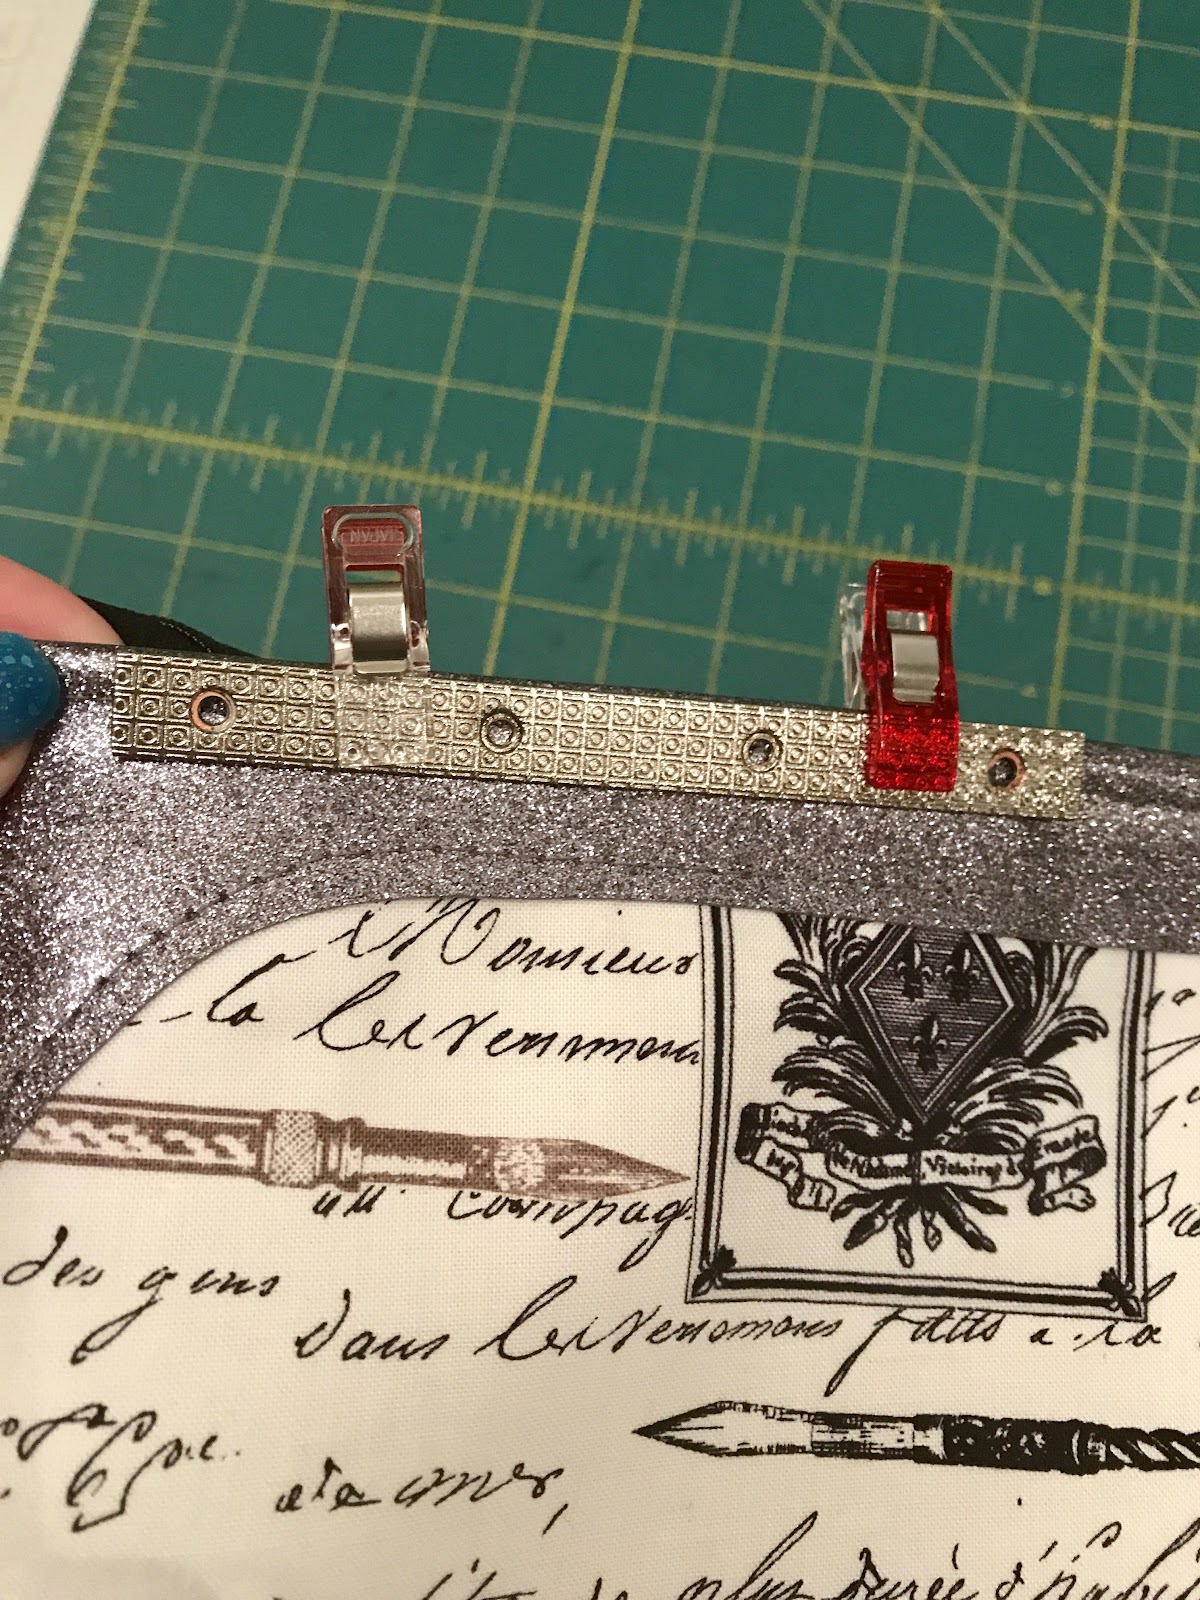
It's very important that you have your marks lined up precisely, so double check that your plate is even with the top edge of your bag and your markings are accurate.

Once your holes are marked, grab your punch and hammer and center your punch over the marks you made. Give your hammer a few whacks to punch your hold and repeat for each of the remaining three holes.

I didn't actually punch my holes on my cutting mat (not that I've ever made that mistake before or anything...just don't, you'll be unhappy). You will get the best results if you punch your holes on a HARD surface; think concrete floor (with a cutting board underneath) or on a small piece of scrap lumber on your floor in a pinch.
Once you have punched your holes your bag will look like this:


Test for fit and make holes bigger in small increments, if necessary. Take your Fray Check and apply it to both sides of your holes.
Now grab the front of your anchors dab a tiny bit of glue around each screw hole in your anchor. Then, from the front of your bag align them with the holes in your bag.

Slide your back plate over the lining side of your bag (textured side up) aligning them with the holes. Dab a touch of strong glue or locktite into the threads of the screw holes in the anchor to ensure your screws remain secured once installed. You just need a tiny bit or it will ooze out.
Grab your screws and screwdriver and screw them in place making sure that they are threading into the anchor and not just spinning without catching the threads.

Repeat for each of the remaining three screws and you have successfully installed your strap anchor!

Repeat the previous steps to install the remaining anchors. Once you have them installed, add your handles, remove the protective plastic film and you're all done. It's scary to whack a bunch of holes in your finished bag, but it's totally worth it in the end.

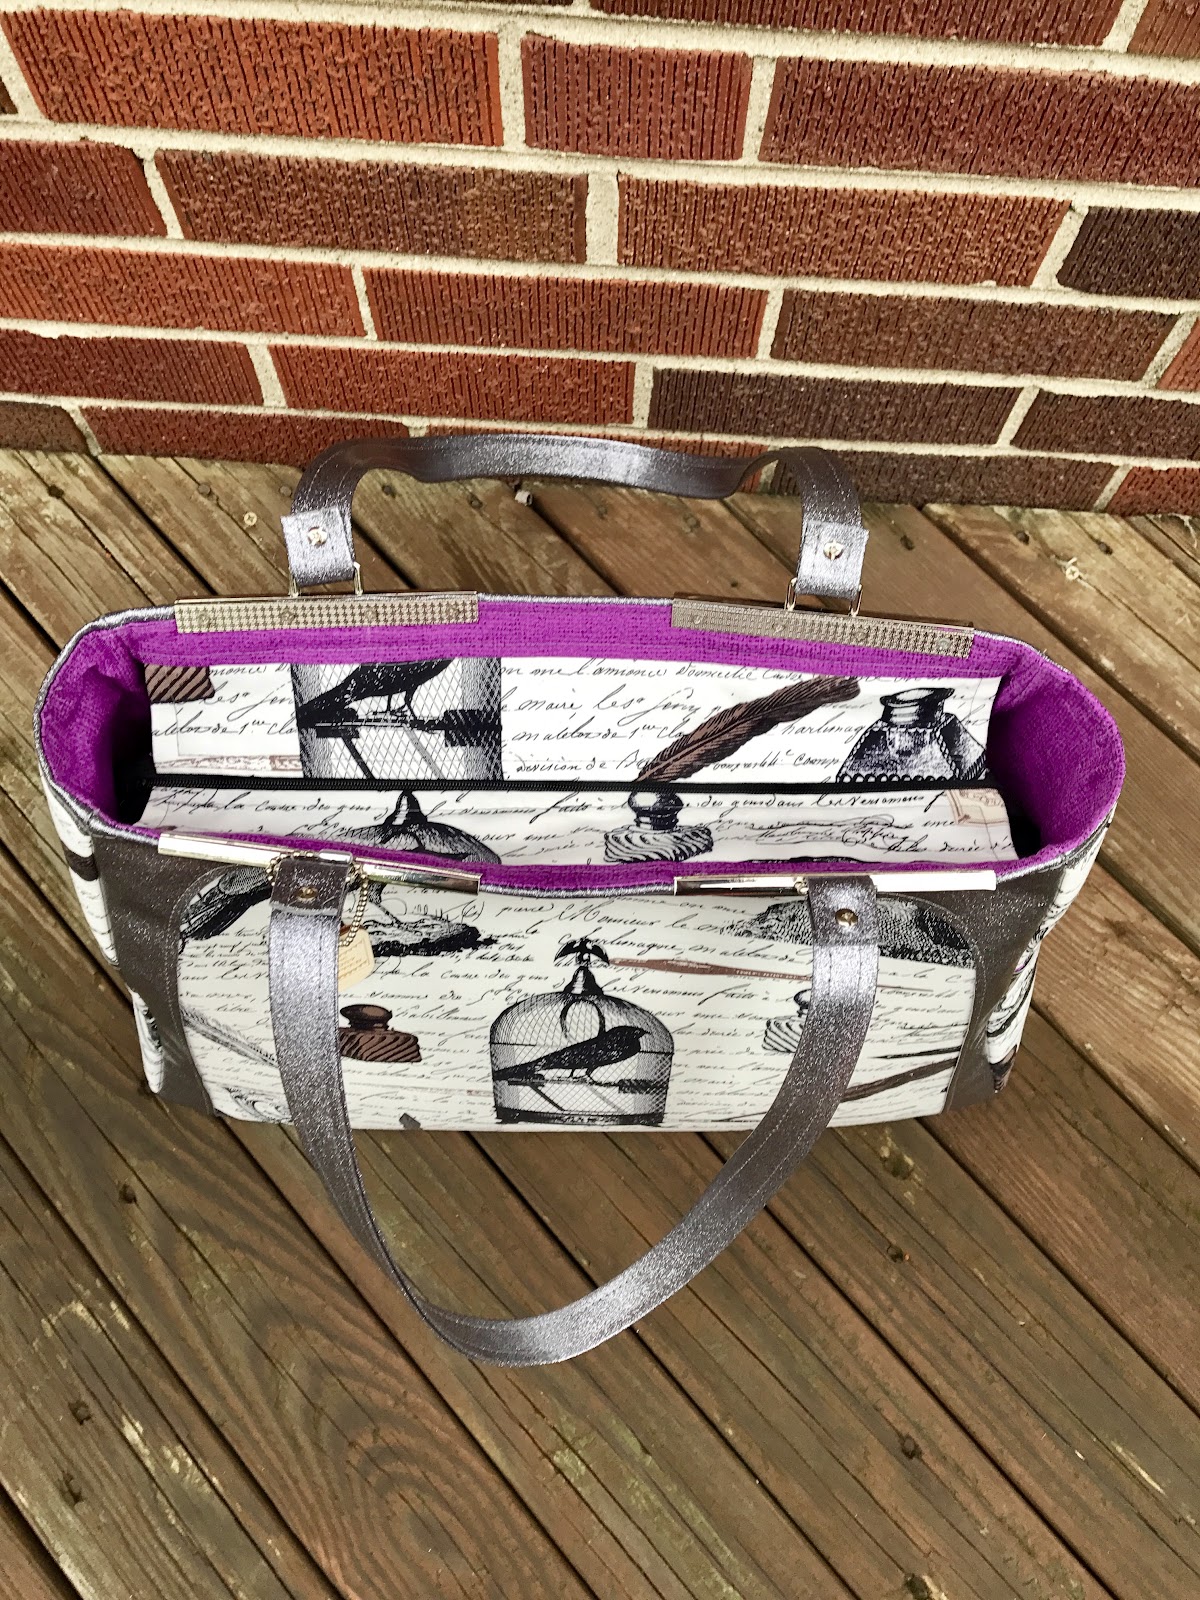
How about a few more pics.
Isn't this a wonderful way to add a tassel?!


Thanks for reading!
-----------
Photos and content provided and written for Emmaline Bags by Cyndi Farfsing, from The Nosy Pepper. Cyndi's blog is chock is full of more bag photos and make making tips. Check out her bag series "It's in the Bag! Better Bag Making Series," to learn a ton of new bag making skills.
Share your projects made from Emmaline patterns and/or with Emmaline hardware in our facebook group Emmaline Sewing Patterns Group, or on instagram with the hashtags #emmalinehardware, #emmalinepatterns, #emmalinebags, or tag us @emmalinebags.
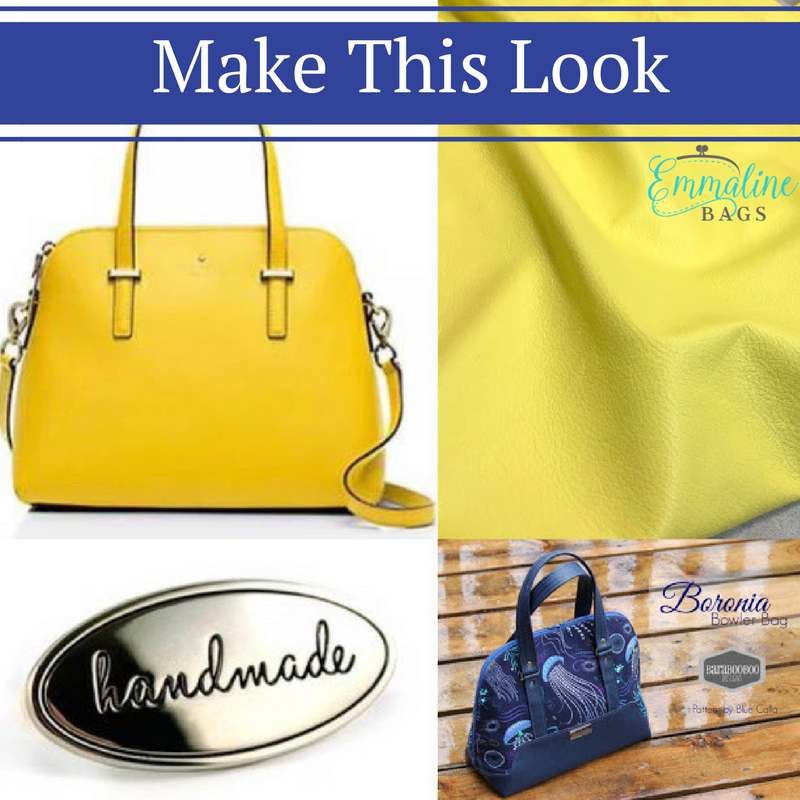

Welcome back to our "Make this Look" series! We've got a gorgeous satchel for you to make today using an amazing sewing pattern by Blue Calla Patterns.
Today, we are going to show you how to recreate this Kate Spade New York CEDAR STREET CROSSHATCH MAISE ZIP SATCHEL. You can have the same look, but make it totally "you" and for a fraction of the cost. When you sew your own bag you know exactly what is going into the bag and can add or modify features to suit your preferences.
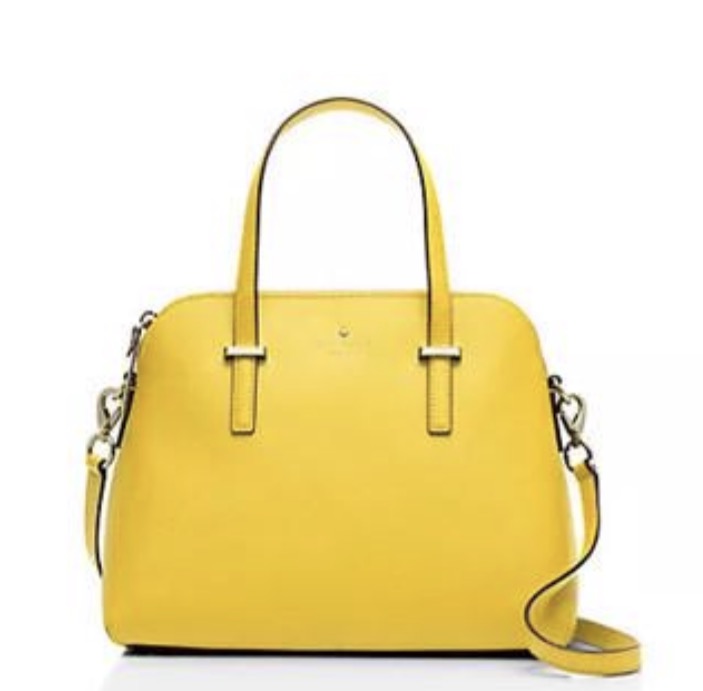


Maise is a chic bowler style bag that can be worn as a cross body bag or carried as a shoulder bag. She's so posh in her bright yellow leather and easily transitions from daytime to a night out on the town.
This gorgeous bag measures 9''h x 10.5''w x 5''d and has a zippered closure and two interior slip pockets. This lovely can be yours for 348 USD.
Like the look of The Maise? Let's be our own brand.
Pattern + Hardware + Fabric= Handmade Couture
Pattern:

At 13" W x 10" H x 5" D we are almost spot on with the size. Boronia is a bowler style handbag, that much like our inspiration bag is designed to be both a handbag and a shoulder bag. Boronia had a long zippered closure that extends down almost to the bottom of the bag but looks so similar to Maisie while giving us a bit more access into our lining.
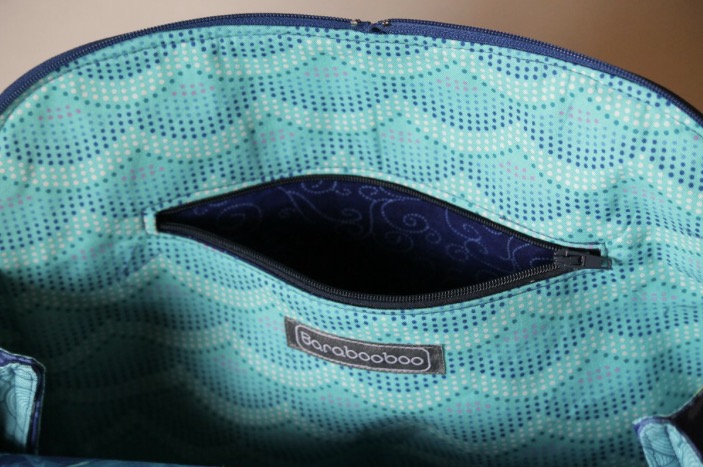

Boronia’s lining has a zippered pocket, which can easily be substituted for a slip pocket. To get the sleek look of the maisie we will omit the bottom overlay on the main panels as well as swap out our long handle connectors and attach our handles with hardware instead.
Hardware:
(4) Strap Keepers

Let's skip the handle connectors and stitch the ends of our handles directly onto the bag a few inches. Then, use Emmaline Bags Strap Keepers to get the same sleek look of the Maise.

In place of the Kate Spade logo, announce your handmade designer bag in style!
(4) Metal Purse Feet
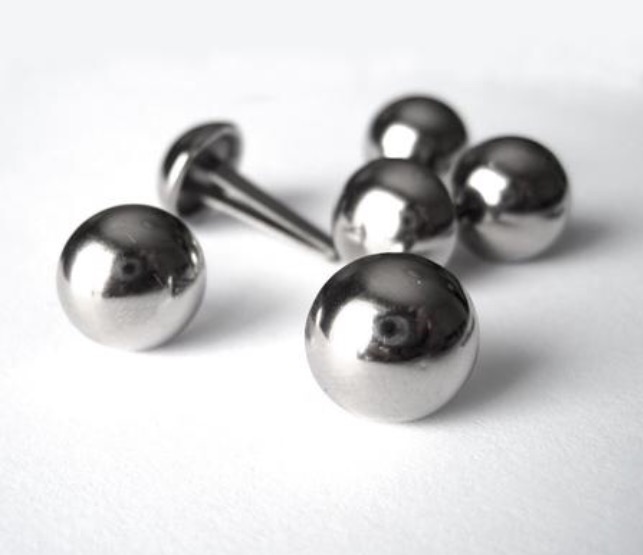
What designer bag is complete without purse feet?!
Fabric:


Have you tried sewing with cork? It's a great alternative to leathers and vinyls. You can purchase from Sew Sweetness in the US and MM Cork Supply in Canada. Check out this beautiful yellow:

You can choose to do this in whatever fabric you are comfortable working with! A fun cotton print, canvas or even denim! That's the benefit of creating your own, it's what YOU want it to be. Handmade can be couture too!
-----------
Photos and content provided and written for Emmaline Bags by Cyndi Farfsing, from The Nosy Pepper. Cyndi's blog is chock is full of more bag photos and make making tips. Check out her bag series "It's in the Bag! Better Bag Making Series," to learn a ton of new bag making skills.
Share your projects made from Emmaline patterns and/or with Emmaline hardware in our facebook group Emmaline Sewing Patterns Group, or on instagram with the hashtags #emmalinehardware, #emmalinepatterns, #emmalinebags, or tag us @emmalinebags.


