
How to Attach our Pointed & Rectangular Strap Ends - A Hardware Installation Tutorial
5/16/2017 08:35:00 AM
Emmaline carries two styles of metal strap ends: Pointed and Rectangular. Installation is the same fior both styles, the only difference is that the pointed caps have three screws to install, and the rectangular only has two.
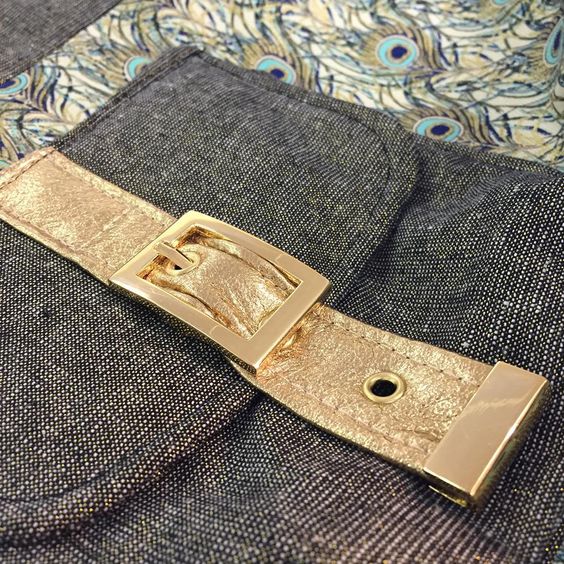
The Pointed Straps are available in nickel and gold finish.

The rectangular is available in all 5 finishes:
gold, nickel, gunmetal, copper and antique brass

They are a great way to cover the raw ends of vinyl or leather straps or just to add a bit of class to your next bag and will work with 1" wide straps.

- Emmaline Strap Ends and included screws
- A strong glue like E6000
- A small screwdriver
- Your finished bag
When you are ready to install, grab your glue and the strap ends. Put a small amount of glue into the channel of the strap end. The channel is 1/8" wide to ensure a snug fit on your strap, which makes it a little bit of a challenge to get the glue in neatly. I like to squeeze a small amount onto a scrap of cardboard and use a pin to add a few drops into the channel.

A few drops is all you need. Don't add too much, or it will ooze everywhere!

Slide it on to the end of your strap, with the back side (the textured side with the screw holes) facing the back or underside of your strap.

Once on the end of your strap, we are going to secure them with the included screws. These are tiny buggers so use care, it's important that they are set right in the hole so that they thread correctly. Start off by twisting them in gently, and then once you are sure they are threaded correctly, you can use a little bit more force to get them to pierce the fabric at the end of your strap. Continue screwing them until they are flush with the strap end.

We are all done! Easy peasy!

 |
| Photo by Melisa Jane Handmade |
-----------
Photos and content provided and written for Emmaline Bags by Cyndi Farfsing, from The Nosy Pepper. Cyndi's blog is chock is full of more bag photos and make making tips. Check out her bag series "It's in the Bag! Better Bag Making Series," to learn a ton of new bag making skills.
Share your projects made from Emmaline patterns and/or with Emmaline hardware in our facebook group Emmaline Sewing Patterns Group, or on instagram with the hashtags #emmalinehardware, #emmalinepatterns, #emmalinebags, or tag us @emmalinebags.


0 comments
Note: Only a member of this blog may post a comment.