
How to Attach Press Locks - A Hardware Installation Tutorial
7/21/2017 11:20:00 AM

Have you see the fun baby, mama and papa press locks in the Emmaline shop and wanted to know how to install them? You're in luck! Today we are going to show you how.

Here's what you need:
-a seam ripper
-a small screw driver
-scraps of peltex
-scraps of fusible fleece
-a marking pen
-a strong glue such as E6000

You will want to start by installing the bottom portion of your lock first, as this will be installed before you finish your bag. The top portion will be installed AFTER you've completed construction.
Let's get started:


Grab one of your peltex scraps and using the washer, again mark placement lines for the lock.


Now take your seam ripper and CAREFULLY make a small slit at the marks you made on your fabric AND your peltex. Dab a bit of Fray Check on the slits in your fabric.
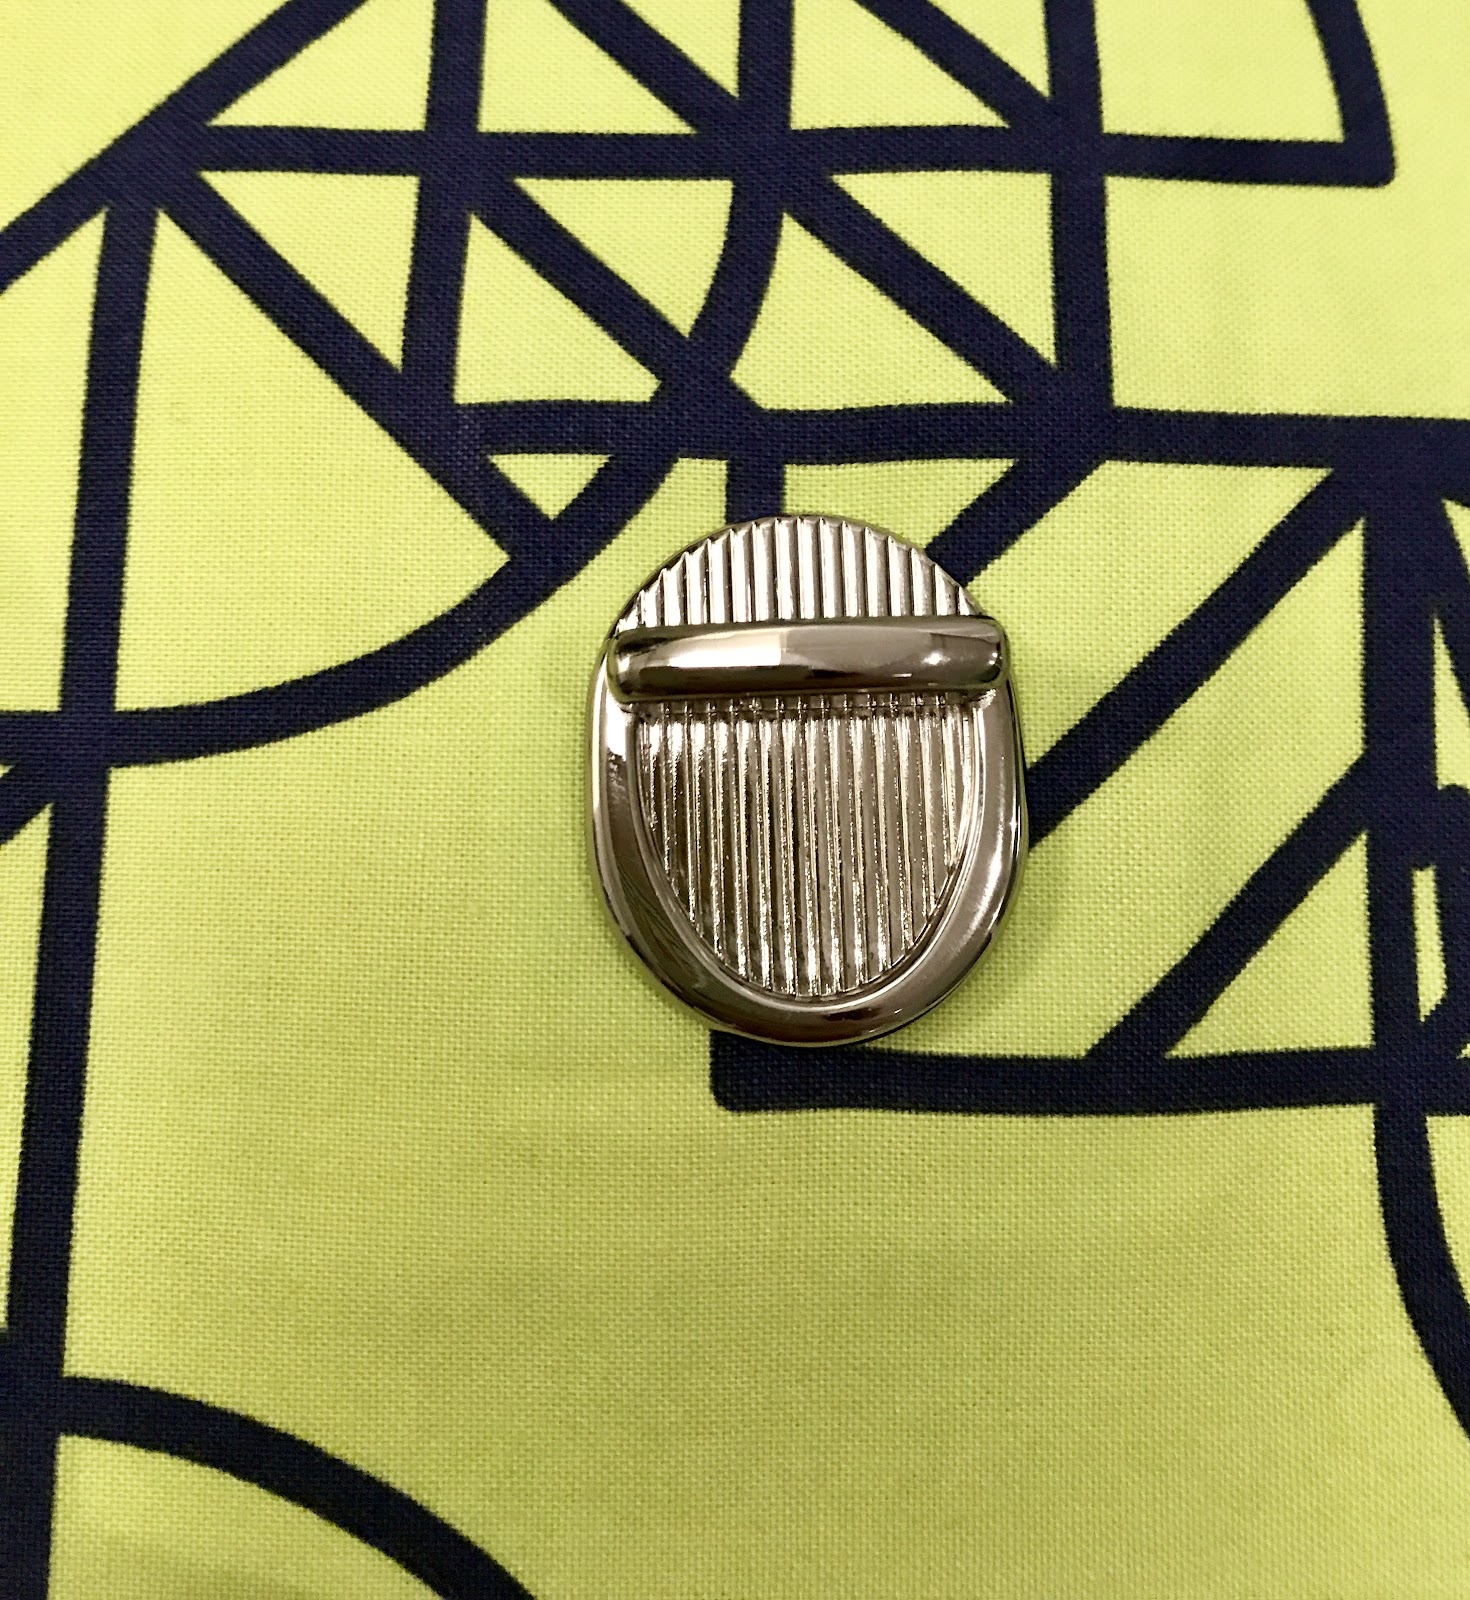
From the right side of your fabric push your lock through the slits, then slide the peltex over the prongs, then the included washer. Tip: make sure that the bottom of the lock is installed facing the right way. The top is the portion that has only a bit showing above the bar.

Now push the prongs down over the washer and cover with your scrap of fusible fleece.

Fuse according to manufacturer's instructions. This will keep any edges of your lock from rubbing on your lining fabrics.
And we are halfway done! Complete your bag as usual, then we will install the top of your lock. Make sure that your flap is strongly interfaced. It is recommended to slide another scrap of peltex where the top will be installed if it is able to fit in the channel (check your fit, it may be too tight if you are using leather or heavy vinyl). This gives the screws something to bite into and reduces the stress on your fabric.
Ready?
Take your completed flap and ensure that you have a good placement by sliding it before we install.

If you are satisfied, then mark your placement by marking a small dot on either side of your lock on the flap.
Slide the top portion off and using your glue, dab a few drops inside the channel.

Tip: Don't use too much, or it will ooze out the sides, a few drops is plenty. If you find it's hard to apply the glue neatly, squeeze some on a piece of cardboard and use a pin to apply a few drops.
Slide your lock back on with the back side facing the lining side of your fabric in between the marks you made. I like to dab the area with a bit of Fray Check before I screw them in.

Grab your tiny screws and screwdriver and screw those little guys in. Start off gently to ensure they are threaded properly then use some gentle force to get them to bite into the flap as you screw them in place. They will strip out easily if they aren't threaded in properly so be careful you have them lined up correctly. Tip: If you are using thick materials such as leather or vinyl a small awl may be helpful to punch a small hole to start your screws.
That's it! Admire your fancy new lock!


-----------
Photos and content provided and written for Emmaline Bags by Cyndi Farfsing, from The Nosy Pepper. Cyndi's blog is chock is full of more bag photos and make making tips. Check out her bag series "It's in the Bag! Better Bag Making Series," to learn a ton of new bag making skills.
Share your projects made from Emmaline patterns and/or with Emmaline hardware in our facebook group Emmaline Sewing Patterns Group, or on instagram with the hashtags #emmalinehardware, #emmalinepatterns, #emmalinebags, or tag us @emmalinebags.


1 comments
These locks are so good and use able also easy to make. Thanks for sharing this DYI with us. I will try to make this too. Stay blessed.
ReplyDeleteNote: Only a member of this blog may post a comment.