
How to Make Leather Fringe Key Fobs - a Free Tutorial
5/01/2017 07:59:00 AMHave you been curious about sewing with leather? Don't know how to get started? Or hesitant to jump in? Here's a great quick project to get your feet wet with leather and get a bit more comfortable without committing to a large project. Leather Fringe Key Fobs!

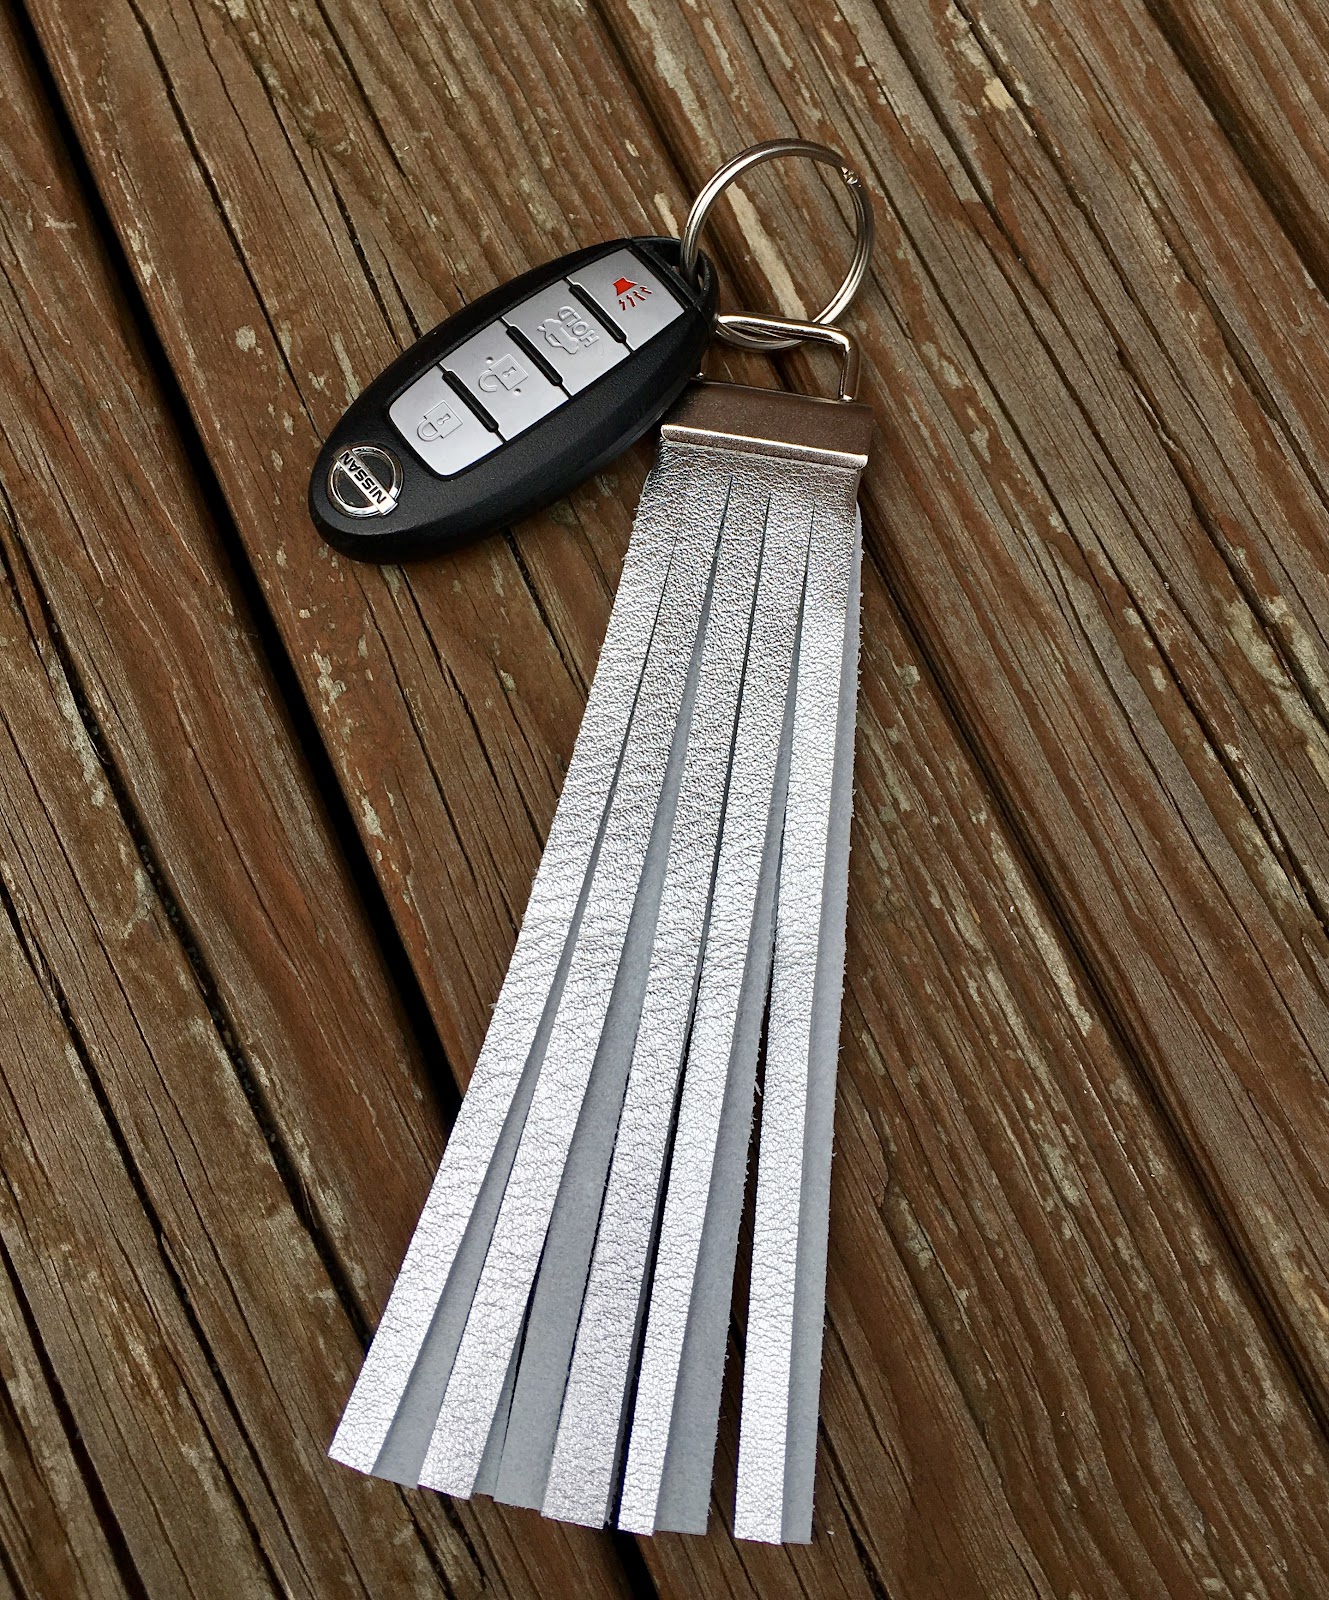
They take very leather, are quick, easy and fun! It's a great way to see how your machine handles leather, or make a no sew version.

The Tannery NYC has generously offered Emmaline Bags followers 10% off purchases of 50 USD or more using code EMMALINEBAGS.
The Tannery offers an incredible selection of high quality and hard to find leathers in amazing colors and finishes. The Tannery is a fantastic resource for bagineers because unlike many other suppliers, they offer sizes that are often hard to find. Many suppliers of similar quality leathers sell wholesale to manufacturers leaving those of us who only need enough leather for a bag or a small project left with few options, most of which aren't as high quality.
The Tannery offers an incredible selection of high quality and hard to find leathers in amazing colors and finishes. The Tannery is a fantastic resource for bagineers because unlike many other suppliers, they offer sizes that are often hard to find. Many suppliers of similar quality leathers sell wholesale to manufacturers leaving those of us who only need enough leather for a bag or a small project left with few options, most of which aren't as high quality.
I have personally purchased from The Tannery NYC and I can speak to both their incredible customer service and high quality leather. They have an amazing selection and if you don't see exactly what you want, send them a message!! Chances are they can get it for you!
At The Tannery you can purchase both by the half skin (typically about 10 sqft) or by the full skin (about 20 sqft). Leather is not sold by the yard, and as it is a natural product the shapes are somewhat irregular. You will find that depending on the leather you choose, most bags can easily be made with a full skin or less. I made a medium shoulder bag with a half skin, but your needs would vary depending on the project.
We only need small scraps, so these make great gifts that you can whip up last minute. The Tannery NYC sells scrap packs as well, which are perfect if you want to get a feel for using leather by making up a few small projects or using them for accents in bags. Oh, and ALL those colors! These leather key fobs are a great way to test out how your machine handles leather.


Here's what you'll need:
- Small leather scraps (3.5” wide x 5.5” or whatever length you prefer)
- Leather needle (Do not sew through leather without a leather needle!)
- Double Sided Tape (if you are doing a no sew version)
- Rotary cutter or sharp scissors
- Key Fob Hardware (available here in both nickel and antique brass finishes)
- Pliers
- Nylon or Polyester Thread (no cotton with leather)
Cut your scrap to 3.5” wide and to the length you’d like your key fob to be (I did 5.5” long).
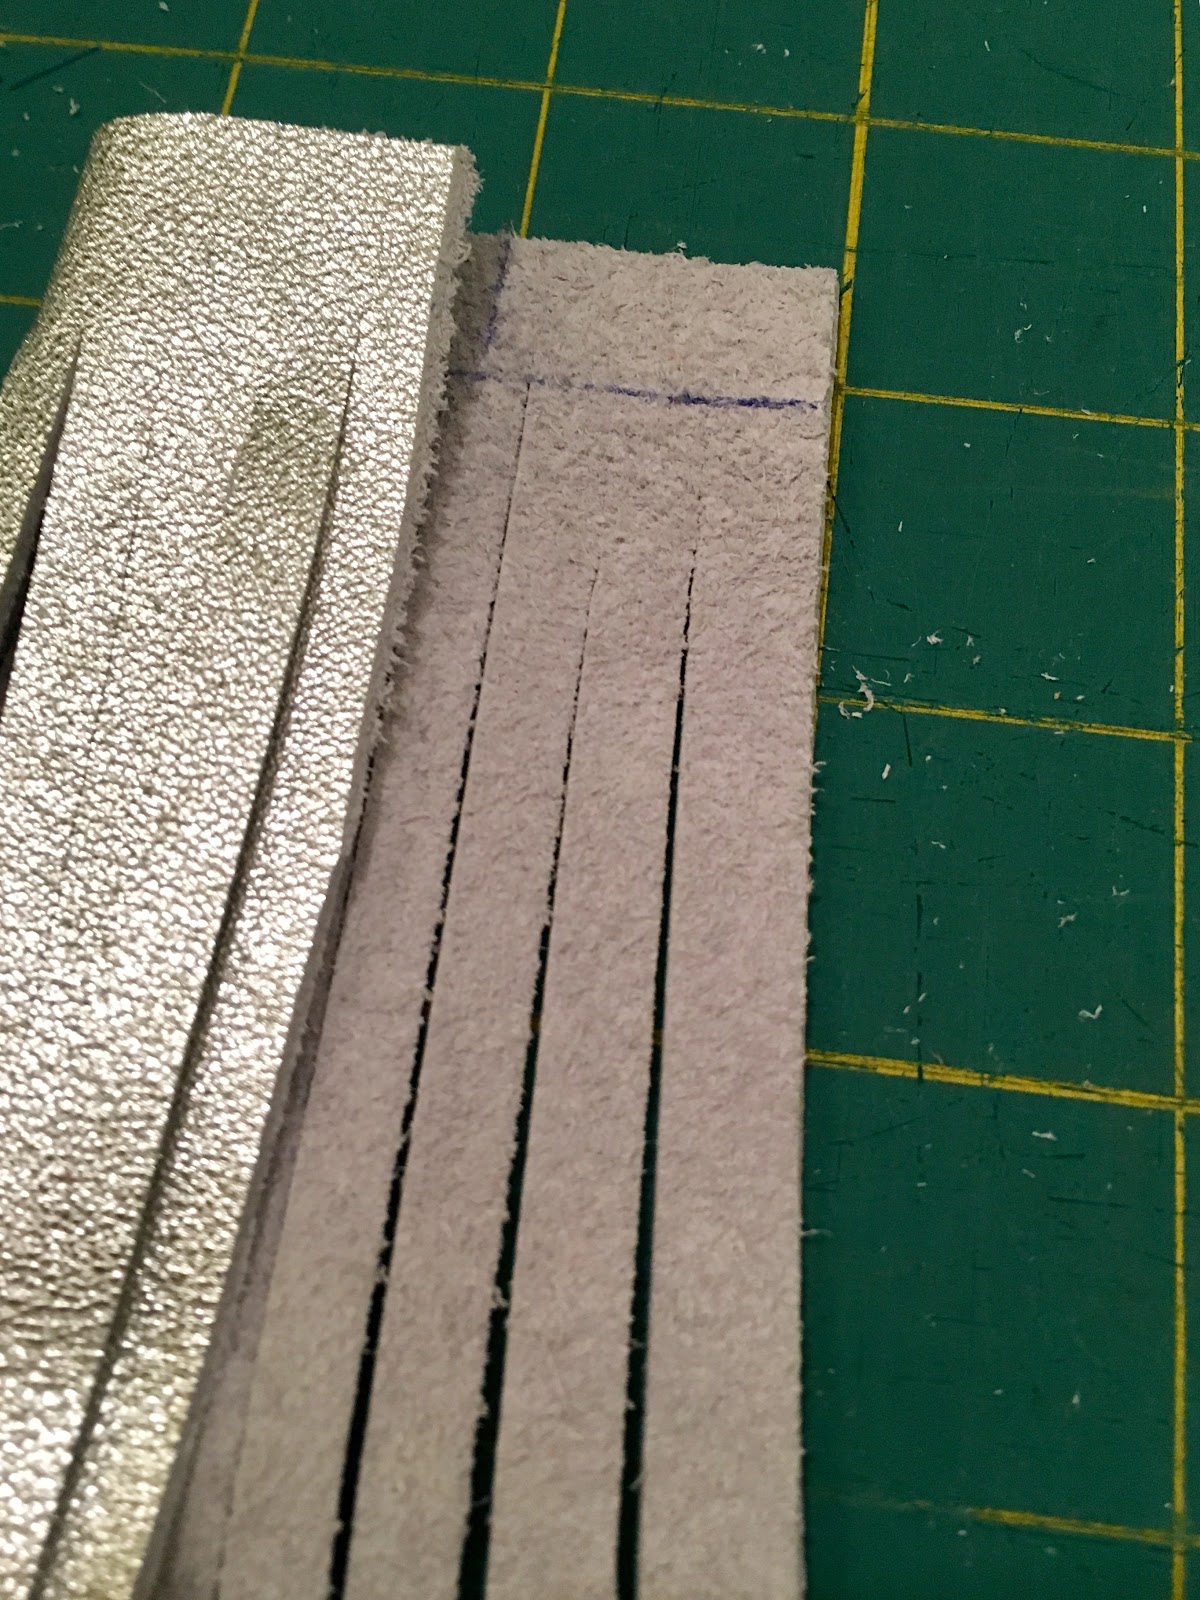
Measure and mark a line that is a half inch from the top of the short edge.

Above this line, make a mark that is 2.5” from the left edge of your leather.

Decide how wide you’d like for your fringe to be. I chose ¼”. Be careful if you would like to make narrower fringe, as depending on the length of your key fob if you make them too narrow they may be likely to get caught on something and break off. If doing less than ¼” you may want to make a shorter fob.

You can either use your marking pen to draw lines for cutting or you can use your rotary cutter and measure as you go, cutting one piece at a time. You want to cut from the bottom of your leather to the horizontal line you drew across the top. Don't cut past that line.

Once you've cut all your lines, it will look like this:

Remember that mark you made 2.5” over from the left edge? Starting from the left side fold your key fob over until the raw edge of the leather meets that line.
Now take the right edge of your key fob and fold it over and past the left raw edge. It will extend *almost* to the other edge of your key fob:
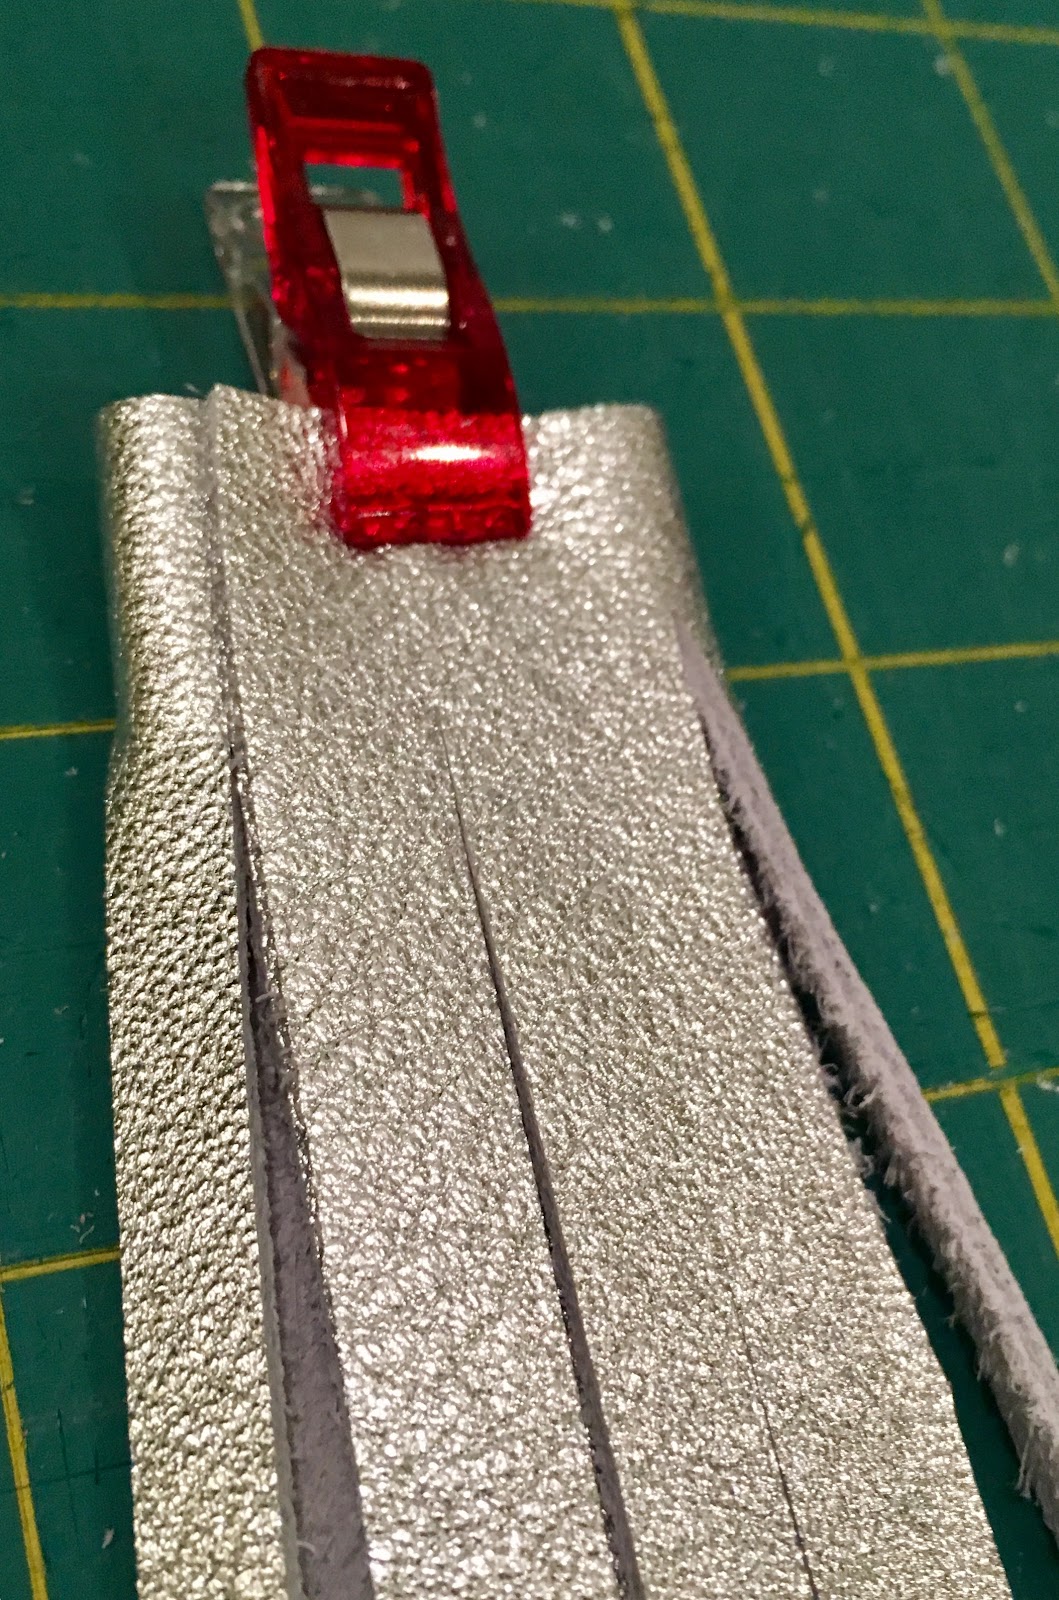
Clip in place (no pins on leather).
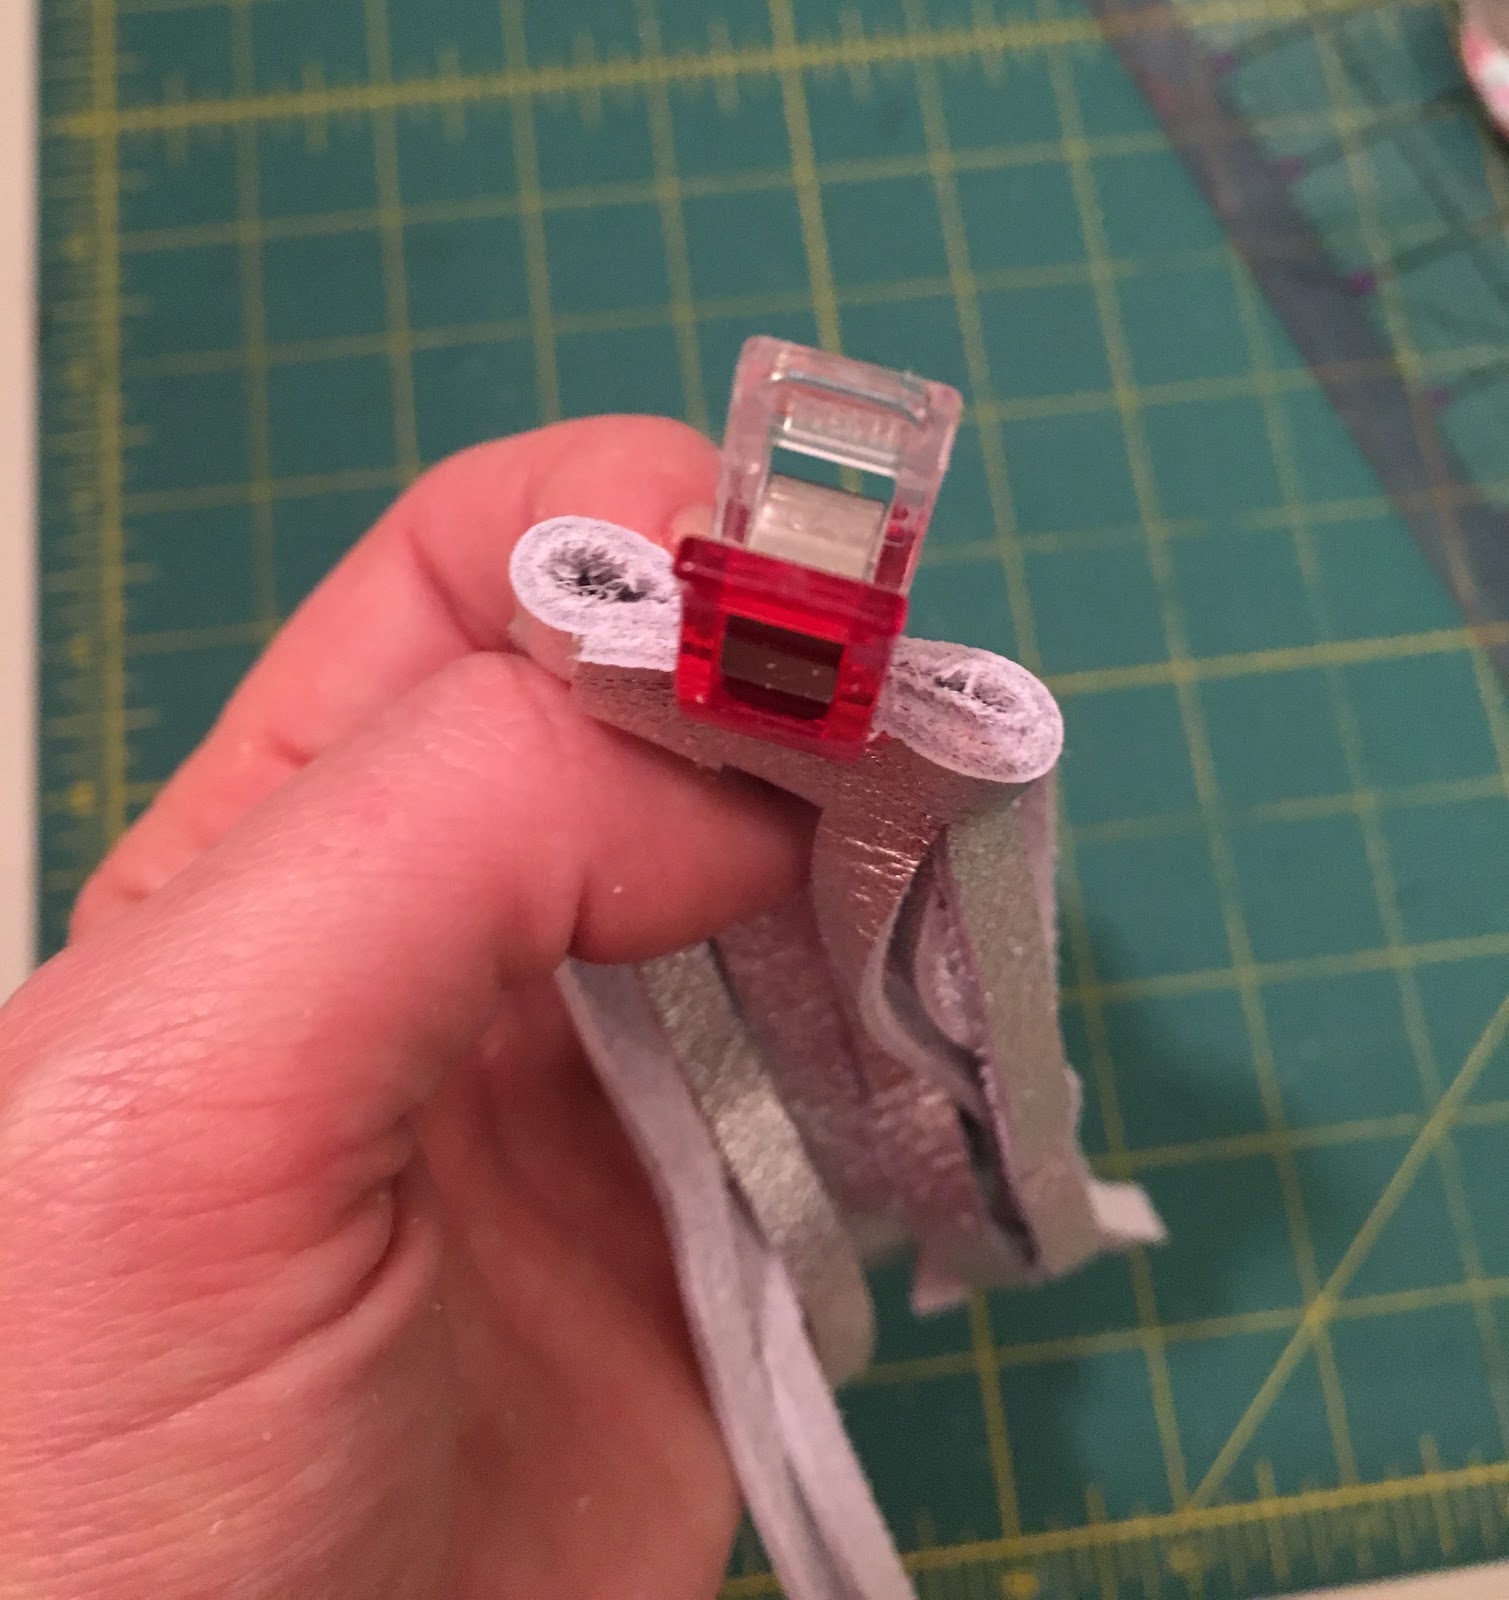
Now, let's do a quick stitch across the top of your key fob to secure it. Making sure that you have your leather needle in place, stitch across the top edge using a ¼” seam. Lengthen your stitch length and hand crank to get started as necessary. As this is a bit of bulk, I find it easier to start in the middle and back stitch to get going. You can also use a hump jumper here too.
That's it! You just sewed leather! Not just one layer but THREE! Not so bad eh? If your stitches don't look perfect, no worries! They will be hidden behind the key fob hardware.

Still afraid of sewing leather, or maybe you don't have any leather needles handle? It's ok! We can make these no sew too!
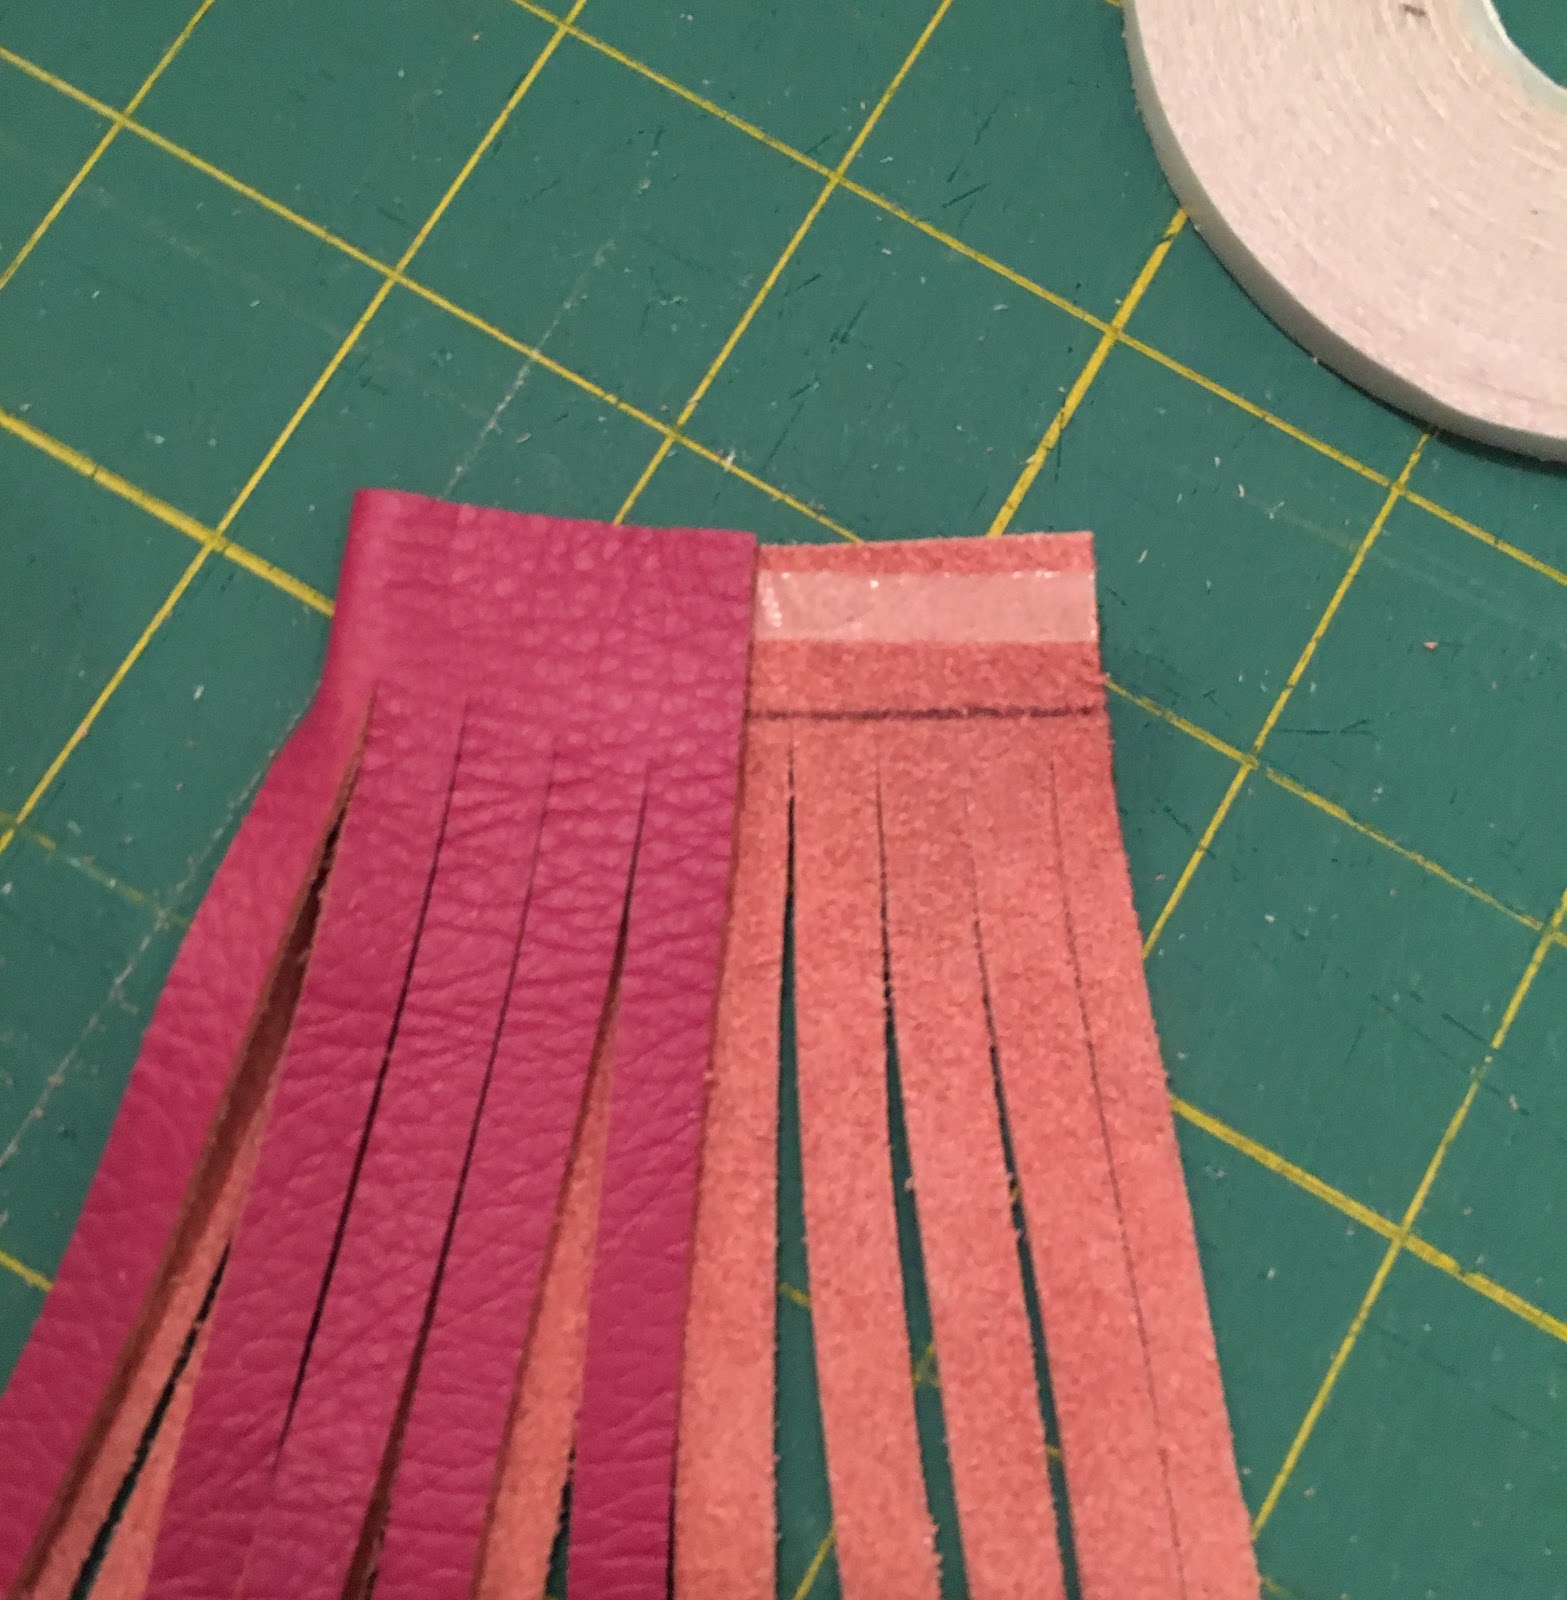
Follow the steps above but before you fold your left edge over, run a strip of double sided tape across the top edge.

Same as before, fold the left side over to the mark you made earlier.
Then fold the right edge over.

Now, once you have your top secured by stitching or double sided tape, we are going to add our key fob hardware. For this part, simply slide the top of your fringed key fob into the hardware, and using a pair of pliers crimp the hardware shut. Use a towel or fleece between the pliers and the hardware to keep it from getting scratched.
That's it's! We are all done! These are super quick, and you can get your feet wet with leather. Once you get a feel for working with leather, you can start incorporating it into your bag making and work up the skills and confidence to sew a leather bag.


Thanks again to The Tannery NYC for the leather used here. For these key fobs I used the Silver Metallic, Fuschia and Rust Brown Semi Naked leathers. Go check out all the incredible leathers they have, you might want one of everything!
Photos and content provided and written for Emmaline Bags by Cyndi Farfsing, from The Nosy Pepper. Cyndi's blog is chock is full of more bag photos and make making tips. Check out her bag series "It's in the Bag! Better Bag Making Series," to learn a ton of new bag making skills.
Share your projects made from Emmaline patterns and/or with Emmaline hardware in our facebook group Emmaline Sewing Patterns Group, or on instagram with the hashtags #emmalinehardware, #emmalinepatterns, #emmalinebags, or tag us @emmalinebags.
-----------
Photos and content provided and written for Emmaline Bags by Cyndi Farfsing, from The Nosy Pepper. Cyndi's blog is chock is full of more bag photos and make making tips. Check out her bag series "It's in the Bag! Better Bag Making Series," to learn a ton of new bag making skills.


1 comments
This is a great tutorial and great idea!!!
ReplyDeleteNote: Only a member of this blog may post a comment.