
How to Attach our Metal Edge Trim - A Hardware Installation Tutorial
5/18/2017 07:29:00 AM
I love the edge trim that Emmaline carries, it add a touch of class to every bag and with 4 different styles, they will fit on a variety of bags and wallets.

Style A, The Large Pointed Trim is available in nickel, gold, copper, gunmetal and antique brass.

Style B, Medium Pointed is also available in nickel, gold, antique brass, gunmetal and copper finishes.


Style D, Curved, is also available in 5 finishes: gold, nickel, copper, gunmetal and antique brass.

Although there are 4 different styles, they are all installed in the same fashion. Installation is a snap, and only takes a few minutes. These were designed with a 1/8" channel so they work perfectly with fabrics and will hold strong.
Here's what you need:

-Emmaline Metal Edge Trim
-E6000 or a similar strong glue
-A small screw driver
-Your bag or wallet.
Trace your metal edge trim onto your paper pattern piece first, then add on your seam allowance second by adding with a ruler. This will give you the perfect shape and fit. Make sure that the piece you add interfacing and a bit of stabilizer to the piece you will be adding your edge trim to. Be sure to check this for fit before you finish sewing your bag that way you can adjust as necessary.
At this point, once we are sure that the trim will fit nicely, I like to finish my bag and add this last, just to keep from scratching the finish while I construct the bag.
To attach the trim to our bag, we will need to add some small dabs of glue inside the chanel of the trim. It can be hard to do this neatly because of the narrow chanel, so I like to squeeze some glue out and use a pin to apply it to the channel.
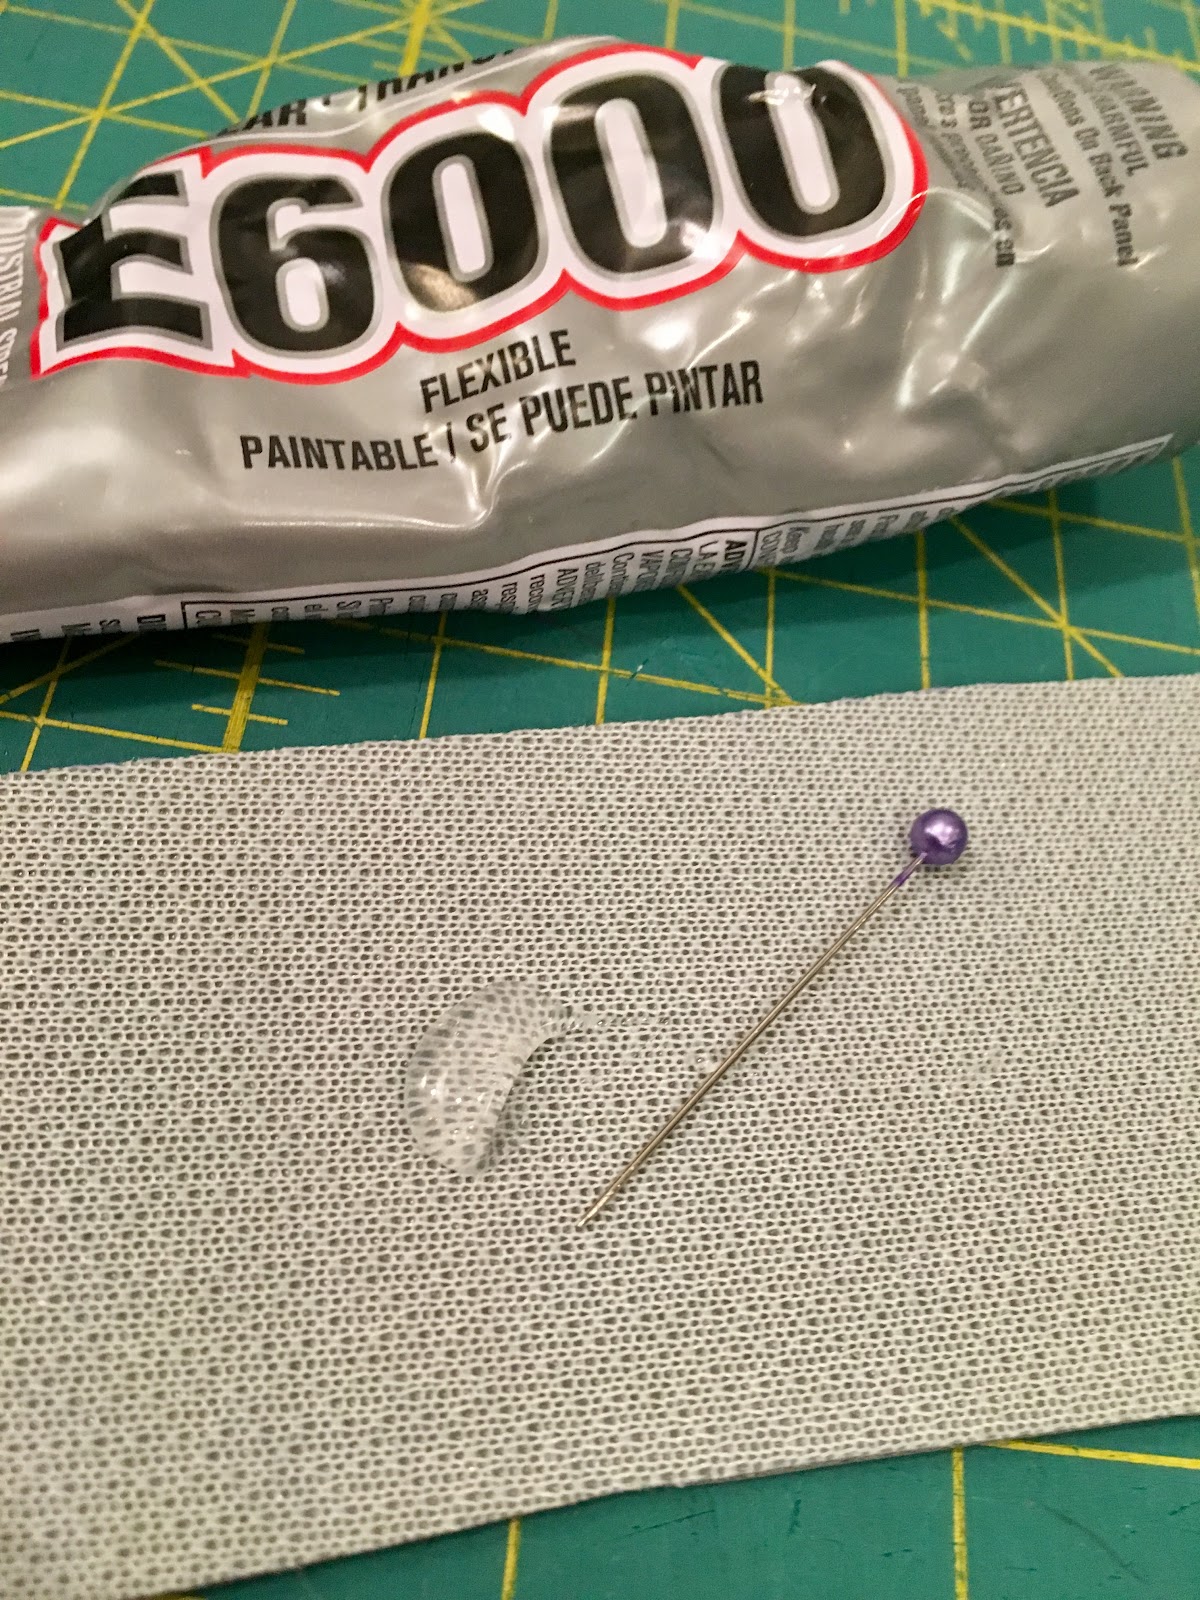
Don't apply too much here! If you get glue happy it will ooze out the sides and holes in the edge trim. A few dots or a small, thin line across the bottom will do:

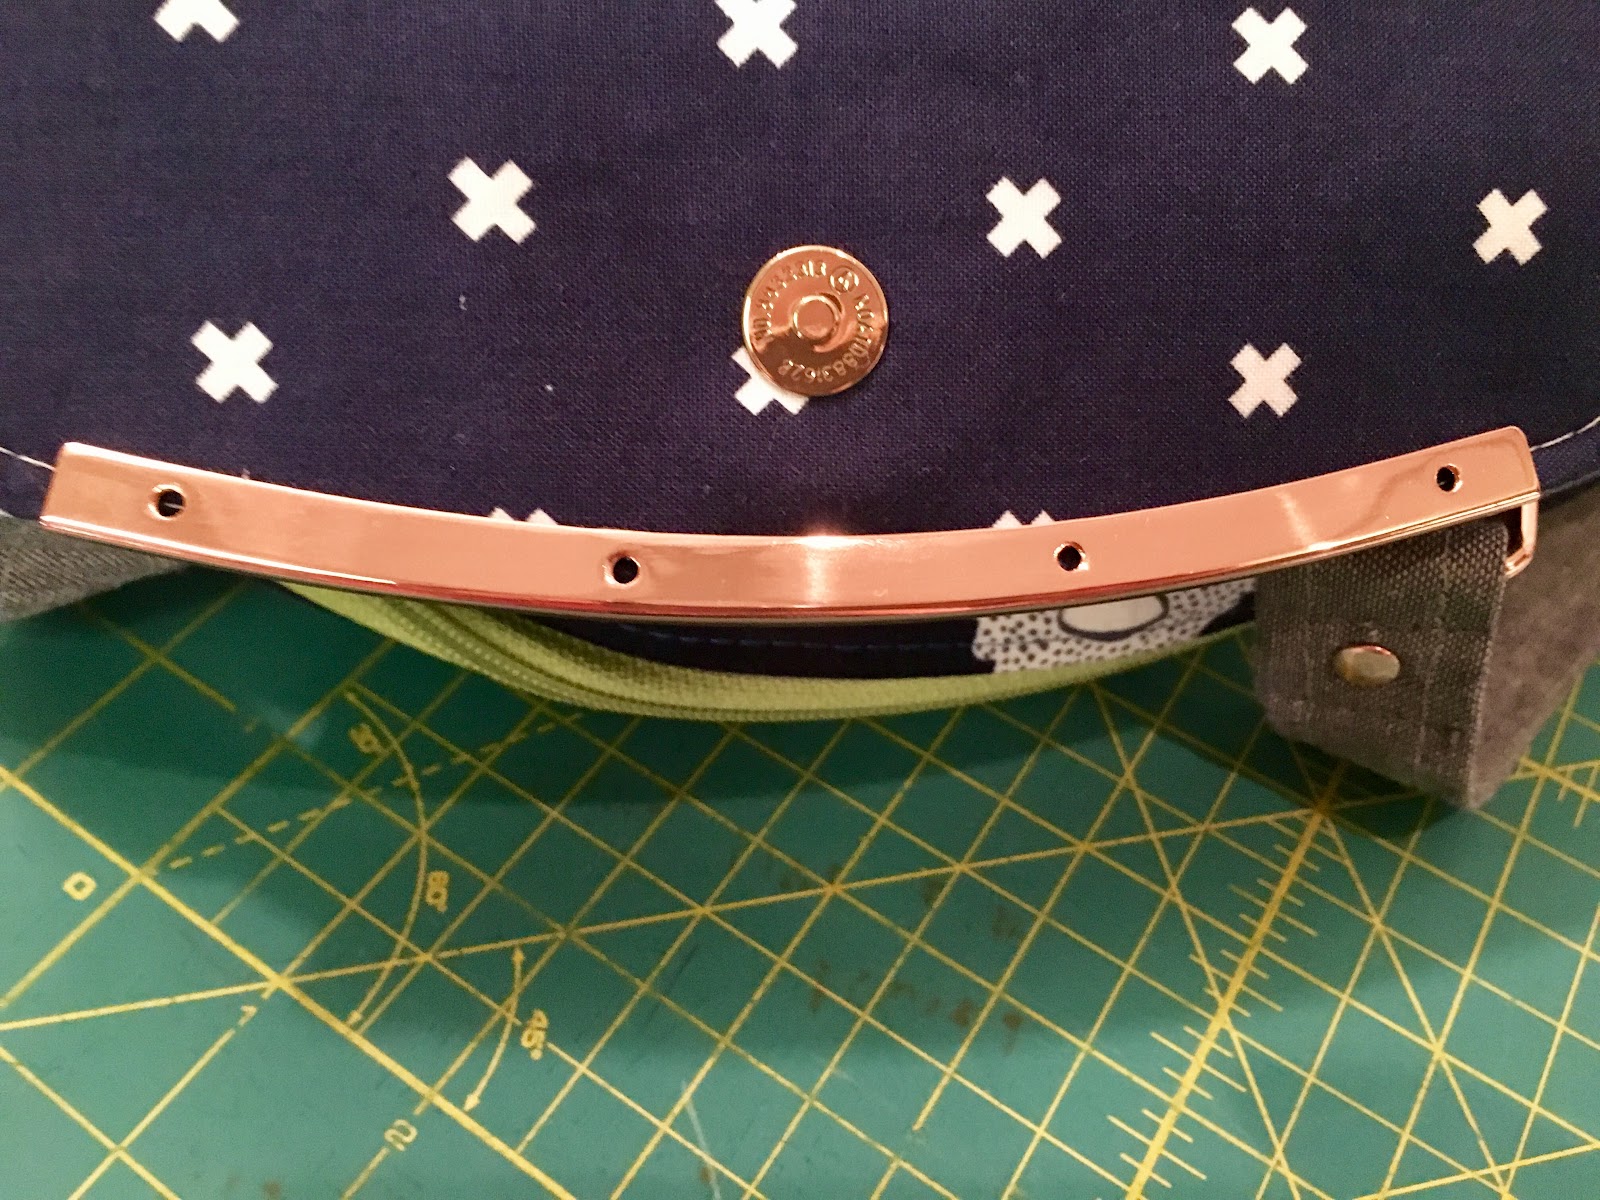
Gently slide this over the flap of your bag, with the screw holes facing the back of the flap.
Here's the hardest part of the whole process, dealing with those tiny screws. I'm all thumbs, so I like to keep a magnet nearby to keep track of those buggers. It also helps to leave them in the bag and just take out one at a time.

Using your screw driver, work those tiny screws in. It helps to start off working them in slowly so that you can ensure that they are threaded correctly. These screws strip easily so double check they are threaded properly before you start using a lot of force to screw them in. There's no need to punch any holes in your fabric before you start, these are pointed and will grip well.
Screw these flush with your edge trim and no further, they will keep on going through!
That's it!! You are all done!
Admire your pretty new bling:
 |
| Bag by Poshbellies on Instagram |

 |
| Make these clutches using the online Craftsy Class: Mix & MatchClutch Bag Techniques. |
-----------
Photos and content provided and written for Emmaline Bags by Cyndi Farfsing, from The Nosy Pepper. Cyndi's blog is chock is full of more bag photos and make making tips. Check out her bag series "It's in the Bag! Better Bag Making Series," to learn a ton of new bag making skills.
Share your projects made from Emmaline patterns and/or with Emmaline hardware in our facebook group Emmaline Sewing Patterns Group, or on instagram with the hashtags #emmalinehardware, #emmalinepatterns, #emmalinebags, or tag us @emmalinebags.


1 comments
Well written piece
ReplyDeleteMetal Supplies
Note: Only a member of this blog may post a comment.