
How to Attach our Large Bar Locks: A Hardware Installation Tutorial
4/25/2017 07:47:00 AM

They are about as simple as installing a magnetic snap and take no special tools. Here's what you need:
- A small Phillips head screw driver
- Strong glue (like E600)
- Fray check (or a similar fray block)
- A couple scraps of Peltex (or similar heavy stabilizer)
- A removable marking pen
- A seam ripper
- An awl
Ready? Gather your supplies and let's get to work!

First things first, we need to figure out our placement. The placement may need to be slightly different than where you would place your magnetic snap (since the male end of the lock sits directly on the edge of your flap), so be sure to adjust this accordingly to the pattern you are making.
After you have made your markings, we are going to install the female portion (the half that doesn't say “Handmade”). This will be installed just like a magnetic snap.
Using the washer that comes with the lock, place this over when you have made your center mark for placement. Use this to find the appropriate placement to snip the holes to insert the prongs on the back of the lock.

Once you have made your marks and are happy with the placement, use your seam ripper to gently make a small slit for the prongs to slide into. Dab a bit of fray check on your slits.

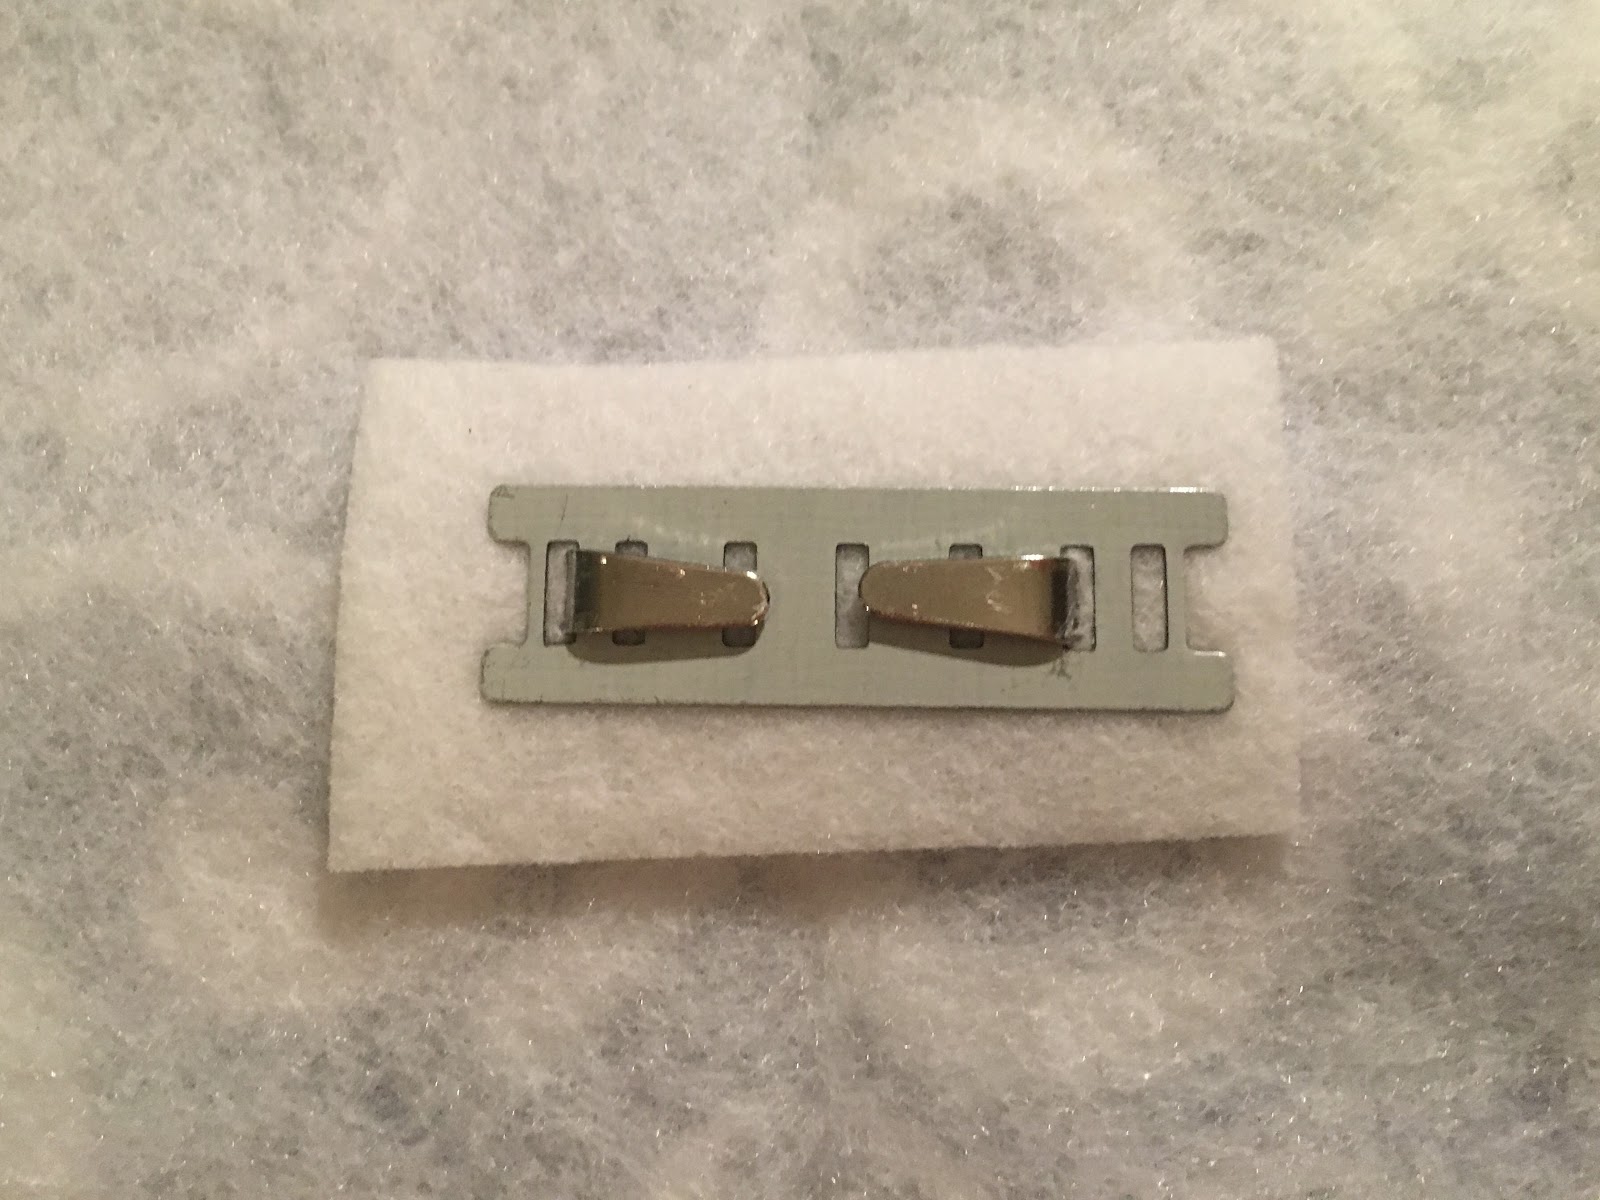
Slide your female end into the slits, making sure that the holes are facing UP towards the top of your bag, so that they will connect with the male portion of the lock. You will be very frustrated later if you don’t (trust me on this). Flip your fabric over, and slide your washer over the prongs. Add a small scrap of peltex to reinforce the lock here. Once the washer is flush against the fabric, bend your prongs towards the CENTER. You may also wish to use a small scrap of fusible fleece here behind your completed lock, to keep the metal from rubbing against your lining fabrics.
Yay!! Half your lock is complete! At this point, if you have taken the protective plastic film off your hardware, consider adding a piece of washi or masking tape to keep the finish protected while you finish constructing your bag. The picture is of the other end of the lock, but you get the idea.

Ready to finish up? Let's install the male end of our lock. This is the part with “Handmade” on it.
If you haven't already, slide the small scrap of peltex and slide it in where you will be placing your lock. Either fuse it (if it's fusible) or use a small piece of double sided tape to secure it in place if it's non fusible.

On the back side of your flap, find and mark the center, or where you want the center of where you want your lock placed.

On the male end of your lock, you will see there are three screw holes in the back of it:

This works out perfectly, because we can line up the center hole with the mark we just made. Slide this portion of the lock on and make sure it fits securely and the placement is where you want it.
Once you are happy with the placement, grab your glue and put a small amount into the channel.

Be careful! You don't need much, if you add too much glue it will ooze out of the ends and then you'll have a mess on your hands. A few drops will do.
I'm hopelessly messy with glue, and I find that it's hard to get it to get in the channel without it dripping everywhere. I like to squeeze some glue out onto a piece of cardboard and use a pin to dab some into the channel. This way, I have more control over how much and where I get the glue.

Now we carefully slide on the male end onto our flap making sure we have lined up our center mark.
If you are using something more dense like denim, vinyl, leather or cork, you may need to use a small awl or the tip of your seam ripper to get the holes started in the fabric. Grab your small screw driver and your tiny screws. I like to start in the center, carefully place your screw in place and give it a few GENTLE turns to make sure that you have it set correctly in the lock. These itty bitty screws strip easily, so it's best to start of gently then you can use more force once you are sure they are lined up to thread correctly. Once it has started threading, you can add a bit more force carefully until they are completely screwed in. Repeat this for the other two holes.
If you have been the unfortunate victim of a stripped screw, you can try and stretch a latex glove, a ballon, or something similar on the end of your screwdriver to try and get the stripped out screw to cooperate.
If you have been the unfortunate victim of a stripped screw, you can try and stretch a latex glove, a ballon, or something similar on the end of your screwdriver to try and get the stripped out screw to cooperate.

Make sure that you have them screwed in far enough. If they are not flush with your lock, you can feel them and they may snag a sweater sleeve one day.

You're ALL DONE! Admire your pretty new bling on your bag.


The Big Bar Locks are available in both nickel and antique brass finishes. They are strong and incredily durable, and hopefully now you see just how easy they are to add to your next project!
___________________
Photos and content provided and written for Emmaline Bags by Cyndi Farfsing, from The Nosy Pepper. Cyndi's blog is chock is full of more bag photos and make making tips. Check out her bag series "It's in the Bag! Better Bag Making Series," to learn a ton of new bag making skills.
Share your projects made from Emmaline patterns and/or with Emmaline hardware in our facebook group Emmaline Sewing Patterns Group, or on instagram with the hashtags #emmalinehardware, #emmalinepatterns, #emmalinebags, or tag us @emmalinebags.


0 comments
Note: Only a member of this blog may post a comment.