
The Pepper Party Clutch - A free tutorial with FIVE ways to finish!
12/13/2016 03:38:00 PMThe Pepper Party Clutch
A Free Bag Tutorial

Do you want to whip up some quick and easy clutches for a party, or gift? Cyndi from The Nosy Pepper is here to show us how to use some of our more popular Emmaline brand bag locks to finish it off, AND there is even a bonus "hardware less" version with a strap closure. Cyndi will go throw all of the features just below - but I just want to mention that this is an AWESOME scrap buster, use your fat quarters!

Go Cyndi!
Today I'm excited to be sharing a quick and easy project that allows you to practice using various types of closures and hardware. These quick envelope style clutches are perfect for last minute gifts and you can completely change the look by adding different types of hardware and fabrics. It's one basic clutch in 5 different styles!

These use very little fabric; you can easily make one clutch out of a fat quarter or raid your scrap bin. You can purchase all the hardware needed at Emmaline Bags.
Note: If you want to add a wrist strap to your clutch, we have those instructions for all 5 versions in one spot, at the bottom of this post. So even though I am sure you are going to read this entire post before you start, make sure you scroll down the bottom to get those wristlet instructions!!
Here's what you'll need:
- (2) 9” x 17” pieces of fabric
- (1) 9” x 17” piece of woven fusible interfacing (like Pellon Shapeflex 101)
- (1) 9”x 17” piece of fusible fleece or foam stabilizer (such as By Annie’s Soft and Stable or Pellon flex foam)
- Small scraps of foam stabilizer or fusible fleece
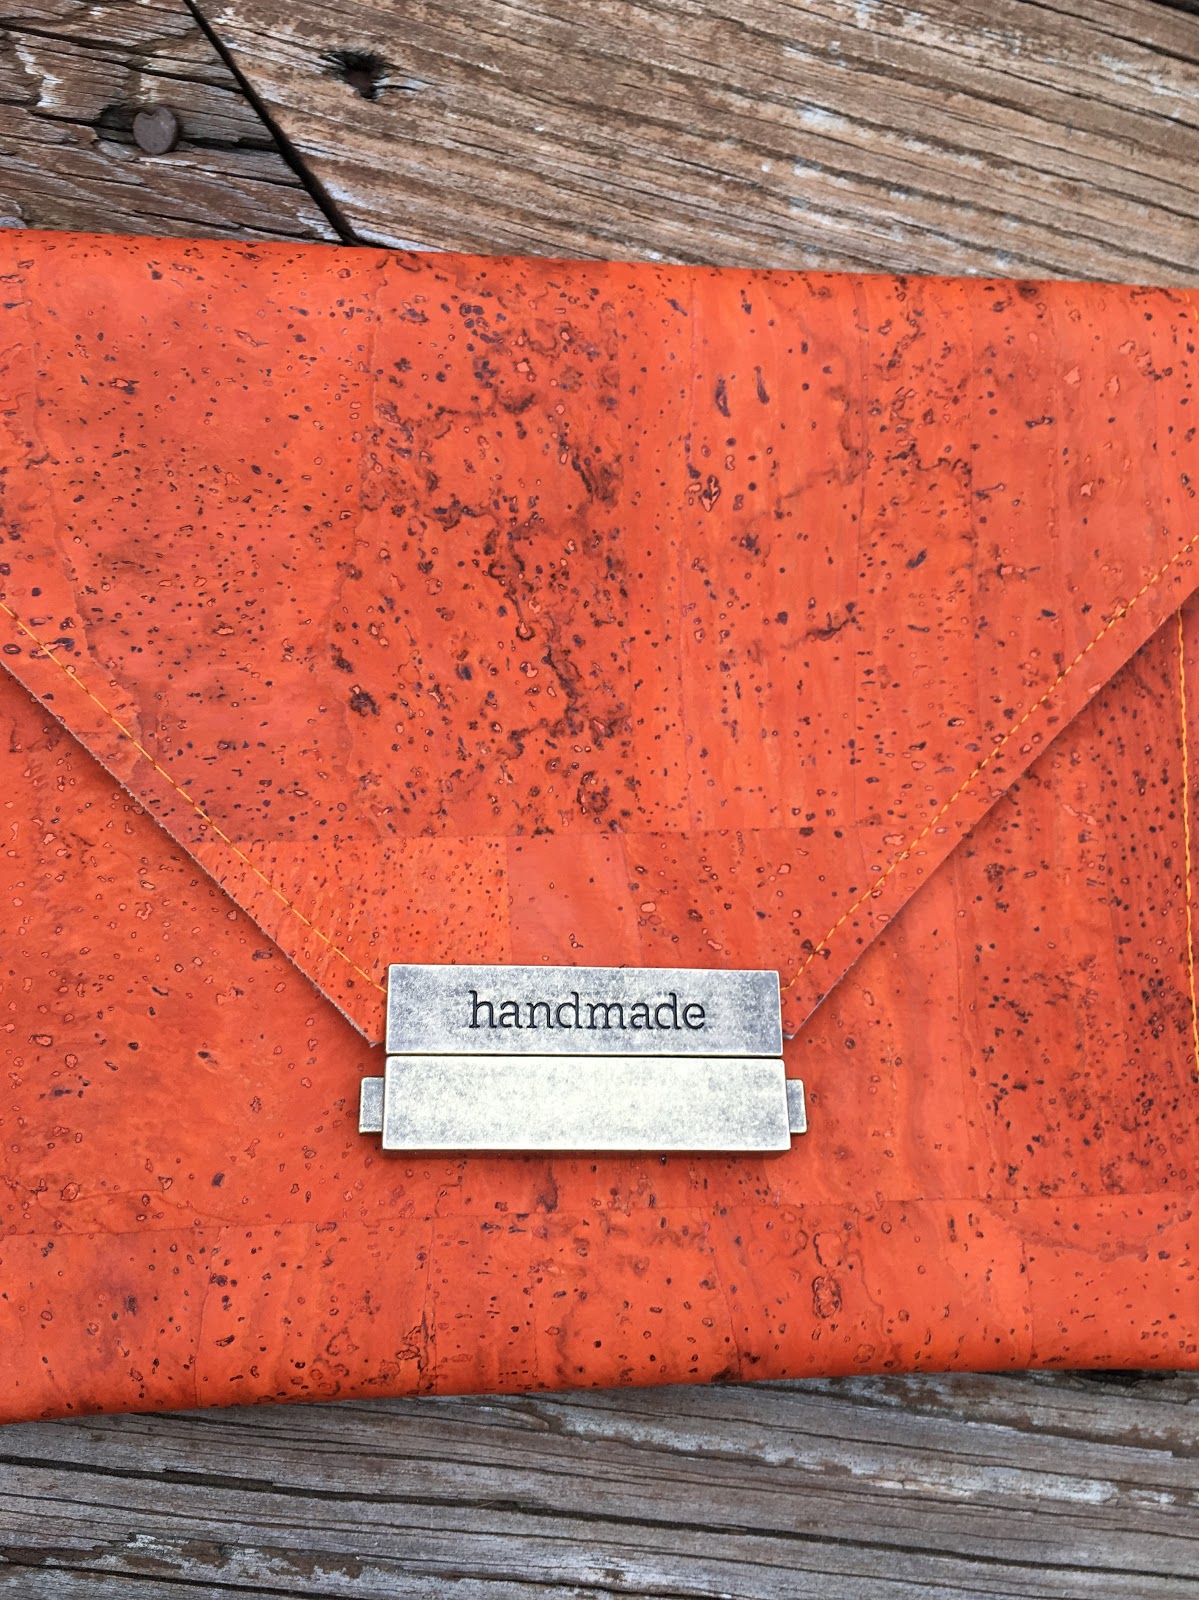
- Closure of your choice (magnetic snap, tuck lock, large bar lock, snappy edge clasp) or in lieu of hardware you may use scraps of vinyl or scrap fabric to make a strap closure)
- Fray Check
- Your preferred glue (I like E-6000...this will be used to secure the snappy edge clasp, tuck lock and large bar lock)
- Fabric marking pen (I like Frixion pens)
- Fabric punch (if making the snappy edge clasp clutch)
- Denim or microtex needle) helpful in working with bulky seams
- Walking foot (optional but so helpful with layers and/or vinyl & leather)
Tip: If you are using vinyl for the exterior of your bag you can opt to omit the fleece/foam. I found that since this is a small clutch, it wasn't necessary and it will make it easier to sew. If you do omit this you will still need a small piece of stabilizer where you add your closures to reinforce it.
Optional wrist strap:
- (1) ½” d ring
- (1) ½” swivel clip
- (1) 2" x 14" piece of fabric
- (1) 2" x 14" piece of woven interfacing
Ready? Let's sew!
Magnetic Snap Clutch:
Step 1) Fuse your interfacing to both the exterior and lining fabrics according to the manufacturer’s directions.
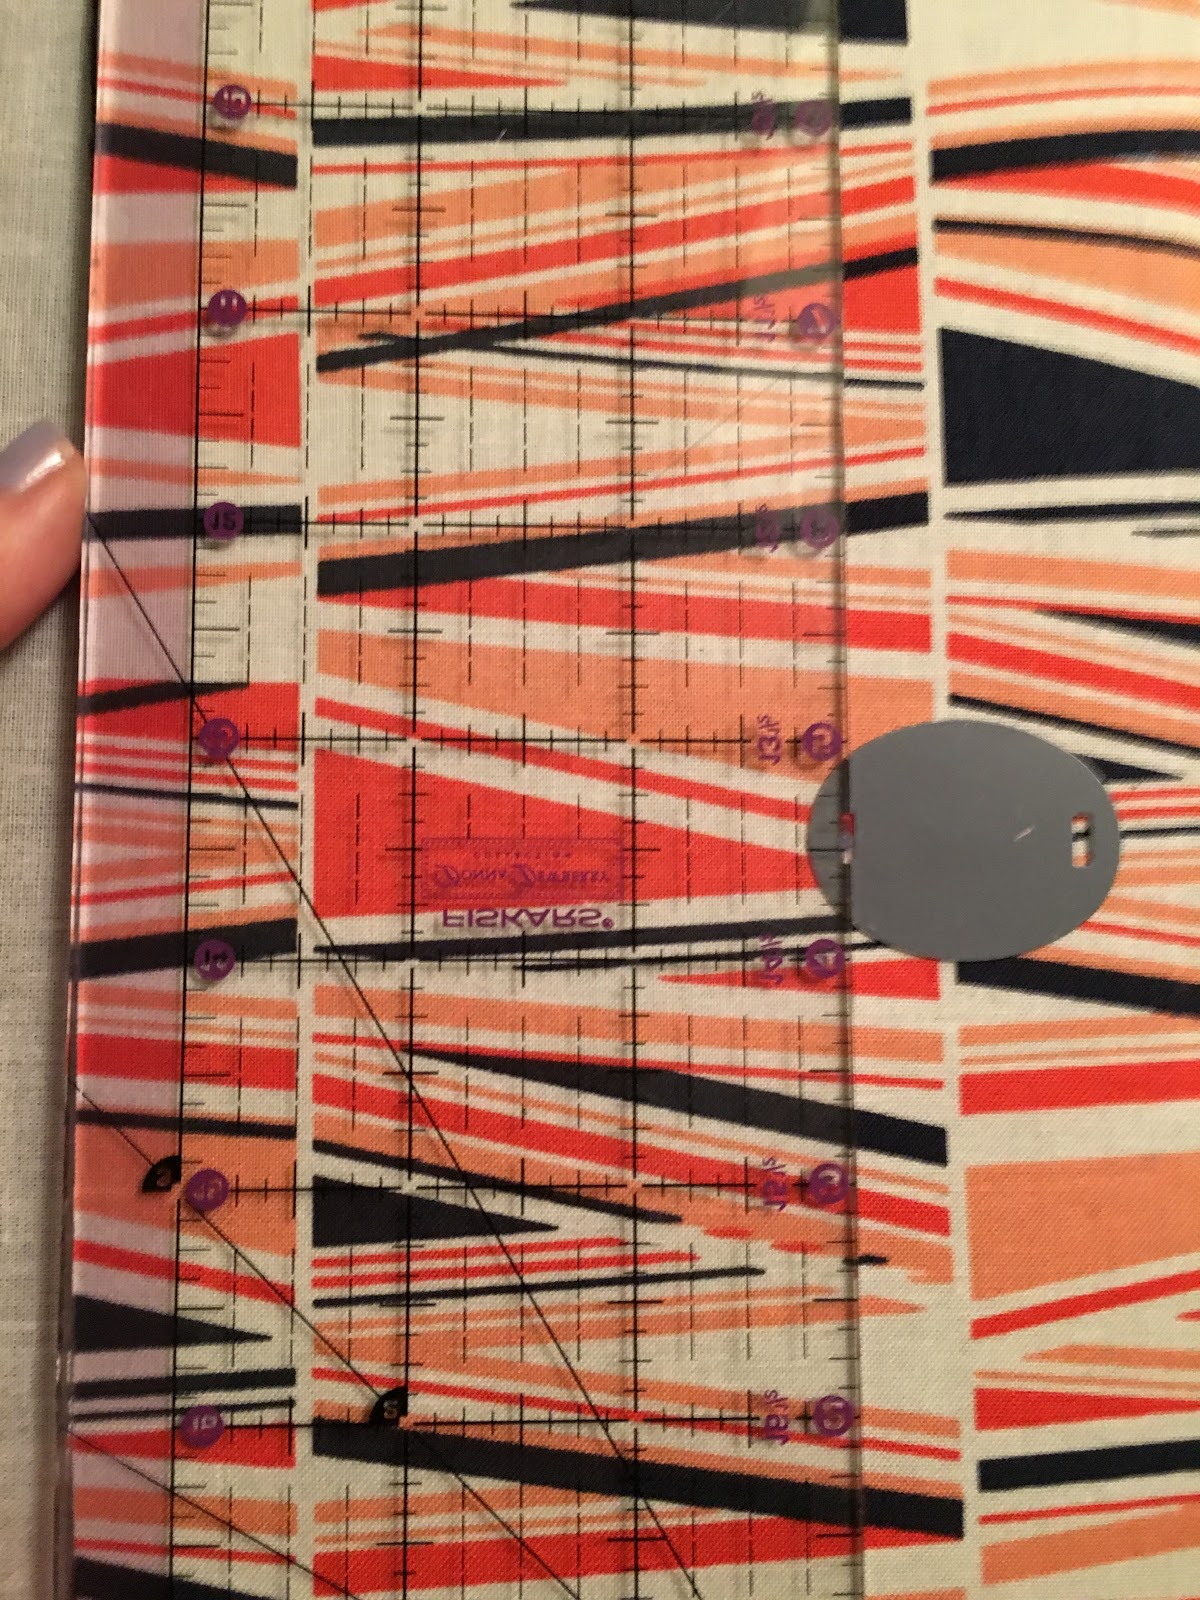
Step 2) On the top short edge of your rectangle, mark 3” in from the top corner and 3” along the sides.

Step 4) Draw a line to connect these marks and cut across it.

This will create the flap of your clutch. Repeat this for your lining piece. This edge will now be referred to as the top. The untrimmed edge will be referred to as the bottom.
Step 5) Attach your closure.
-Grab your exterior piece and make a mark that is 3.5” down and centered along the bottom of your panel. Center your washer over this mark and make a mark in the side slits to indicate where to cut your fabric.

Using your seam ripper carefully cut two small slits on those marks. Don't make the slits too big. Add a couple of dabs of fray check around the holes and on the right side of the fabric, insert the prongs of the female end of your snap. Turn your exterior over and secure the washer. Set this aside for now.
Grab your lining piece and make a mark that is centered and 1.5” down from the top of the panel. Install the male end of your snap as you did the female end.
Hint: Cut a small scrap of stabilizer to put behind the snaps if you haven't previously used any.

Step 6) Sewing up the clutch.
Place both the exterior and lining pieces right side together, matching the trimmed edges. Pin or clip in place and, starting 3” in from the bottom of the panel, sew around the entire piece using a ⅜” seam allowance. Leave a 4” opening at the bottom for turning and be sure to back stitch at the beginning and end.


Step 7) Finishing the Exterior.
Clip all corners and trim seam allowances to ¼”. At the opening press your seams open before turning. Next- turn your bag, carefully poke out your corners, and press well. Press your opening carefully then pin and sew across the entire bottom with a longer stitch length using a ¼” seam allowance. I like my stitch length set to 4 for this.

Press your bag carefully.
Step 8) Finishing your clutch.
Grab your fancy rectangle and mark a line on the lining side that is 5” down from the top of the panel.
Fold the bottom edge of the bag to this line. Now clip in place.

Starting at the bottom edge of your clutch sew up to where the bottom edge meets the flap using a ¼” seam allowance. I set my stitch length to 3 for this.
When you reach the bottom edge back stitch several times at the end to make sure it is secure and lengthen your stitch length to what you use to top stitch. I use a length of 4. Continue sewing around the flap until you get to the end of the flap portion. Decrease your stitch length again and back stitch a couple times to secure it. Continue sewing to the end of your clutch. All done!

Tuck Lock Clutch:

Follow Steps 1-4 as with the magnetic snap closure
Step 5) On your exterior panel make a mark that is 3.5" down and centered from the bottom of the panel. Grab the washer that attaches to the back of the female portion of your tuck lock. Align the top hole of the tuck lock washer with the mark that you just made. Now mark inside the lower hole of the washer. These marks will indicate where to cut the holes for the prongs of your female side.
Now install the female portion of your tuck lock the same way that you did the magnetic snap. Use a scrap of stabilizer behind this as you did before.
Follow Steps 6-8 as before, except now we need to attach the male end of your tuck lock. If you are unfamiliar with how to use a tuck lock Janelle has a great tutorial here.
Large Bar Lock Clutch:
Follow Steps 1-4 as with the magnetic snap clutch. If you have chosen to omit stabilizer on this clutch you will want to use a scrap piece on the top edge of the lining to give the screws something to bite into. A 1/2" wide strip along the top edge should be just fine.
Step 5) On the wrong side of your exterior panel make a mark that is centered 3.5" down from the bottom edge of your panel. Carefully align the washer that is included with the bar lock on this mark. Notice that there are several slits in this washer- the mark you made should be in the center slit of the washer.

Make a mark on the next to the last slits in the washer and install the female end of your lock in the same fashion as you did with the previous closures (the female end is the end that has the holes along the top. Be SURE your holes are facing up towards the bottom edge of your panel. This time ensure that you bend your prongs TOWARDS the center of the washer.

Follow steps 6-8 as before with the tuck lock clutch except now you will be attaching the male end of the bar lock.
Your big bar lock comes with 3 tiny, TINY, sharp screws. Carefully add a bit of glue into the channel of the lock and carefully slip this onto the top edge of your clutch.
Once you have it aligned properly, poke holes into the fabric through the screw holes with an awl. Then, grab a tiny screwdriver and your tiny screws and screw them into the holes. This is the tricky part. You want to use enough force to get the screws to pierce through the fabric but you have to be VERY careful to not strip them out in the process. I've found the best way to do this is to screw them in a few turns to make sure the threads are set properly before I start screwing them in firmly. Check several times as you are screwing them in to make sure they are actually going in and that you are not stripping them. Once you have the screws set you are all done!
Snappy Edge Clasp Clutch:

Follow steps 1-4 as before.
Step 5) Essentially you will be reversing the female and male ends for this closure. The male end goes along the bottom of our clutch and attach the female end at the top. Attach the MALE end in the same fashion as we did the female ends before.
Make a mark that is 3.5" down and centered on the botton short edge of your clutch. Install your male end, making sure the snap part is facing UP towards what will be the flap.
Follow steps 6-8 as before, except now attach the FEMALE end of the snappy edge clasp along our flap. Janelle has a GREAT tutorial for this on the listing page for this item here. Once you have installed the female portion of the clasp you are all finished.
Did you run out of hardware? No worries, Emmaline has plenty for you, but while you are waiting for it to arrive you can make a strap closure clutch.
Strap Closure Clutch:


Follow steps 1-4 as before.
Step 5) We are going to be adding a strap across the exterior panel to tuck the flap into. For this you can use leather, vinyl, cork, or fabric. If you are using fabric you will want to cut a piece that is 8" x 9" as well as a piece of interfacing the same size. If you are using vinyl/cork/leather you can cut (2) 2"x 9" pieces.
If using fabric:
-Fuse interfacing to fabric per manufacturer's instructions.
-Fold the 8' edges of the fabric in half and press well.
-Fold the edges into the crease that you just made. Press well. You will now have essentially a large piece of double fold tape.
-Stitch along the long edges using a 1/4" seam allowance and long stitch length.
If using vinyl/cork/leather:
-Place your (2) 2" strips together wrong size facing.
-Clip and sew along the long edges using a 1/4" seam allowance and a long stitch length.
Grab your exterior panel and draw a line on the right side of your fabric that is 2" down from the bottom short edge of your fabric. Place your strap directly under this line and baste in place along the side edges.

Follow steps 6-8 as with the magnetic snap and your clutch is complete.
Optional: Adding a wrist strap
Gather your d ring, swivel clip, fabric, and scrap of interfacing. We will be adding this before sewing our exterior panel.
-Cut a strip of fabric and also of interfacing that is 2" wide by 14" long.
-Attach the fabric to the interfacing as per manufacturer's instructions.
-Fold the fabric in half along the long 14" edge. Press well
-Fold the long edges in towards the center crease you made.
-Pin or clip and sew along the long edges using a 1/8" seam allowance.

-Cut 2" off the end of your completed strap.
To attach D ring
Slide your D ring on to the 2" strip you just cut from your strap.

Match your short ends and baste along the raw edges.
Grab your exterior panel and make a mark that is 1/5" down from the bottom untrimmed edge.
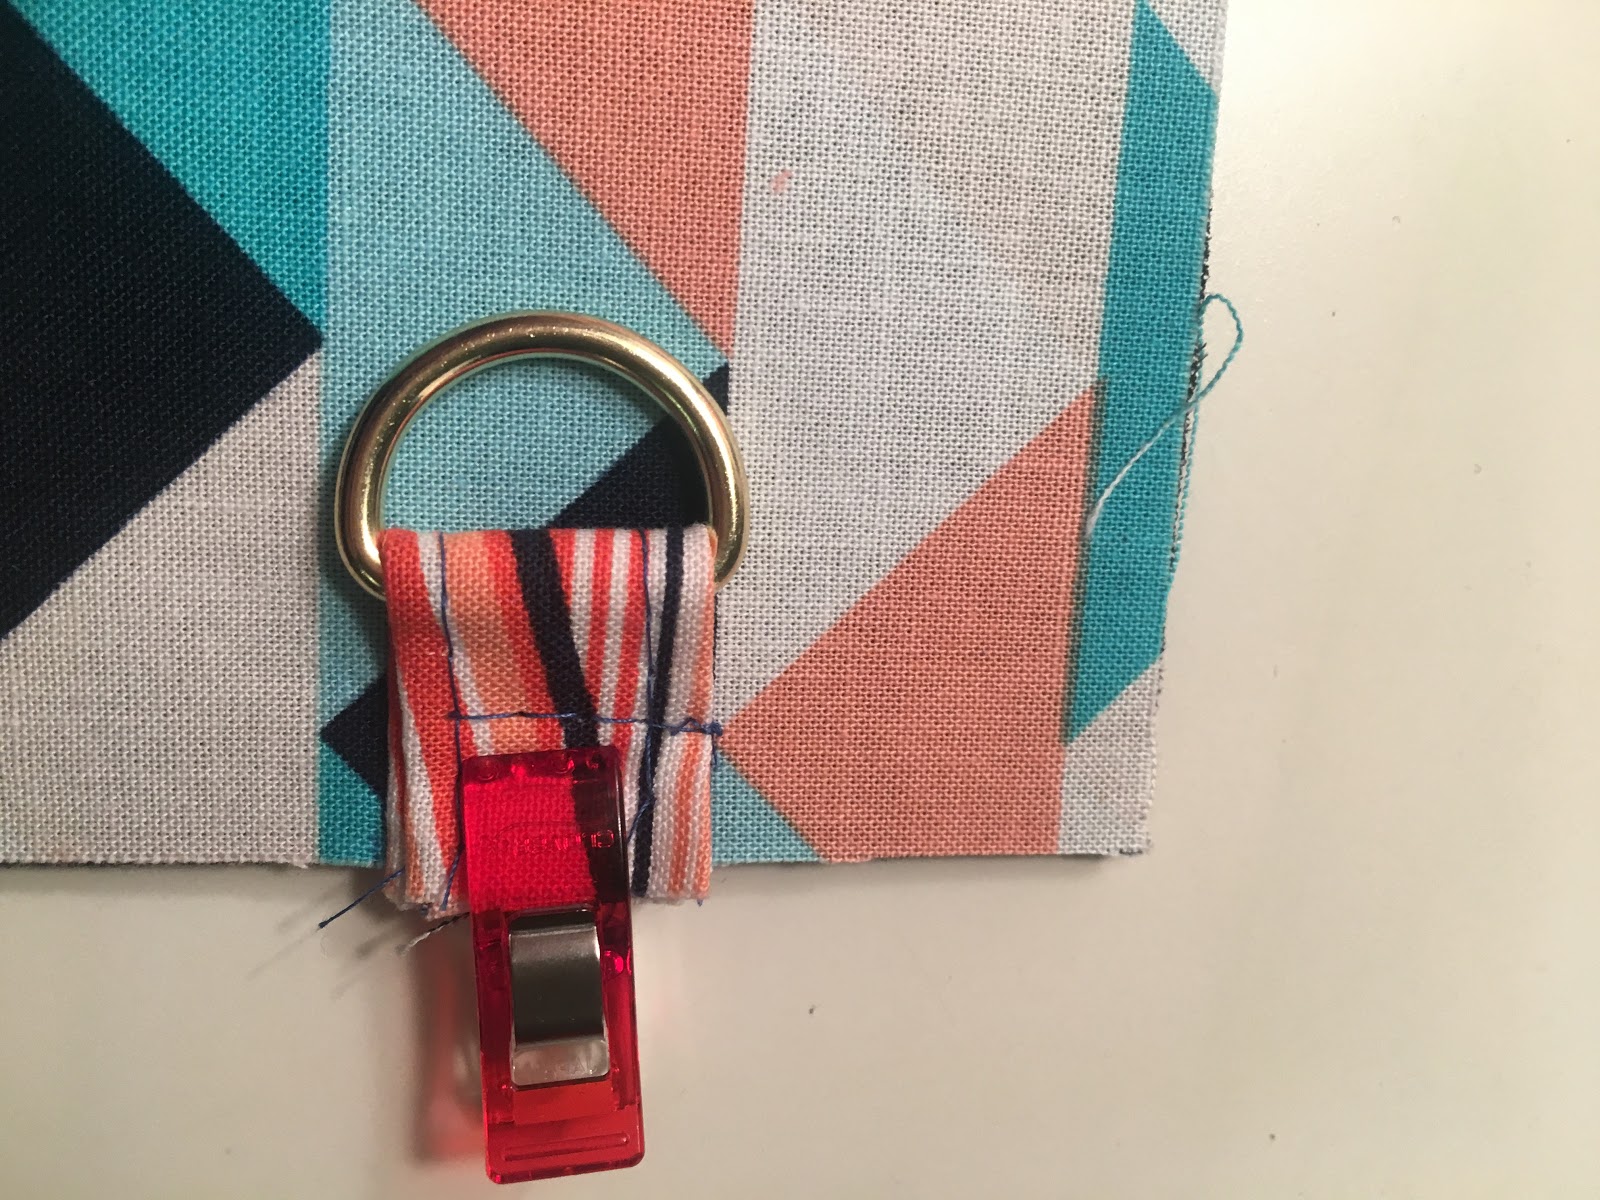
Baste along the raw edges using a 1/8" seam allowance. Then complete your clutch as indicated above.
To make the wrist strap:
-Grab your strap and slide your swivel clip on.
-Now turn your strip so that you will be sewing the raw edges together so they will be INSIDE your wrist strap. Sew along the raw edges using a 5/8" seam allowance.
-Slide up your swivel clip so that it sits between the two raw edges:

-Center the clip against the seam and sew along the short end as close to the hardware as possible.

-Sew another line of stitching 1/2" below that. Make sure to back stitch at the stop and start of each line of stitching.
-Attach the clip to the D ring and you're done!


Enjoy!
------------


8 comments
This looks great! It appears that step 3 is missing or the steps are not numbered correctly. :)
ReplyDeleteThe materials list calls for fusible fleece but the fabric in your pictures looks like it only has woven interfacing. Should fusible fleece be used on both pieces of fabric? That seems like it might make it very bulky.
ReplyDeleteThanks.
Hi Cheryl! Yes, use fusible fleece when using fabric. I think the steps in the photos are either vinyl or cork with a woven backing, but for fabric you will want that added thickness. The fusible interfacing is meant for the lining and the fusible fleece for the exterior. But if you switch it around, it will work too! I will make sure that is mentioned in the instructions. I hope that helps!
DeleteJanelle
We are the leading UK bag supplier and UK bag companies. UK bag company is the best for stylish and all types of bags in United Kingdom.
ReplyDeleteUK bag supplier
is there a pattern for this>
ReplyDeleteJust the instructions in this post! Feel free to print it for yourself.
DeleteThis looks great! It appears that step 3 is missing or the steps are not numbered correctly.
ReplyDeletegoldenslot
GCLUB Casino
Gclub
GClub online
That's a really great bag! The mini charms work great for hexagons. They are just the right size. Cotton bags Suppliers India
ReplyDeleteNote: Only a member of this blog may post a comment.